
Tutorial: Bea Alonzo's "The Mistress" makeup
Someone on Ask Liz! requested for a tutorial on Bea Alonzo's makeup on her latest movie,"The Mistress". I thought it was a cool idea! I've been wanting to watch that film ever since I saw the trailer last August. The story seems interesting enough, but I also love how Bea looks so polished and different in it. The makeup she wore really enhanced her beauty which is awe-inspiring considering that it looks like she's not wearing much at all.

I haven't seen the movie yet so I did this tutorial based on the trailer and the pomotional pictures. I would describe Bea's makeup as the Prime Look, which is not the "no makeup makeup" or even the "natural makeup" look. It's done with a heavier hand that focuses on color matching, contouring, and precise eyes to bring out the perfect version of a face (hence "prime").

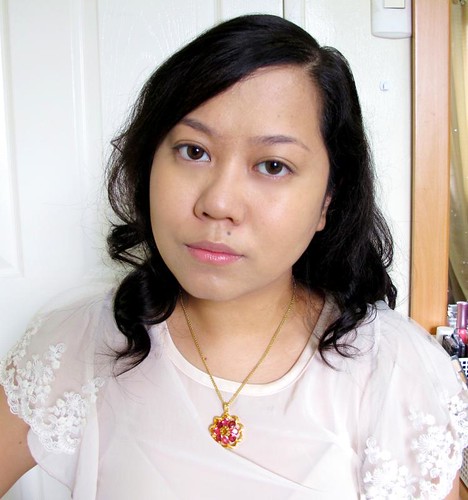
Don't worry. it's not as complicated as it sounds! I've made a step-by-step tutorial on how to achieve Bea's makeup. Of course I don't look anything like her, but makeup-wise it's fairly near. Let's get crackin'!

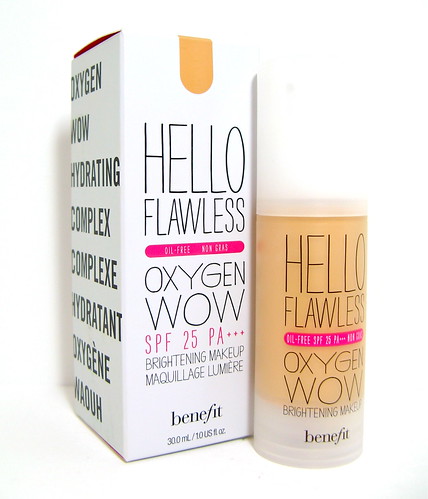
Step 1: Bea's skin is super smooth and translucent in the film, so skip the heavy matte foundations and opt for something light instead. I used the Benefit Hello Flawless Oxygen Wow Brightening Makeup. This is a great brightening foundation that looks invisible yet gives good coverage. After concealing, I topped it off with the Palgantong Theatrical Powder to get a smooth and translucent finish.
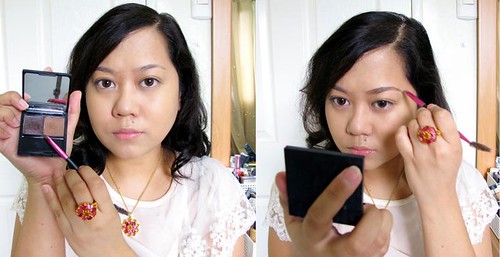
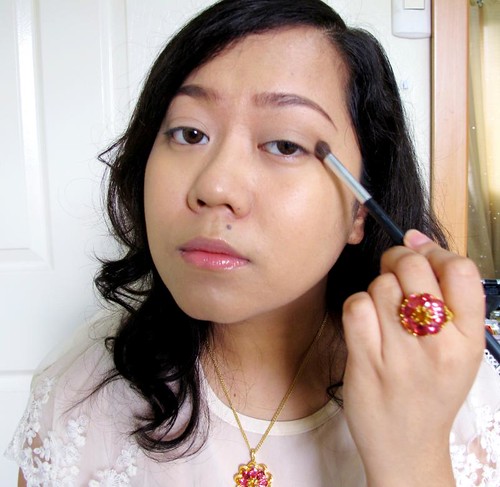
Step 2: Bea's brows are full and dark which I think makes her look younger and more innocent. I picked up the Benefit Brow Zings to achieve darker brows. I didn't use too heavy a hand though (not like Bea's) because I was going out to a day meeting. Ideally this should also be topped with a brow mascara.

Step 3: Use a matte white/beige eyeshadow all over your lids. Here I have the Bobbi brown Long-Wear Cream Shadow in Shore. It's just barely there but it evens out the lids and makes them look velvety and translucent. Awesome product, this one.

Just use fingers!

Step 4: It's time to contour your lids! You'll notice that Bea has really nice contouring on hers - again it enhances, but it's barely visible. The trick is using a matte nude eyeshadow that's just sliiiightly darker than the skin on your lids. I love MAC Wedge for that, but this time I used this shade from the Beauty PRO Cosmetics Palettes in Sweet and Smoky.

Apply the crease color with a bullet brush to get better definition
Step 5: Add a bit more definition along the outer corners of your lids with a darker matte eyeshadow. I used this tan one from the same palette.


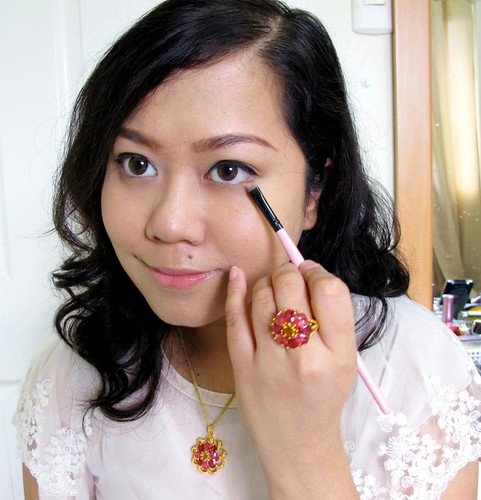
Step 6: Line your eyes with a liquid or cream eyeliner to get the same precision as Bea's makeup. I slightly changed the shape of my eyes by applying a thicker line at the outer half of my lashline, then a super thin line on the inside.

Etude House cream eyeliner. I just used the brush that comes with it.

See the thinness inside, then the thicker outer line?
Step 7: Work on your lower lids to complete the eye enhancement. I applied a light matte brown shadow on the lower lids (from the same Beauty PRO palette) then finished off with a shimmery white eyeliner on the waterline (Paul & Joe Eye Crayon in 01 - great pencil but sadly P&J pulled out from the country na :( ). Do this both and you get less saggy and brighter eyes!

Step 8: Curl lashes and apply mascara. Bea has super black, curly lashes - thought the Max Factor False Lash Effect Mascara fits the bill.

Step 9: Bea has a lot of contouring going on to further define her gorgeous cheekbones. I used the MAC Harmony blush, a matte brown/tan shade, to shape the sides of my face, temple, and jawline.

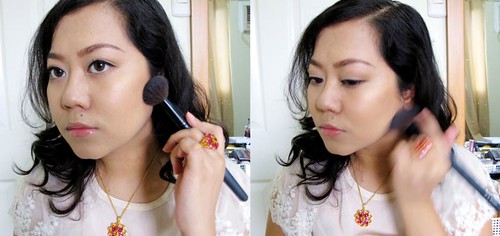
Step 10: Blush! It looks like Bea has a flirty peachy-pink shade on her cheeks. I chose the Avon Ideal Luminous Blush in Peach to cop it. Just apply it on the apples of your cheeks then blend it with the contour powder seamlessly.


Blend blend blend! No lines must show.
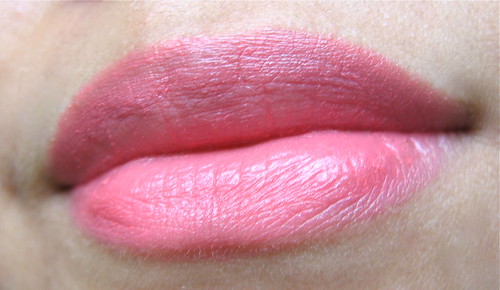
Step 11: Ahhh, the lip color. The color I'm wearing here is deeper than Bea's, when it should be more of a beige-pink. It matches my skintone though as Bea's nude is best for fair tones like hers. Anyway I mixed two lipsticks - the Colour Collection Color Intense Lipsticks in Angel Berry and the Colour Collection Mineral Lipstick in Satin Shell. Bea is the Colour Collection endorser so most likely she used something from the line. :)

Angel Berry is a loud pink while Satin Shell is more of a brown-pink. I mixed both to get an MLBB shade that's close to Bea's color. I wanted to use Plumberry or Pinkish Nude but I couldn't find both (huhu) so I had to mix.
Colour Collection Mineral Lipstick in Plumberry

Colour Collection Sheer Coverage Lipstick in Pinkish Nude is the best match I think! It also looks like the one Bea was applying in the trailer.

And that's it, my "The Mistress" look. I really enjoyed doing this one! Hope you found it useful! :)

