I tried a press-on manicure for the first time and it was fun but challenging
As a smol person with smol hands and even smoller fingernails, manicures make me feel more grown-up and elegant. Extending a perfectly polished hand to someone I’ve just met is my way of saying “I’m a detail-oriented person” and “I’ve got my life together”. I do a pretty decent job of painting my own nails (I can even do some simple nail art!) but it takes me a lot of time to make it look presentable. So when I found rave reviews for stick-on nails in one of my beauty groups, I thought I had found the perfect solution!
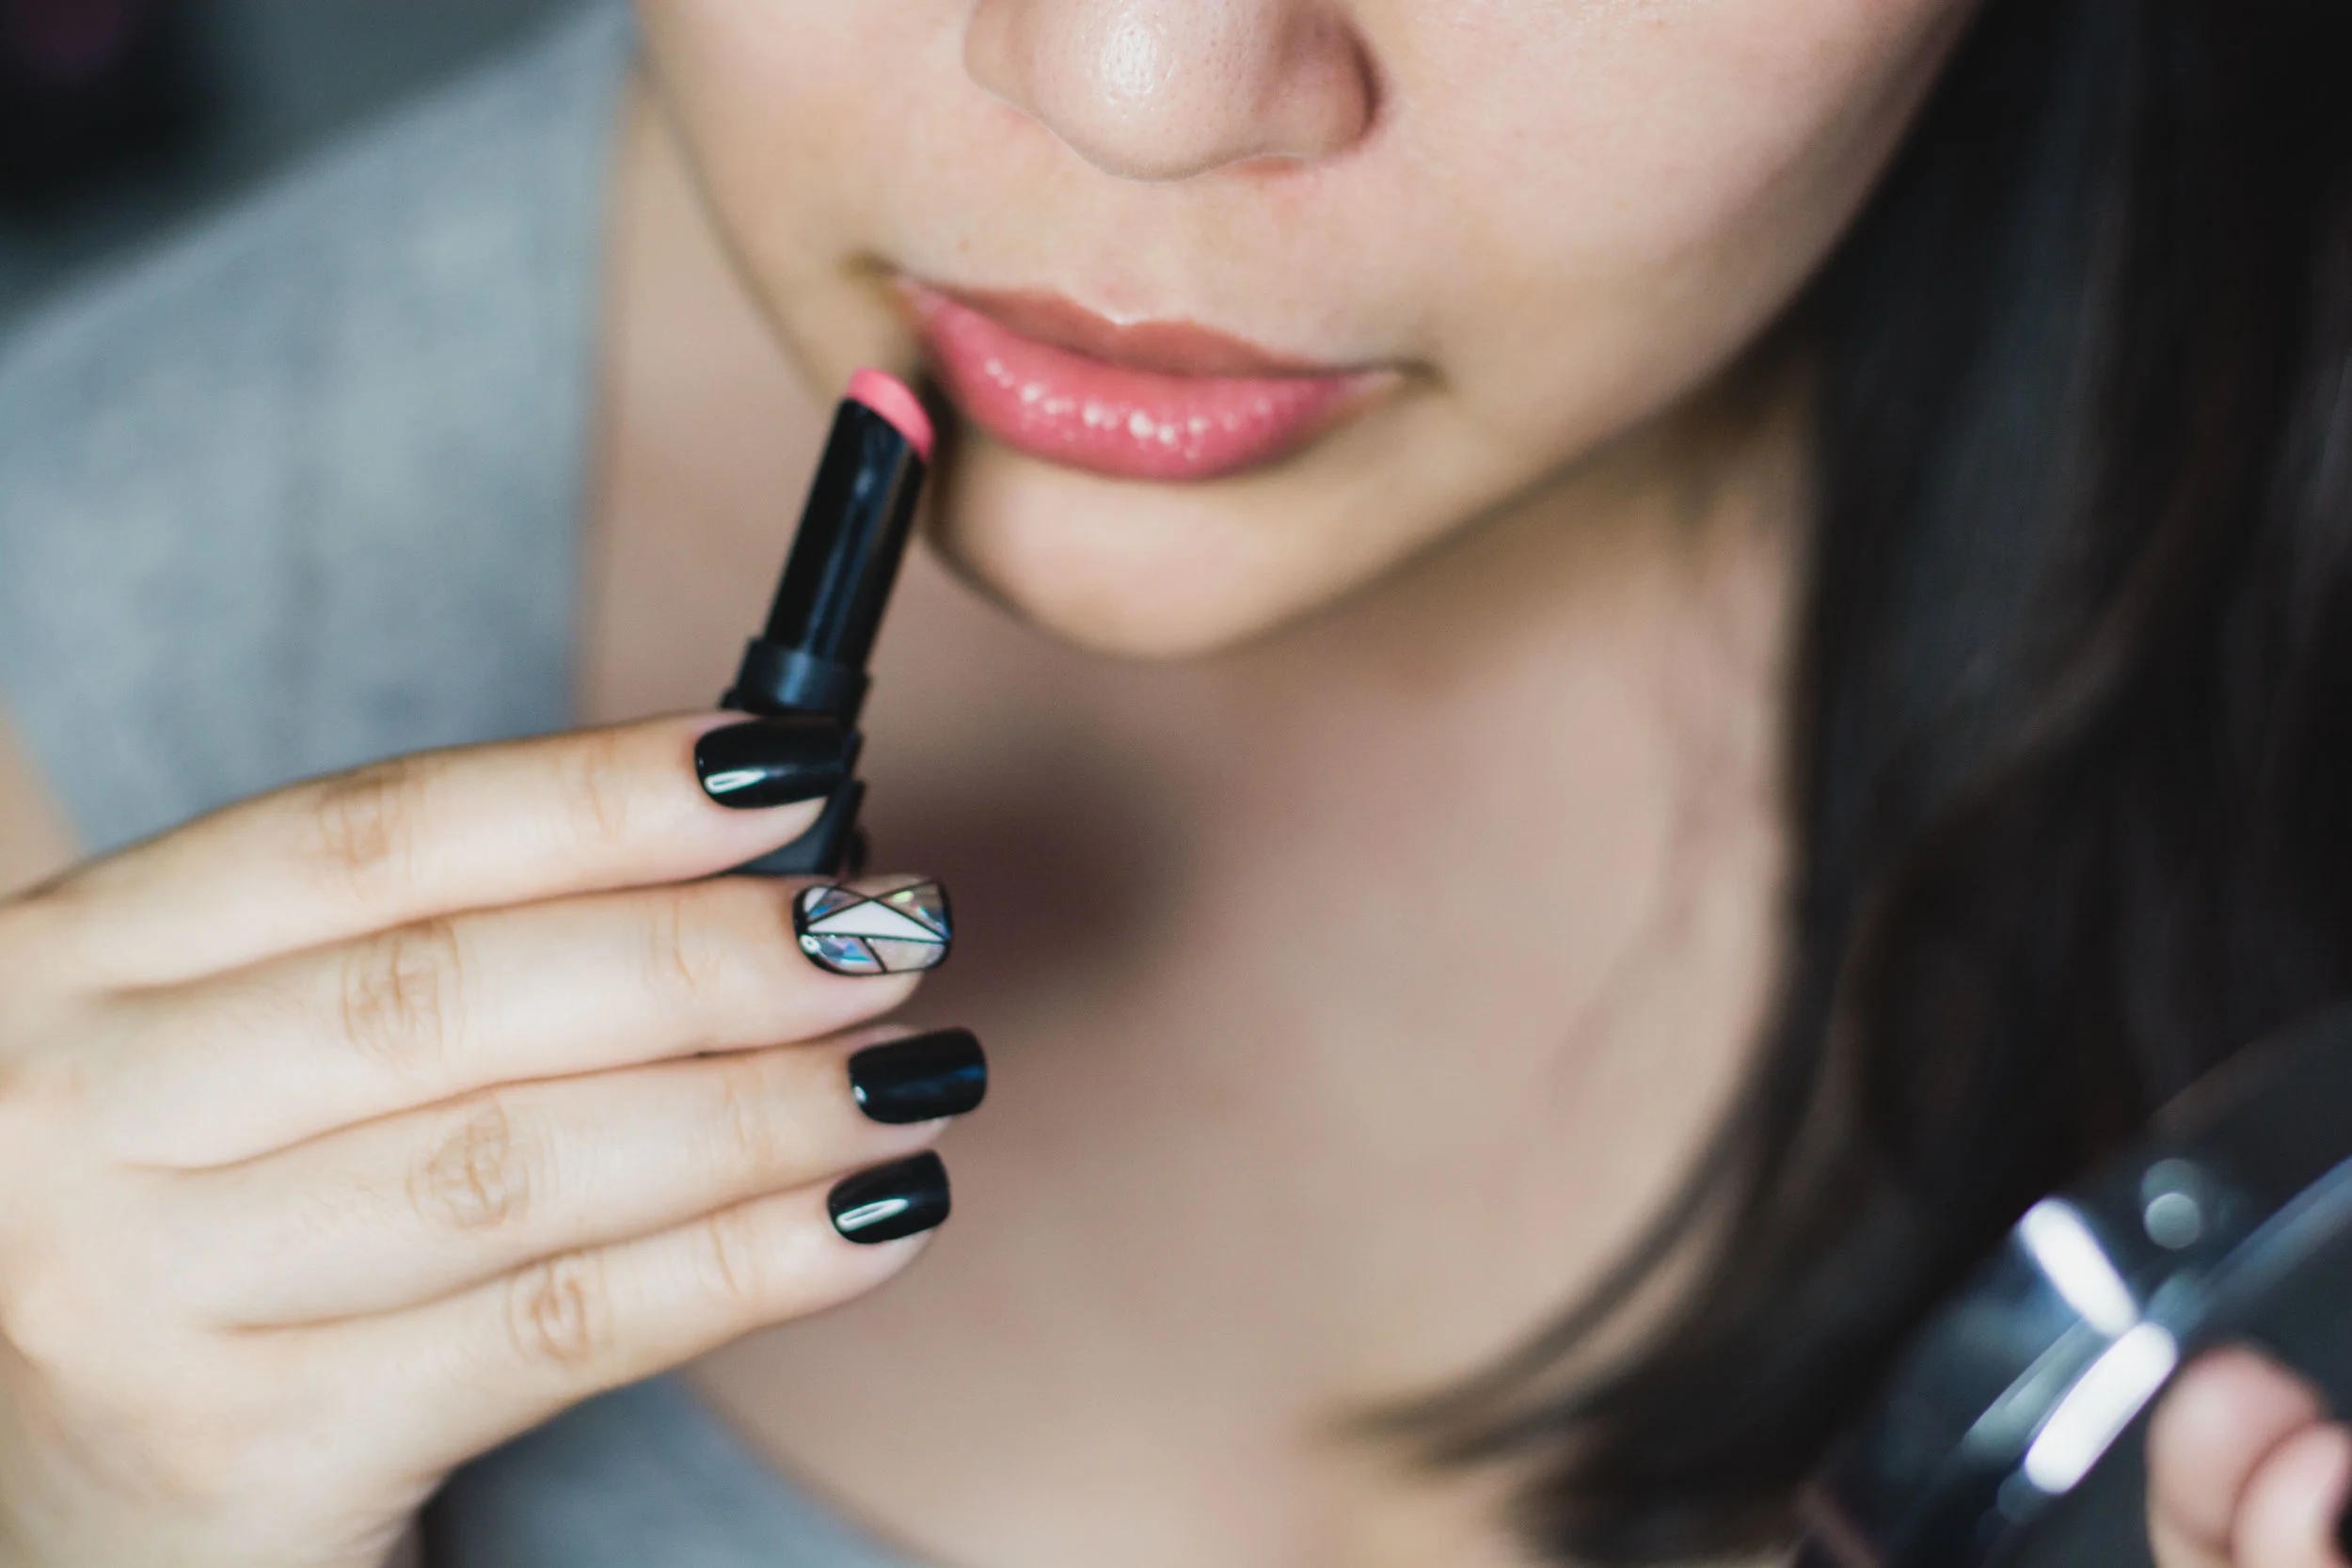
I found this box of imPRESS Manicure Press On Nails by Kiss at the BYS booth in SM Beauty. The first challenge was finding a design I liked - most of them had cutesy heart and flower designs that just aren’t my style. Just as I was about to settle for baby blue press-ons with a raindrop design, the SA showed me this newer and slightly more expensive option called Inspiring Minds. At P699, these fake nails don’t come cheap but since the set contains 30 press-on nails, I figured I could get three uses out of it. Better yet, maybe two other PV girls could try them as well!

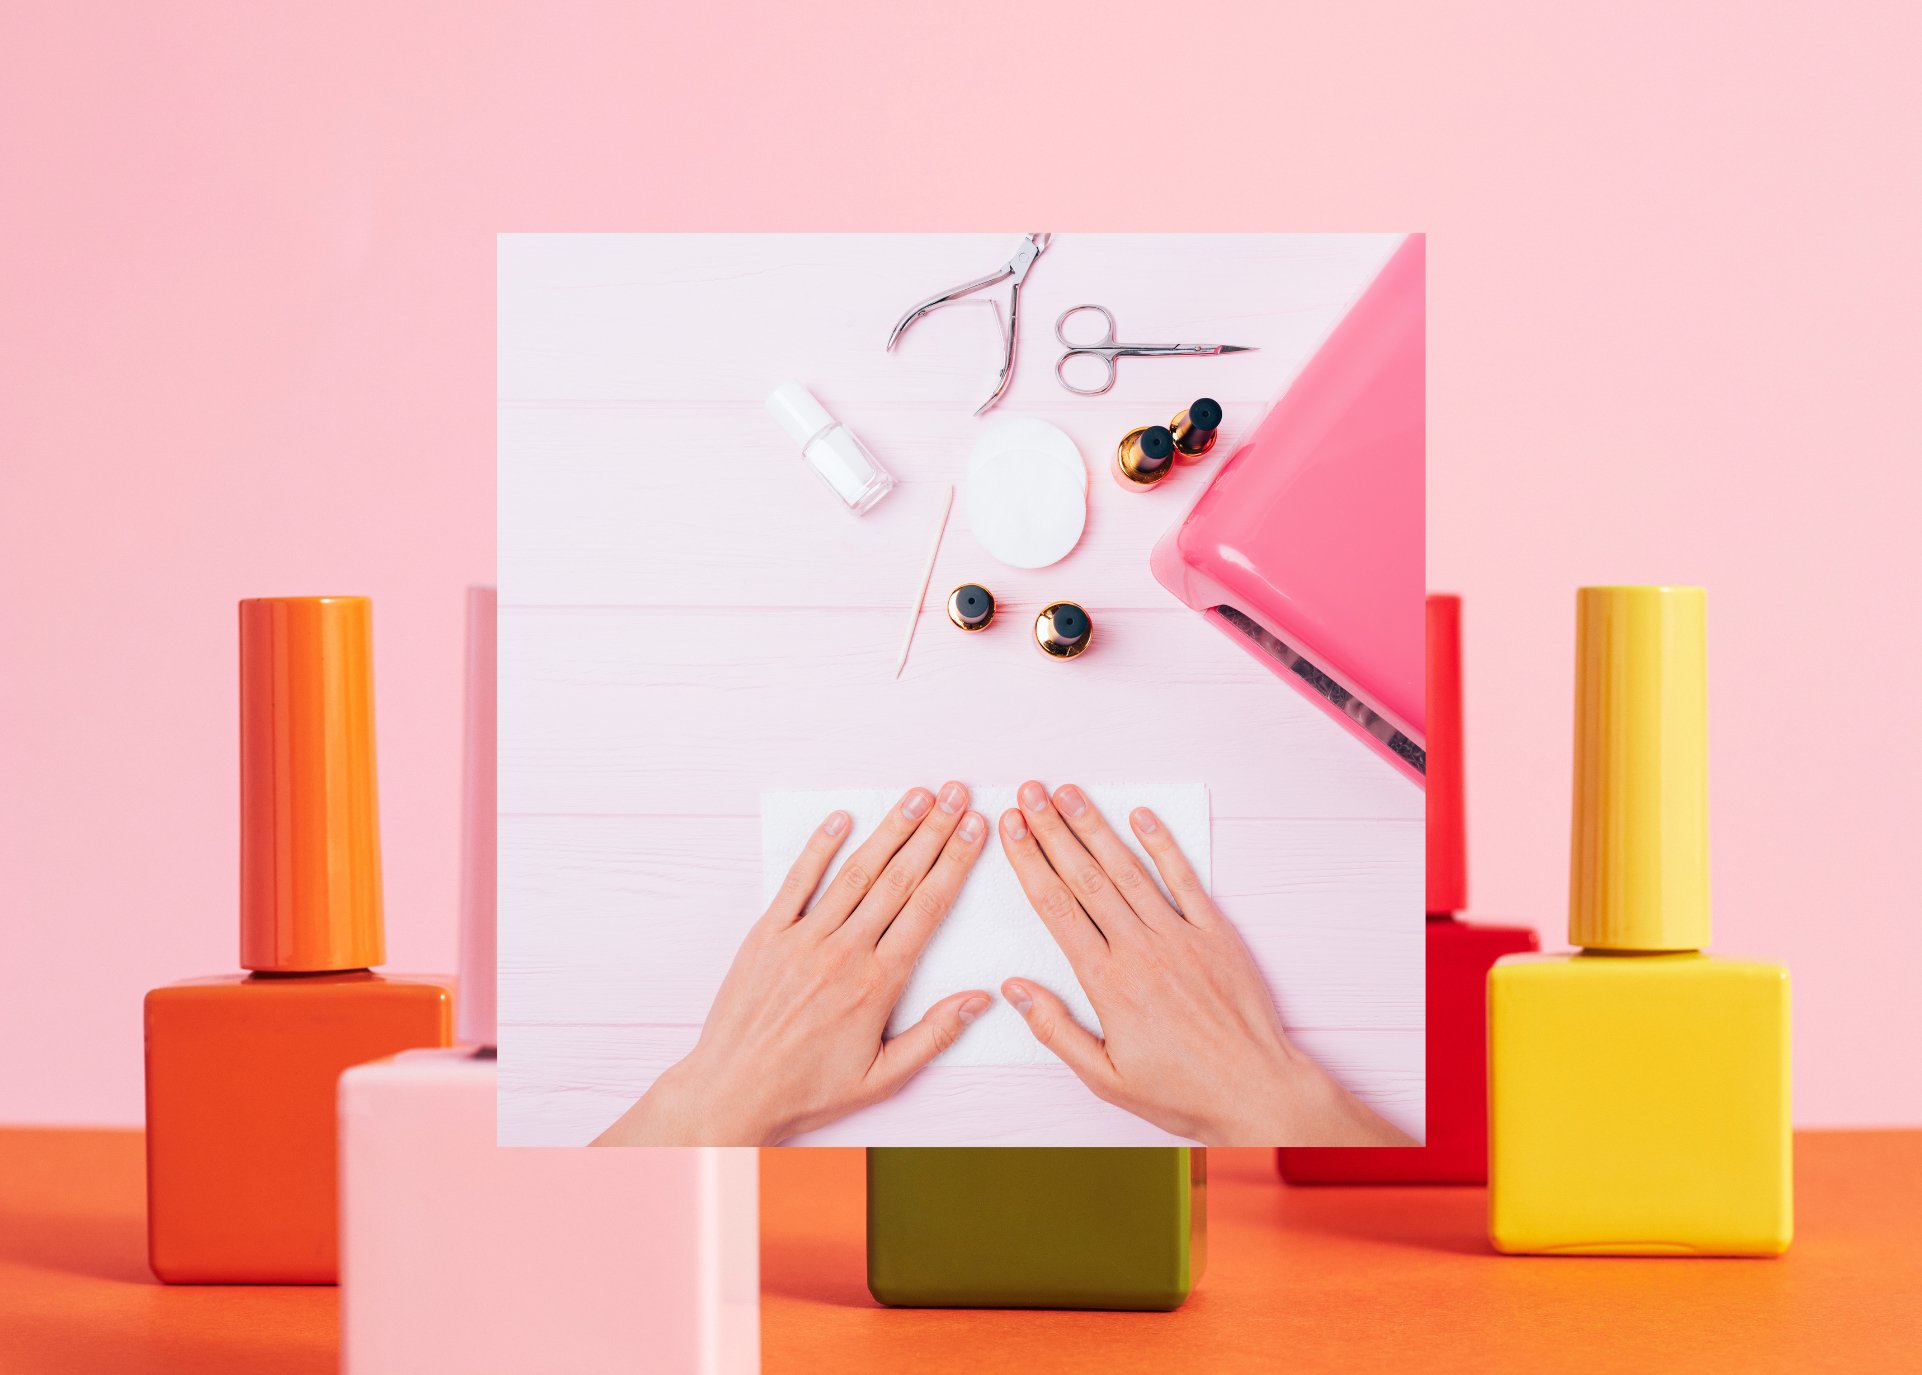
Back at PV HQ, I told Gett and Nine about this idea and we looked forward to sporting matching manis (hehehe). We decided I would try them on first so that I would have had practice before applying to their nails. The instructions on the pamphlet are very easy: use the included prep pad to clean the nail surface, peel off the adhesive backing, stick the nail on, and file as needed.

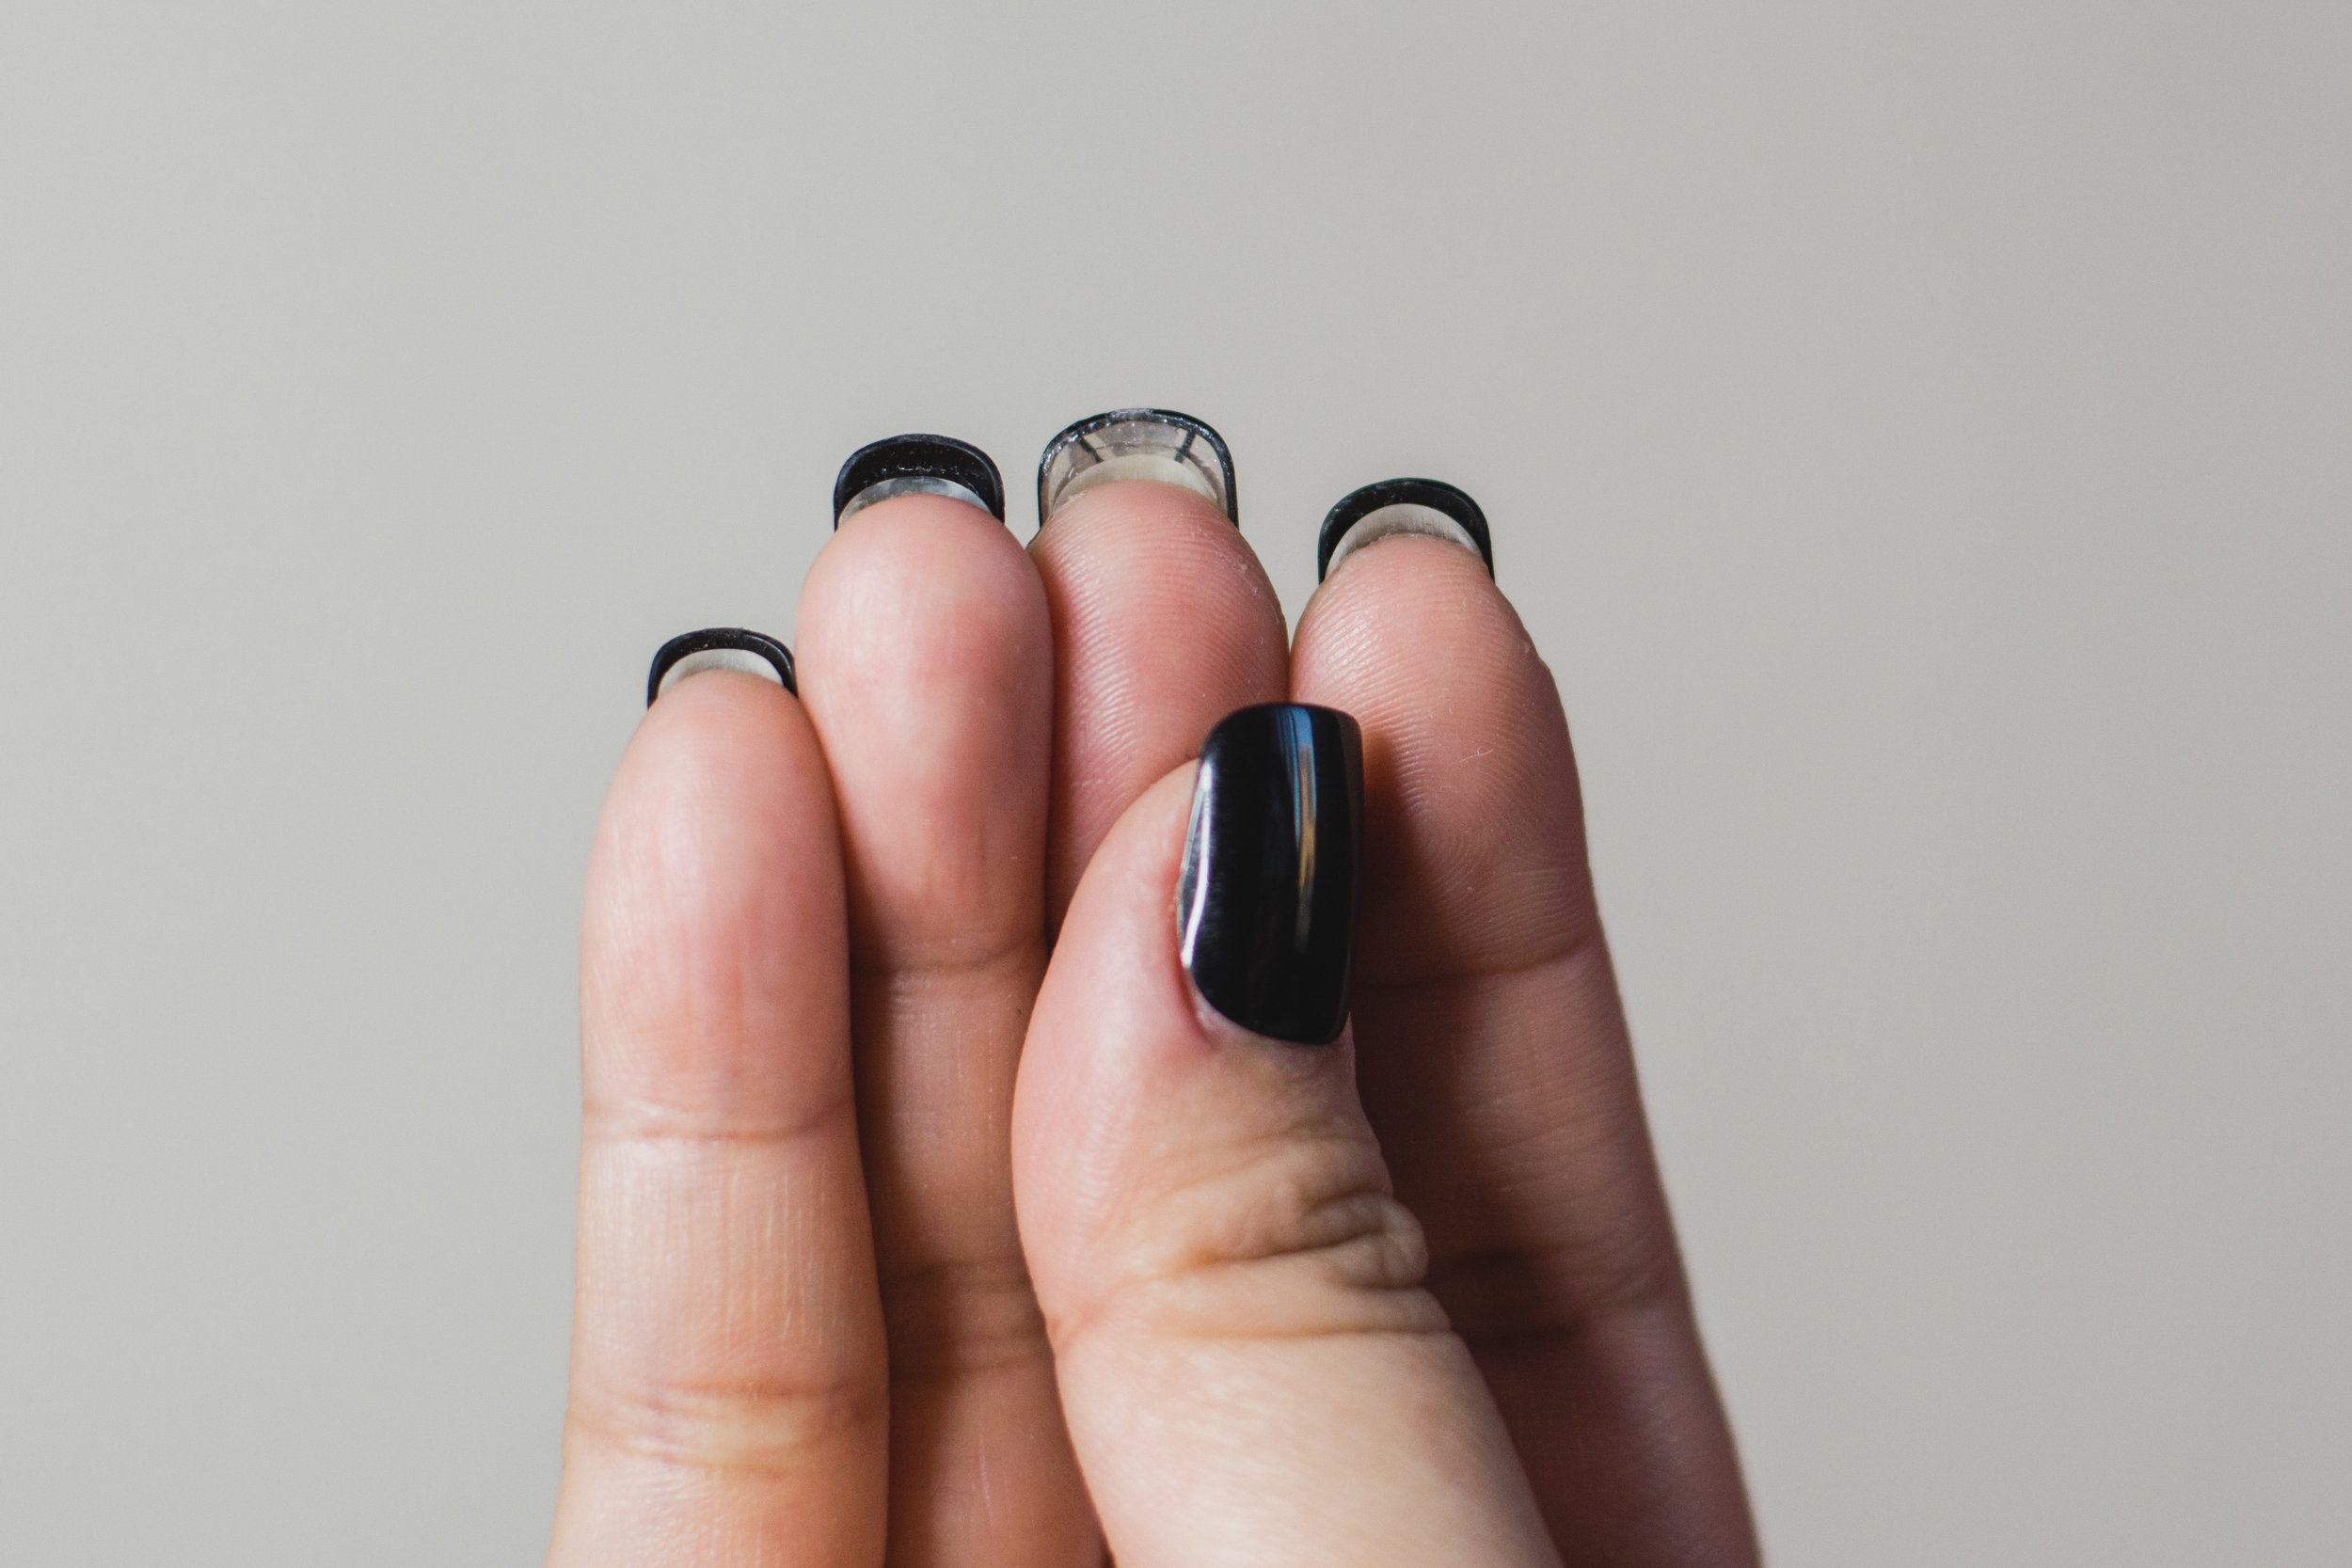
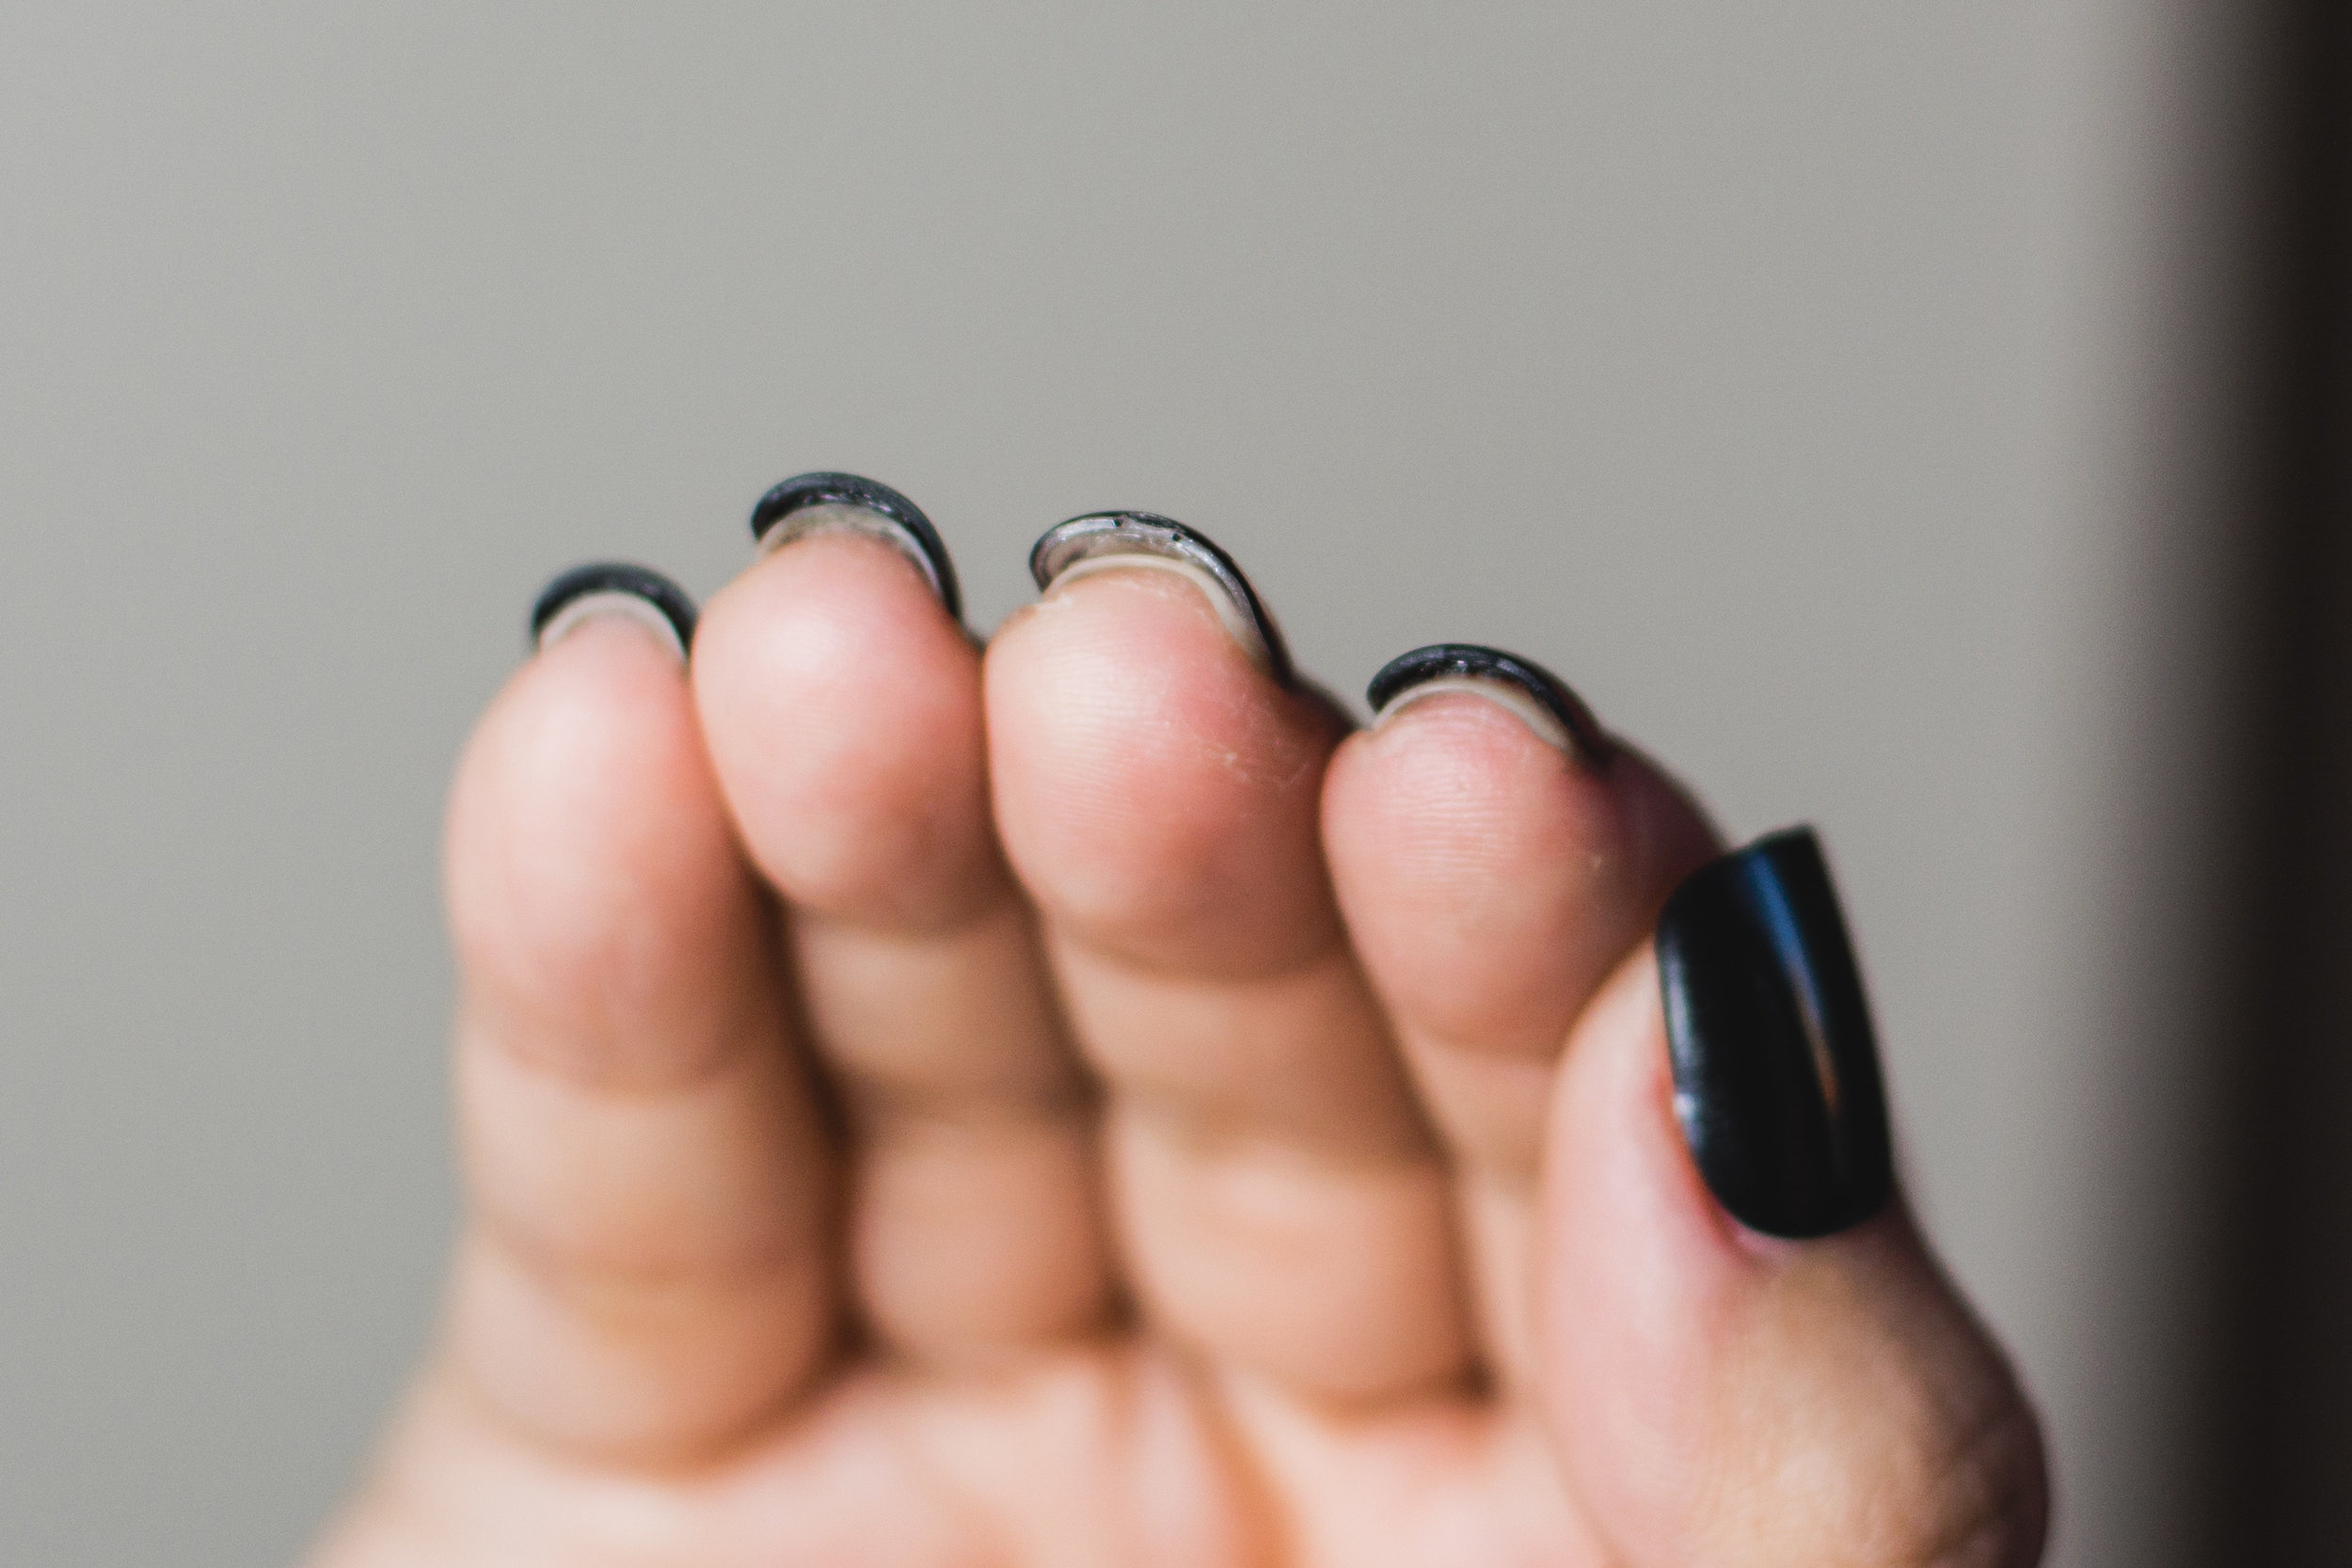
But first, some very important prep work: you need to figure out which nail goes where! It was at this point that we realized our #nailsquadgoals were not going to work out. Even though there are recommended nail sizes for each fingernail (thumb, index, etc) and they came in slightly different sizes, the press-ons were much longer than we were comfortable with. I later learned there are shorter press-on nail options but this particular set had no indication about the sizing. As recommended on the package, we tried to file one down to size with the tiny nail file included, but this made the acrylic tips rough and uneven. Both cup users, my would-be cohorts jumped ship and offered their moral support instead.

With my press-ons picked out and ready for application, I opened the prep pad to find a very tiny sheet. I guess it’s enough for one-time use but if you plan to use the rest of the press-on nails later on, the pad is simply soaked in isopropyl alcohol and some water.

Application was definitely a breeze, and I would have gotten it all done in less than 10 minutes if we weren’t taking photos for documentation. The nail adhesive sticks securely as soon as it’s applied, so there isn’t any leeway for mistakes in placement. I did make a mistake with one of the nails, and it was very difficult to remove! For better control, apply press-ons to the thumbs last.

While the resulting manicure looked really nice and photo-worthy, it was quite a different story underneath. Apart from the press-ons being much longer than my actual nails, they also curved quite differently. This resulted in some gap between the two that even the super strong adhesive couldn’t remedy. As you might imagine, this gap collected a lot of unmentionables that no amount of hand washing could quite get rid of. So I avoided eating with my hands and getting them too dirty while I had the press-ons.
Though the press-ons weren’t exactly uncomfortable, I felt very conscious of my nails for the next few days. Apart from not being able to eat with my hands, I couldn’t open soda tabs because there was no real nail to support the acrylic from below. Any sort of pinching or scratching action also hurt a bit, because the other end of the acrylic would dig into my nail bed as the press-on doesn’t flex. I couldn’t use hand creams because the lotion would get trapped in the gap between the nails. Worst of all, my nails would snag every time I ran them through my hair!

All that said, the press-ons impressively stayed on for a good 7 days before they started to get really wobbly. They would have probably even survived longer had I not tried to see what would happen if I washed dishes without rubber gloves. After one dishwashing session, the press-on nail on my middle finger no longer adhered to the base so I decided it was time to take them off.
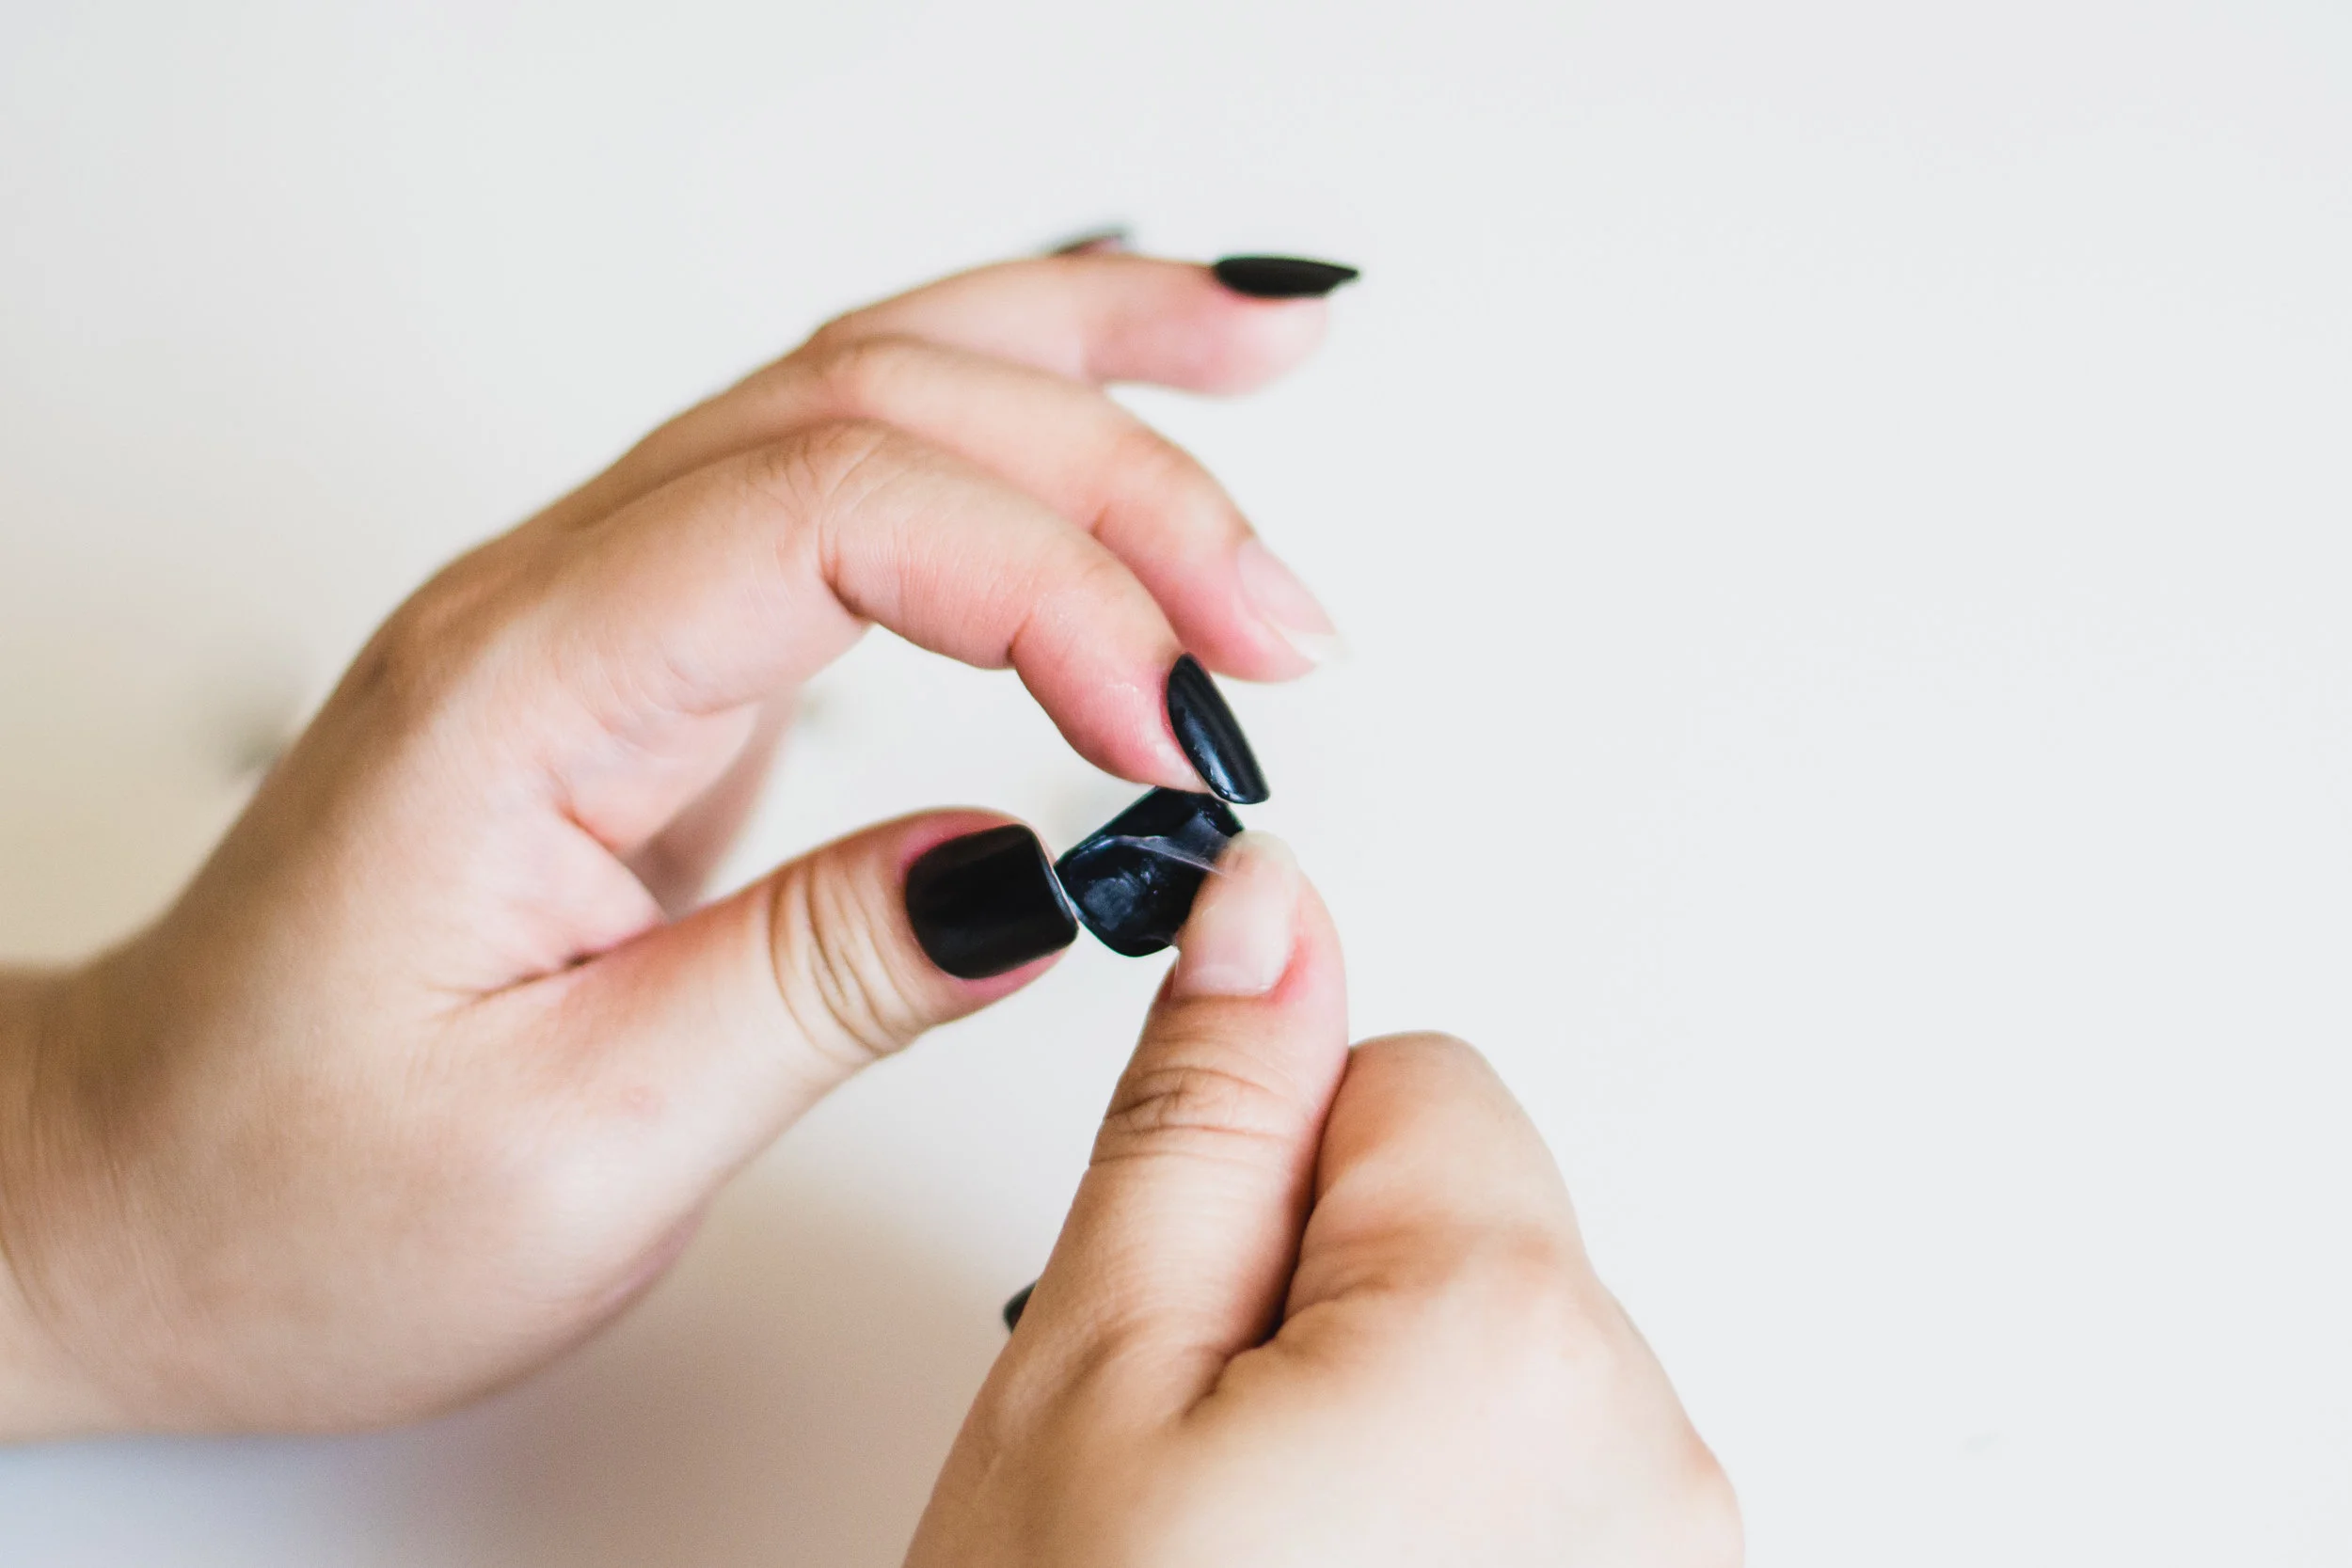
Even after a week, the adhesive was still pretty strong so it took a bit of effort to remove the press-ons. Nine said the process looked painful, but it just felt like a strong tug. Using an acetone-soaked cotton pad made the removal process easier and faster.

After removal, expect to see sticker remnants on your nails. These come off easily with acetone or even alcohol. My nails didn’t suffer any of the usual damage attributed to the use of acrylic nails because imPRESS uses sticker adhesives instead of nail glue. They’re easier to apply (zero drying time) and also easier to remove (no need to soak or file them off).
While my experience with these press-ons was not a very good one, I attribute that to not wearing the right shape and size. You can definitely use these to have instantly long nails but without the support of real nails underneath, press-ons can feel uncomfortable and make certain activities a bit difficult. I definitely cannot imagine being able to put on contact lenses or insert a menstrual cup with these on!
That said, I enjoyed how I could get a nice manicure so quickly and so easily! I would love to try press-on nails again, and some friends have already reco’d the brands that they swear by. If you’ve tried press-ons and love them, please share your favorite brands and tips in the comments below!
Photography by Nicole Quindara