

Born Red-dy: How to wear red makeup without looking like a clown
Bright and bold makeup gives me life. Nudes are pretty and always appropriate, but when I’m getting bored with my looks, I like to have fun with crazy pops of color on my face! That’s really the best thing about makeup. You can use it to create an entirely different person whenever you feel like and when you’re done, you can simply do a new one.
So, when Sephora PH challenged me to do a bold FOTD I said yes immediately. I chose the theme “red” because it’s the most flattering color on pretty much anybody. Red brightens any skin tone and catches the eye like no other color can. That makes it intimidating to wear, so I’m going to show you two easy ways you can work with it!

The Look: Classic Daytime Red
A matte red lip gives you that retro flair. When matches with gold lids and thick lashes, you can wear it everyday as it’s just the right balance of pop and elegance. Here’s how I did the look!

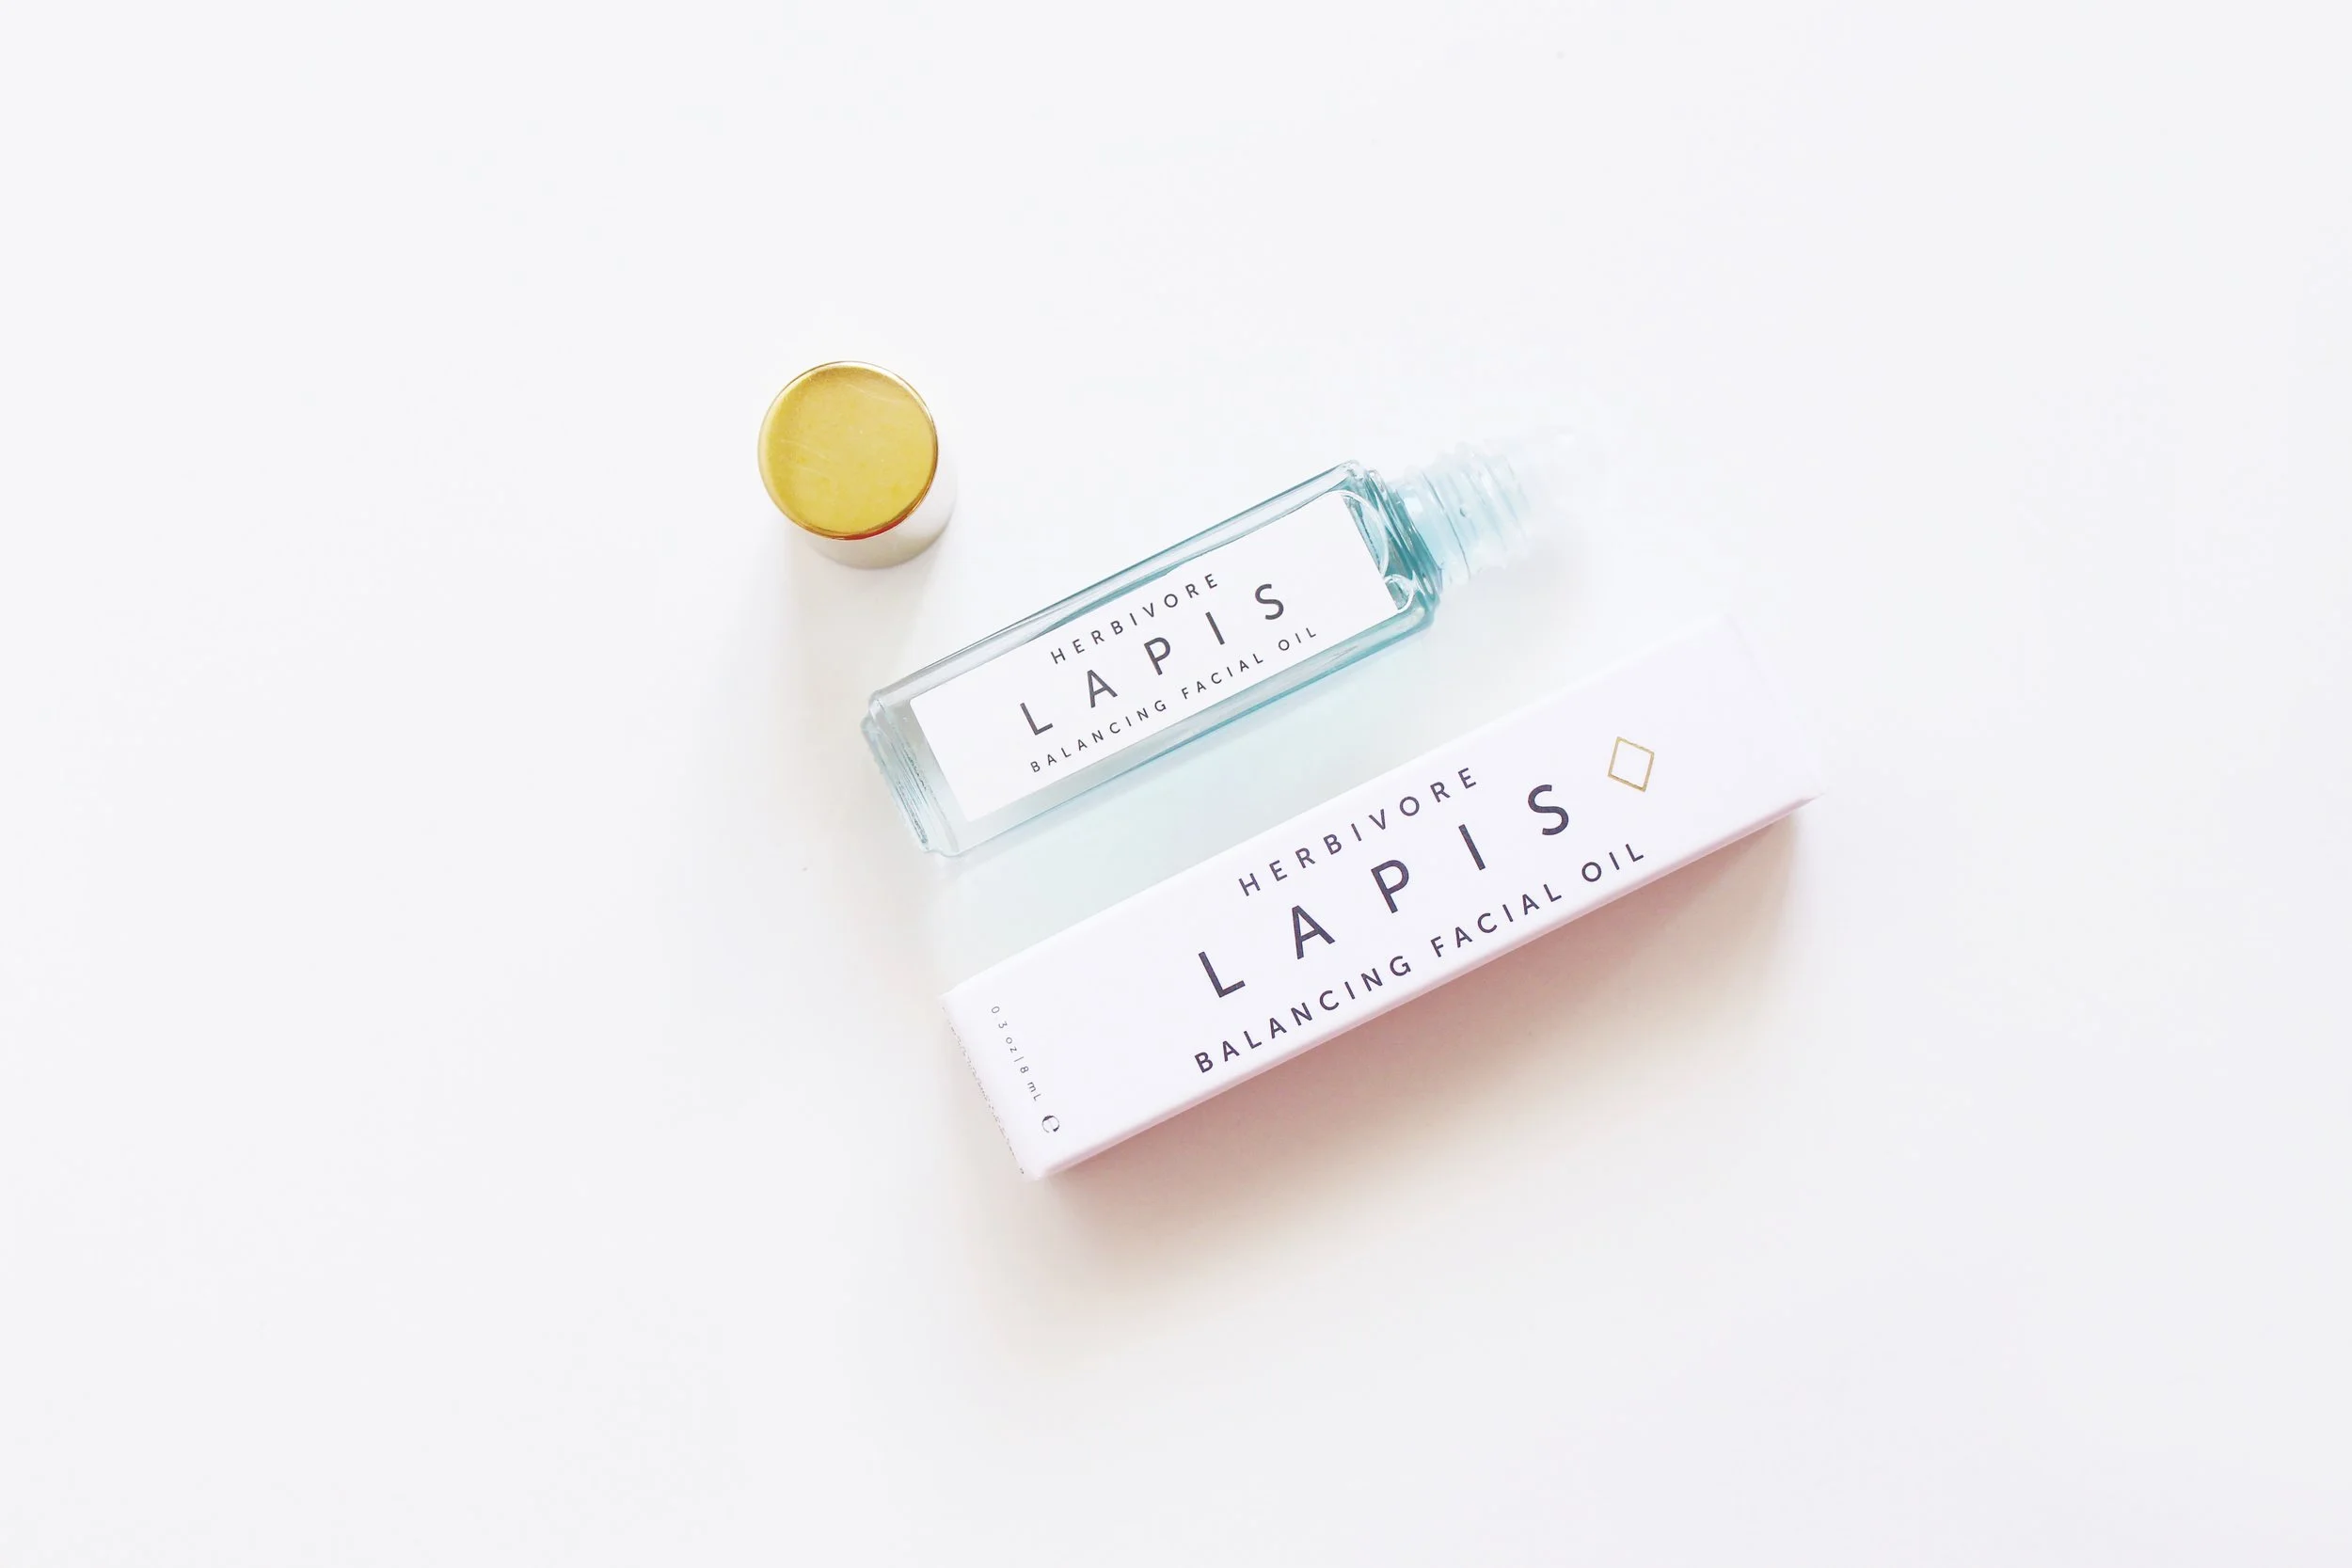
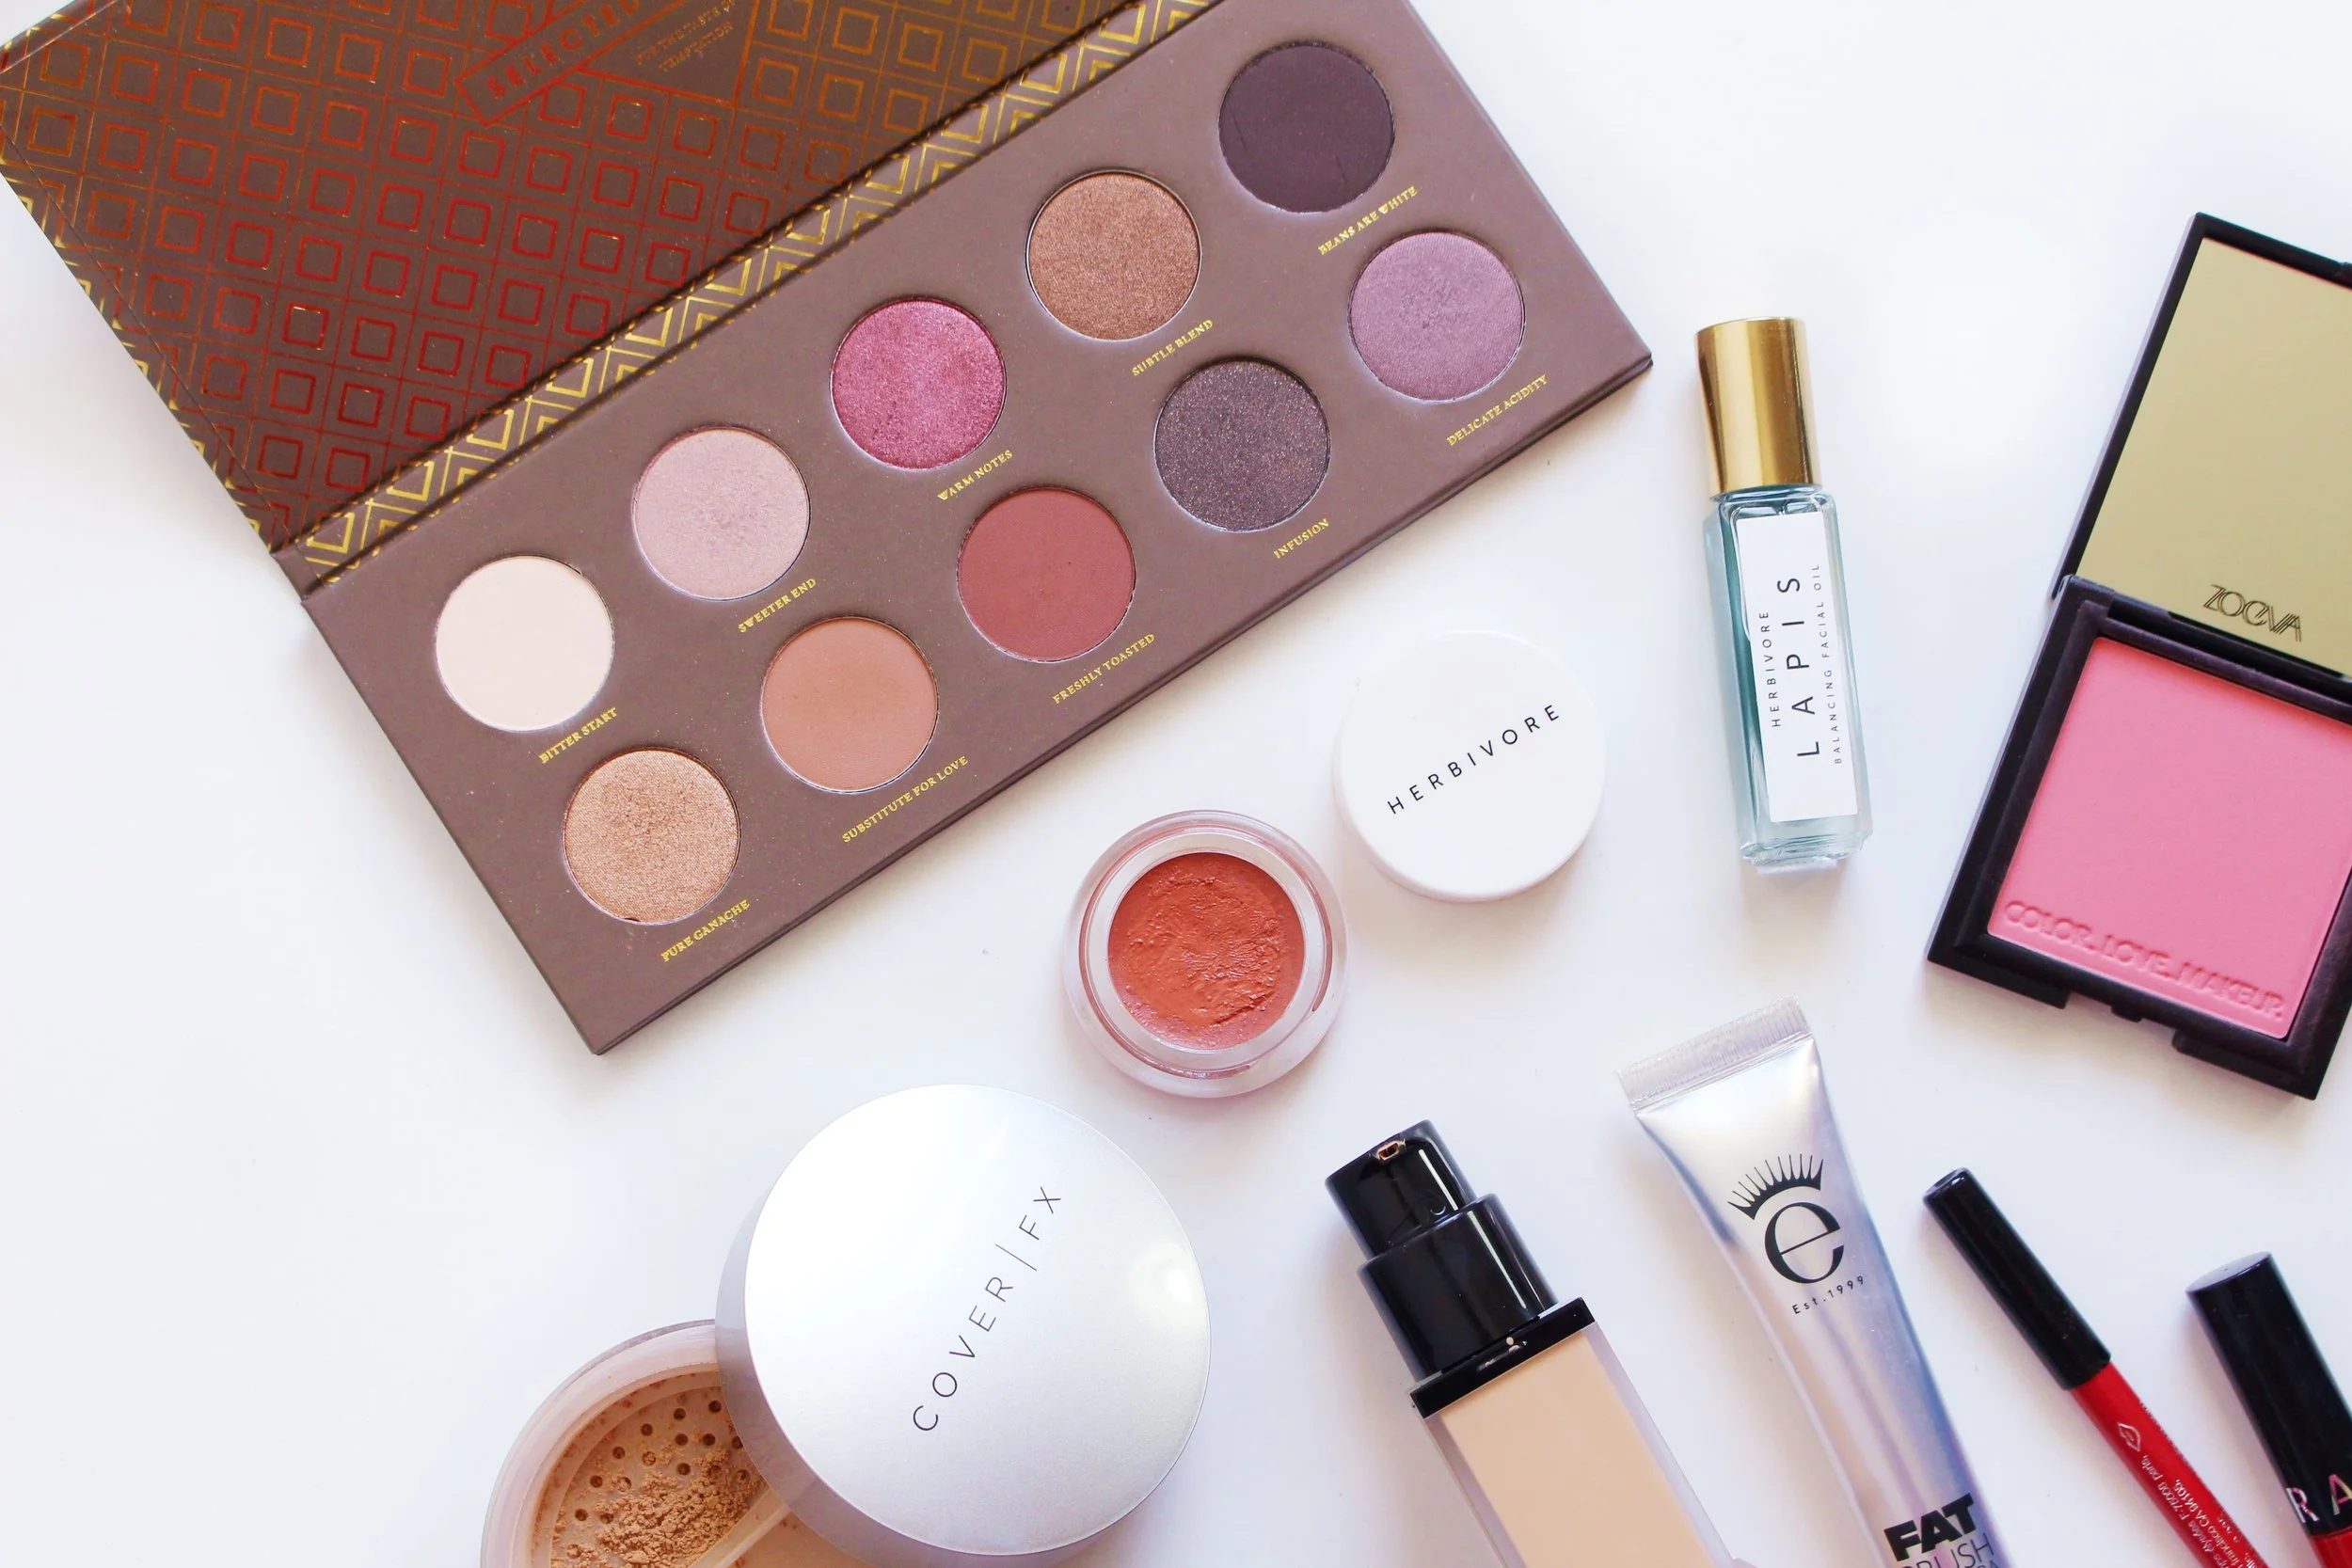
Step 1: I massaged the Herbivore Lapis Oil Balancing Facial Oil (P1,316) to hydrate my skin and give it a natural glow. This one smells so good!
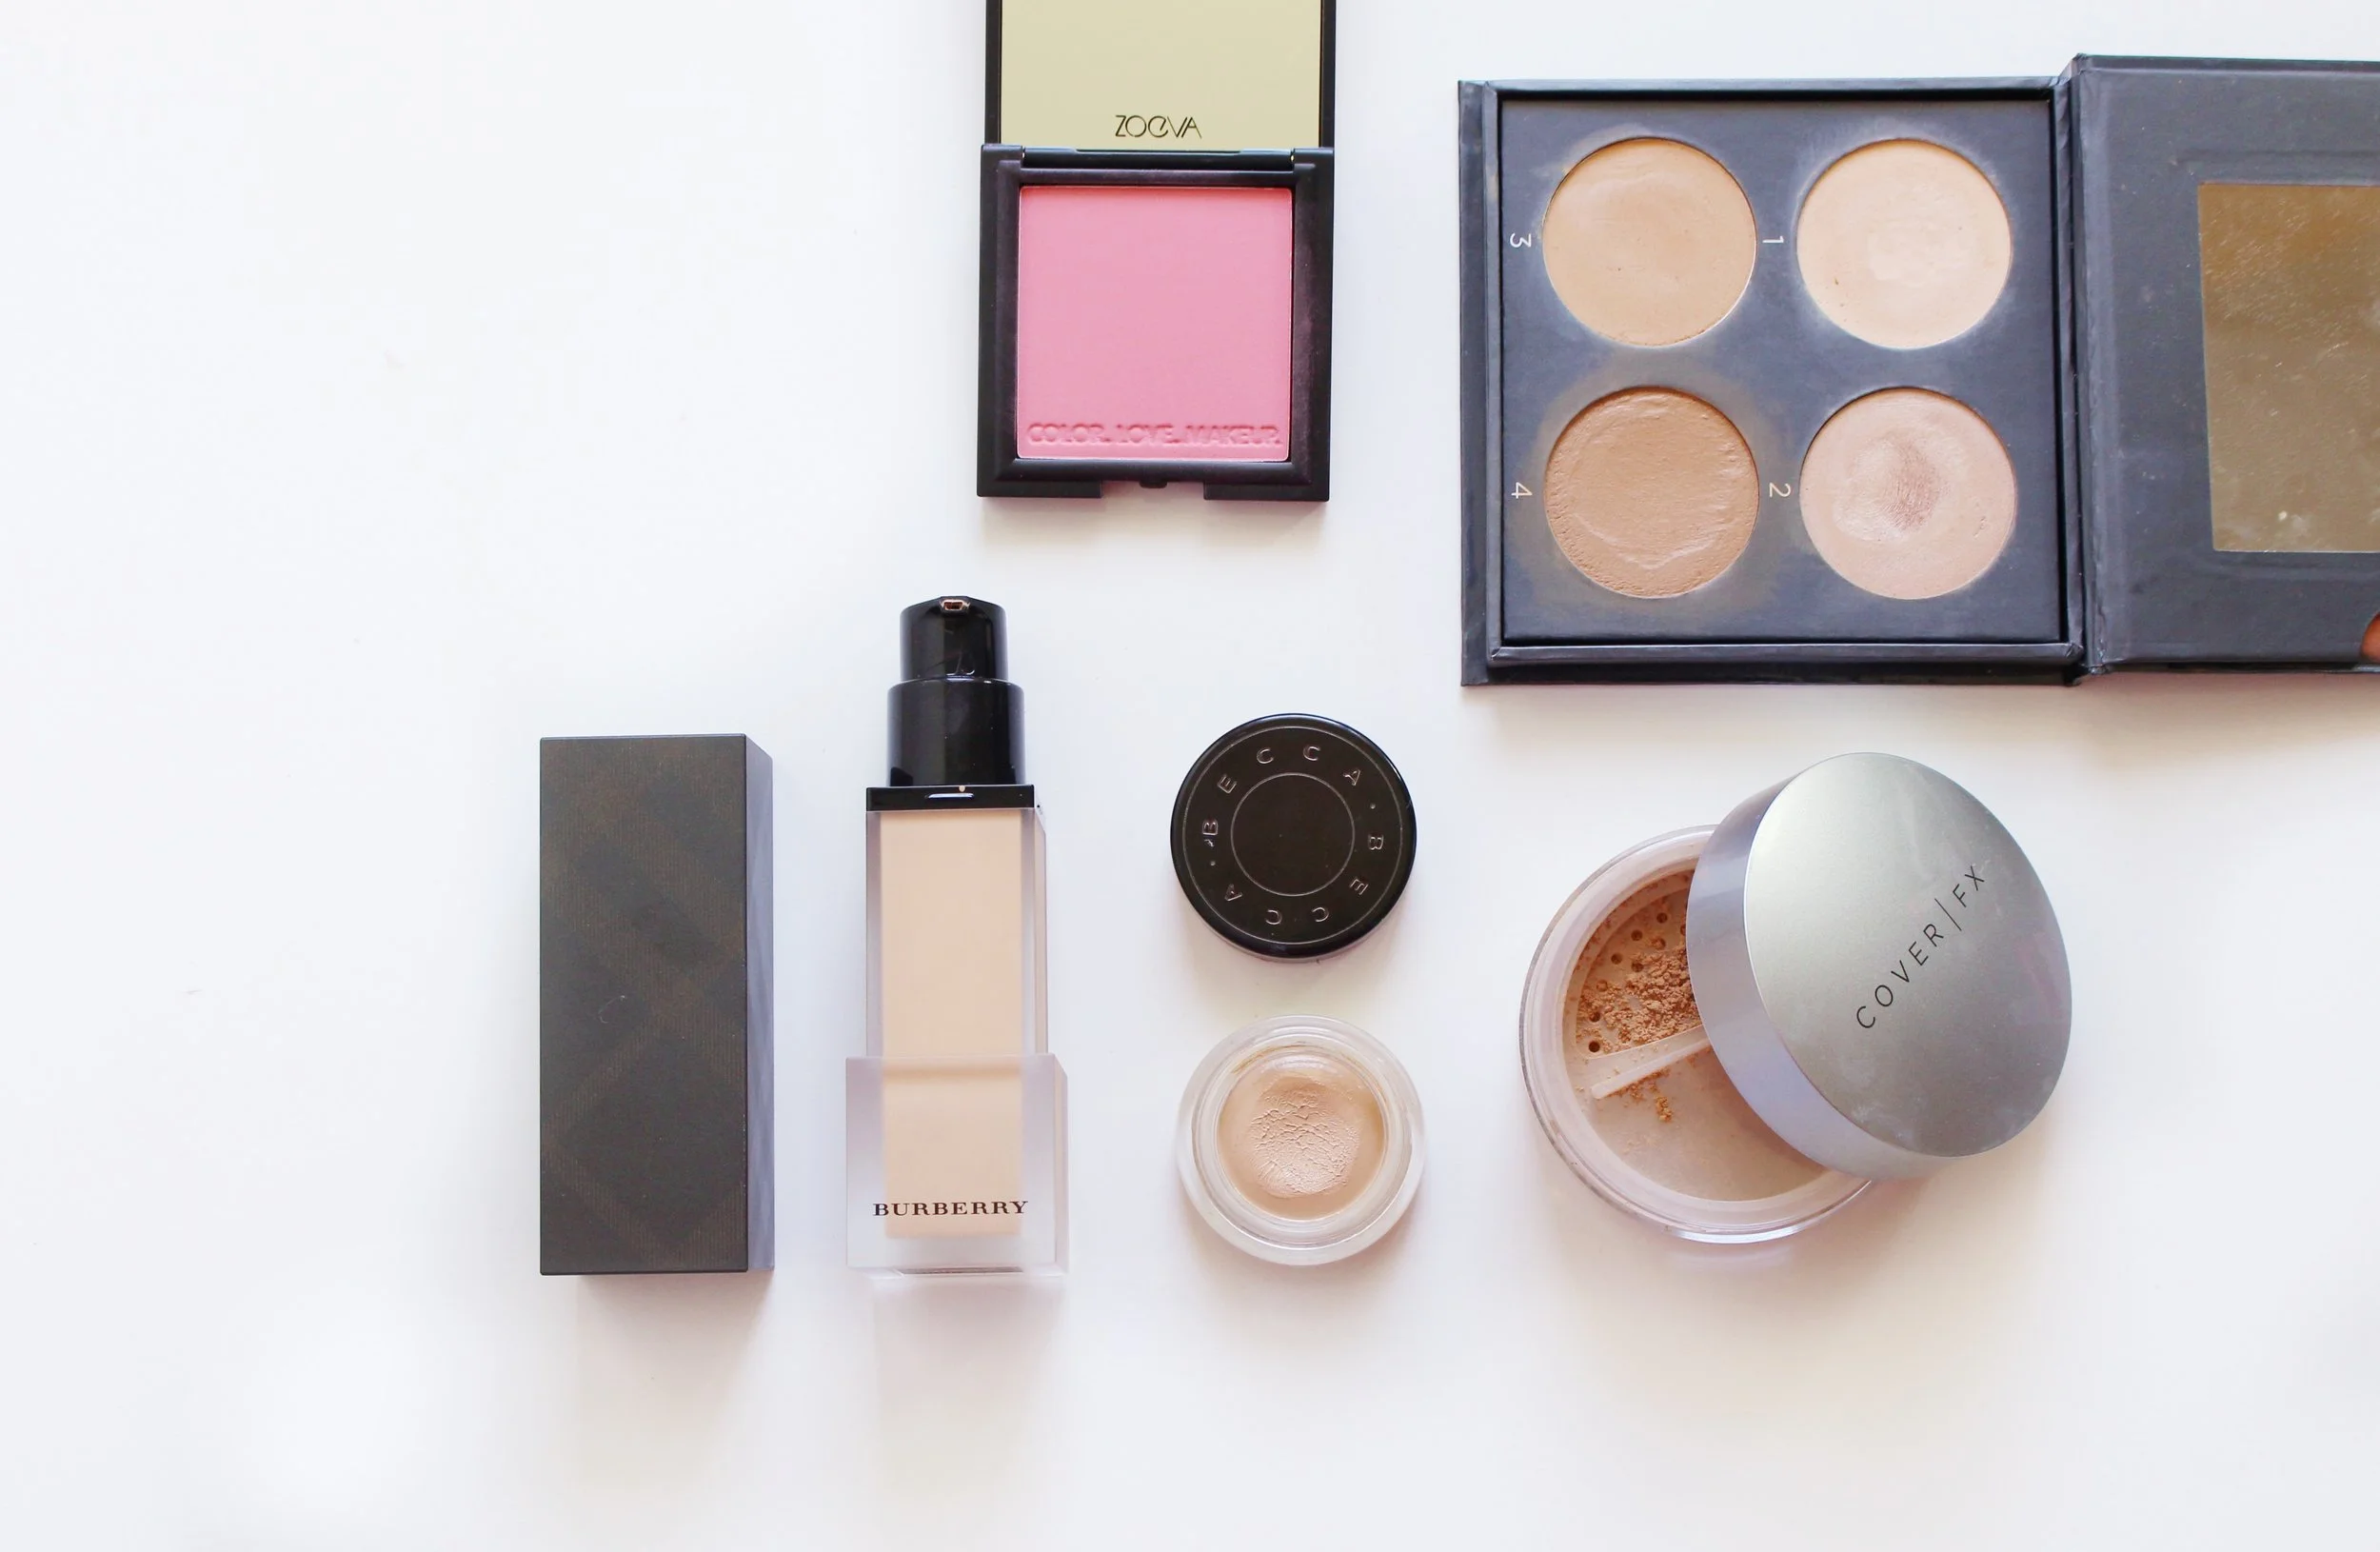
Step 2: The Burberry Cashmere Foundation in 32 Honey (P2,848) provided medium coverage to even out my skin tone. I like using my hands when applying liquid foundation as it ensures max coverage and a skin-like finish.
Step 3: To conceal dark spots, I patted on a small amount of the Becca Ultimate Coverage Concealing Creme in Honeycomb ( P1,608) again with my fingers.
Step 4: I set the look with the Cover FX Matte Setting Powder in Medium (P1,742) to make sure that the liquid base doesn’t move throughout the day.
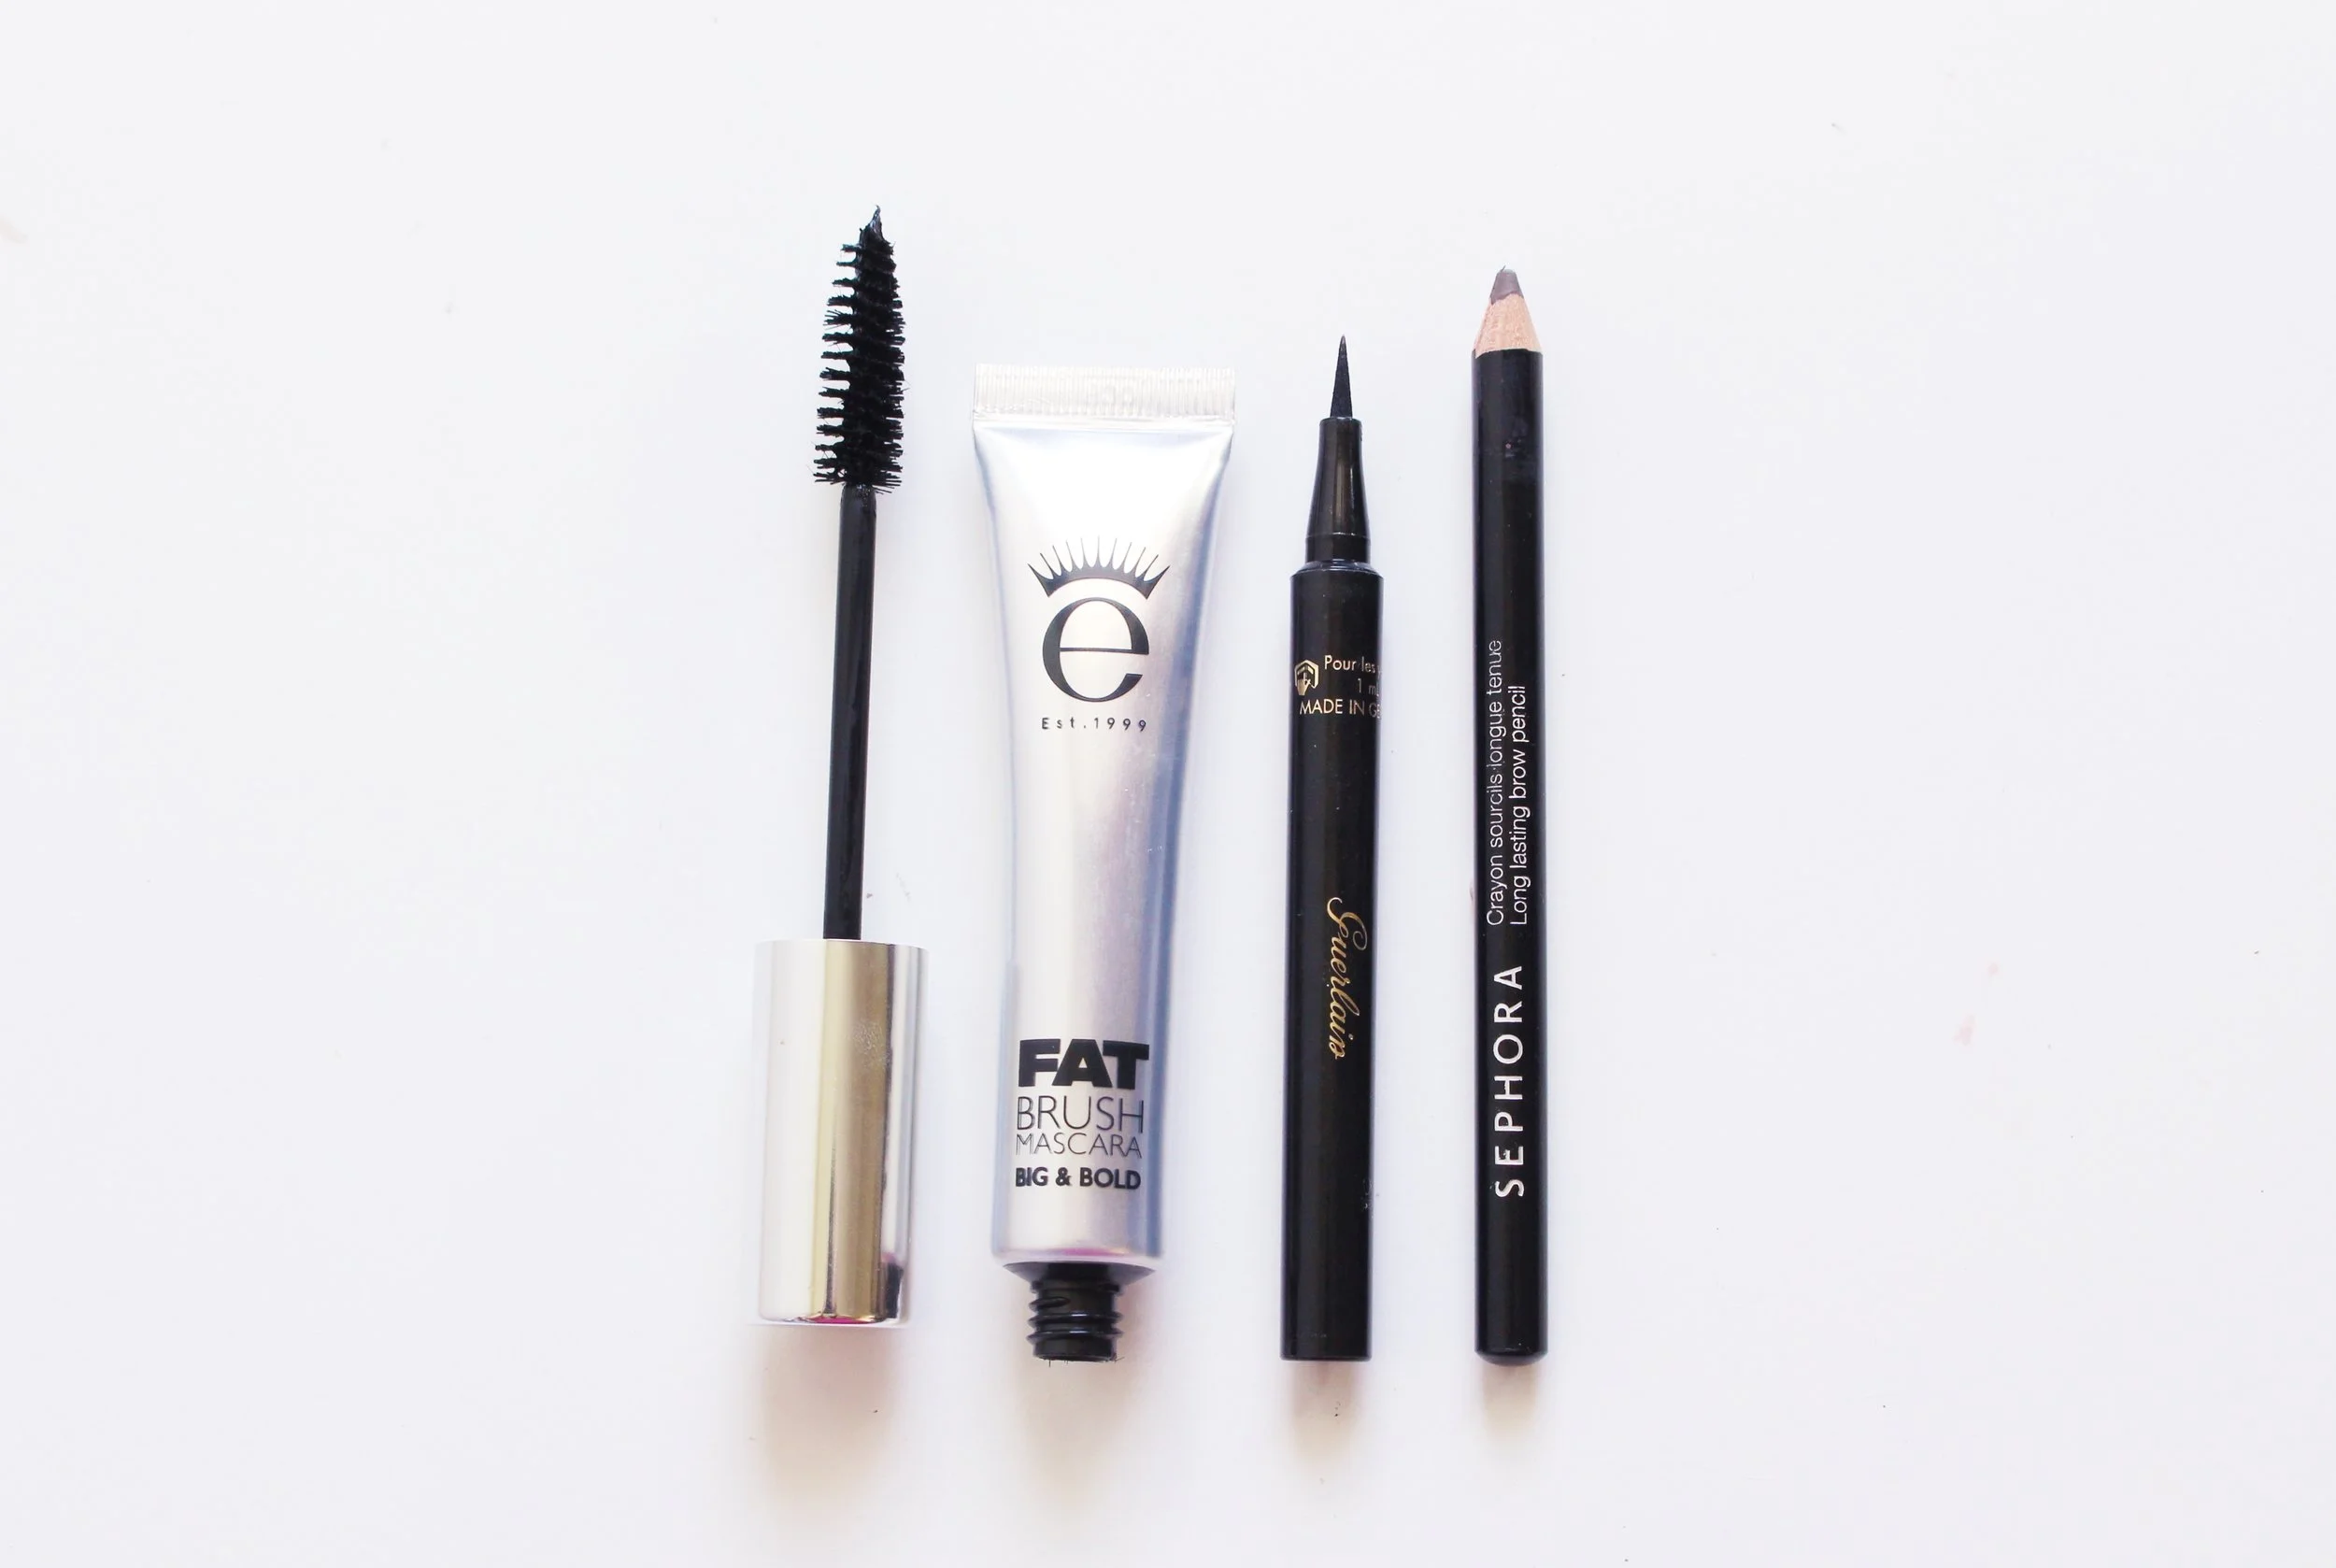
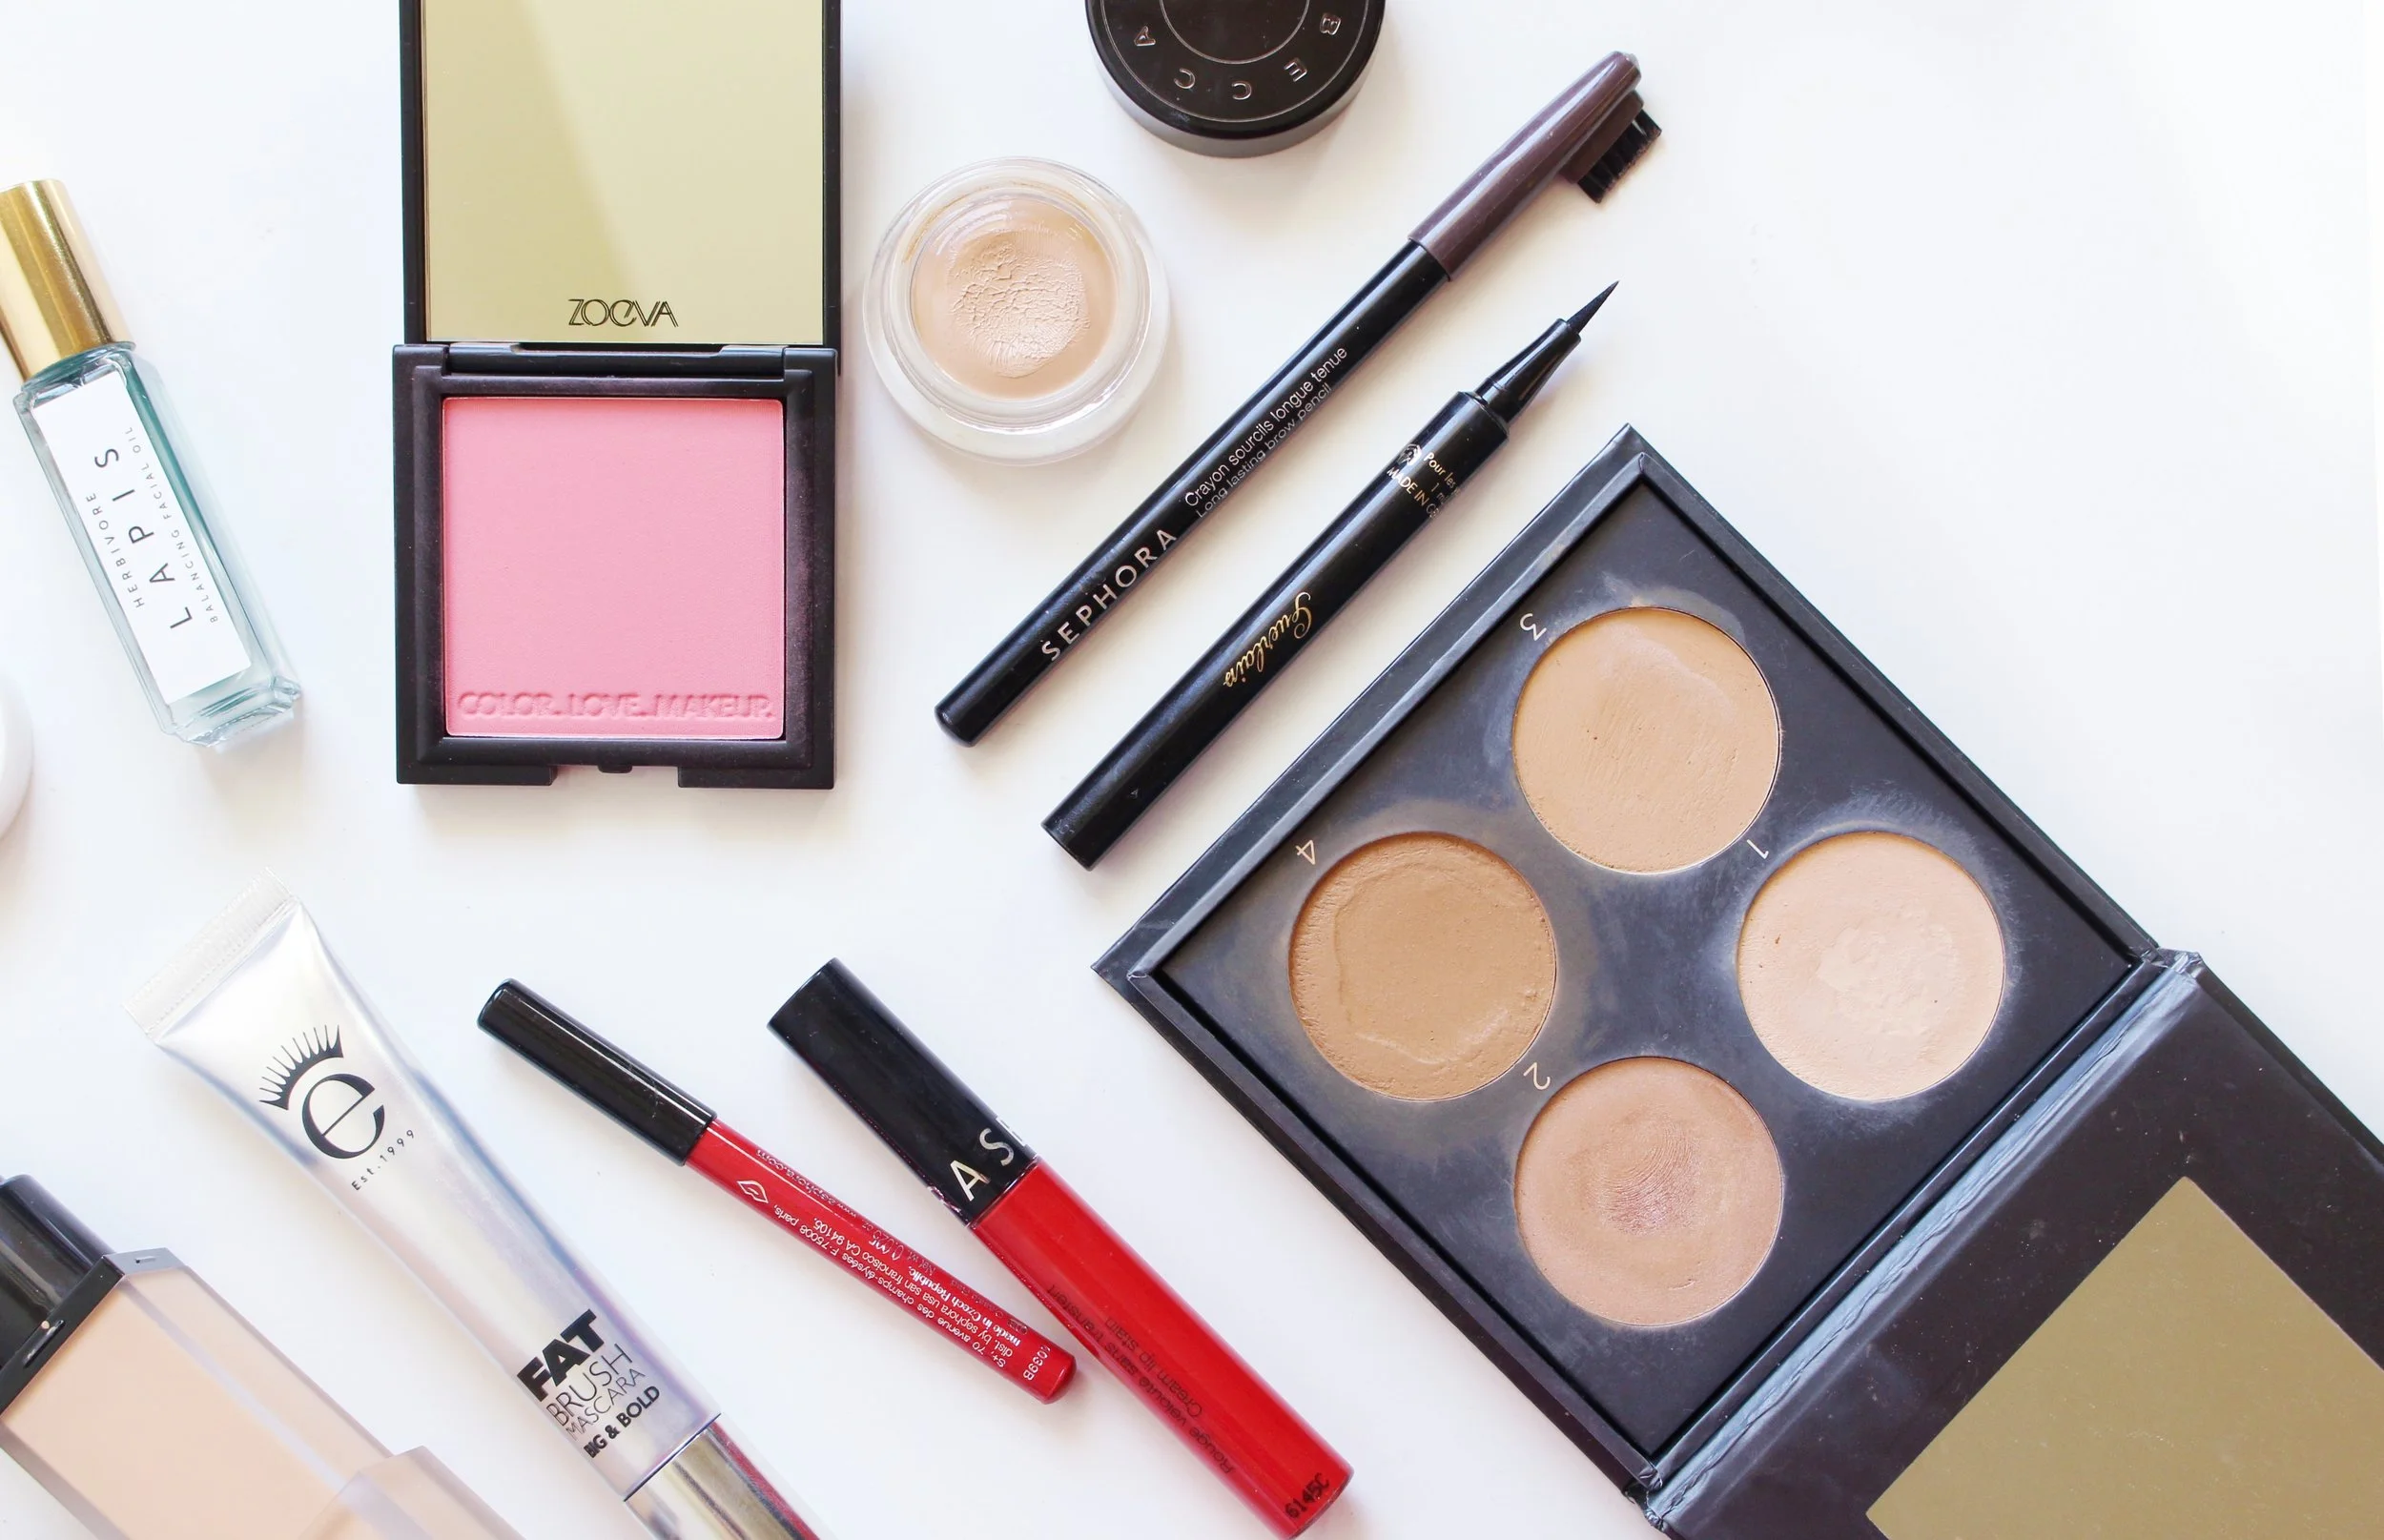
Step 5: Using the Sephora Long Lasting Brow Pencil (P503), I filled in my brows - using just enough to cover sparse areas - and brushed them up.
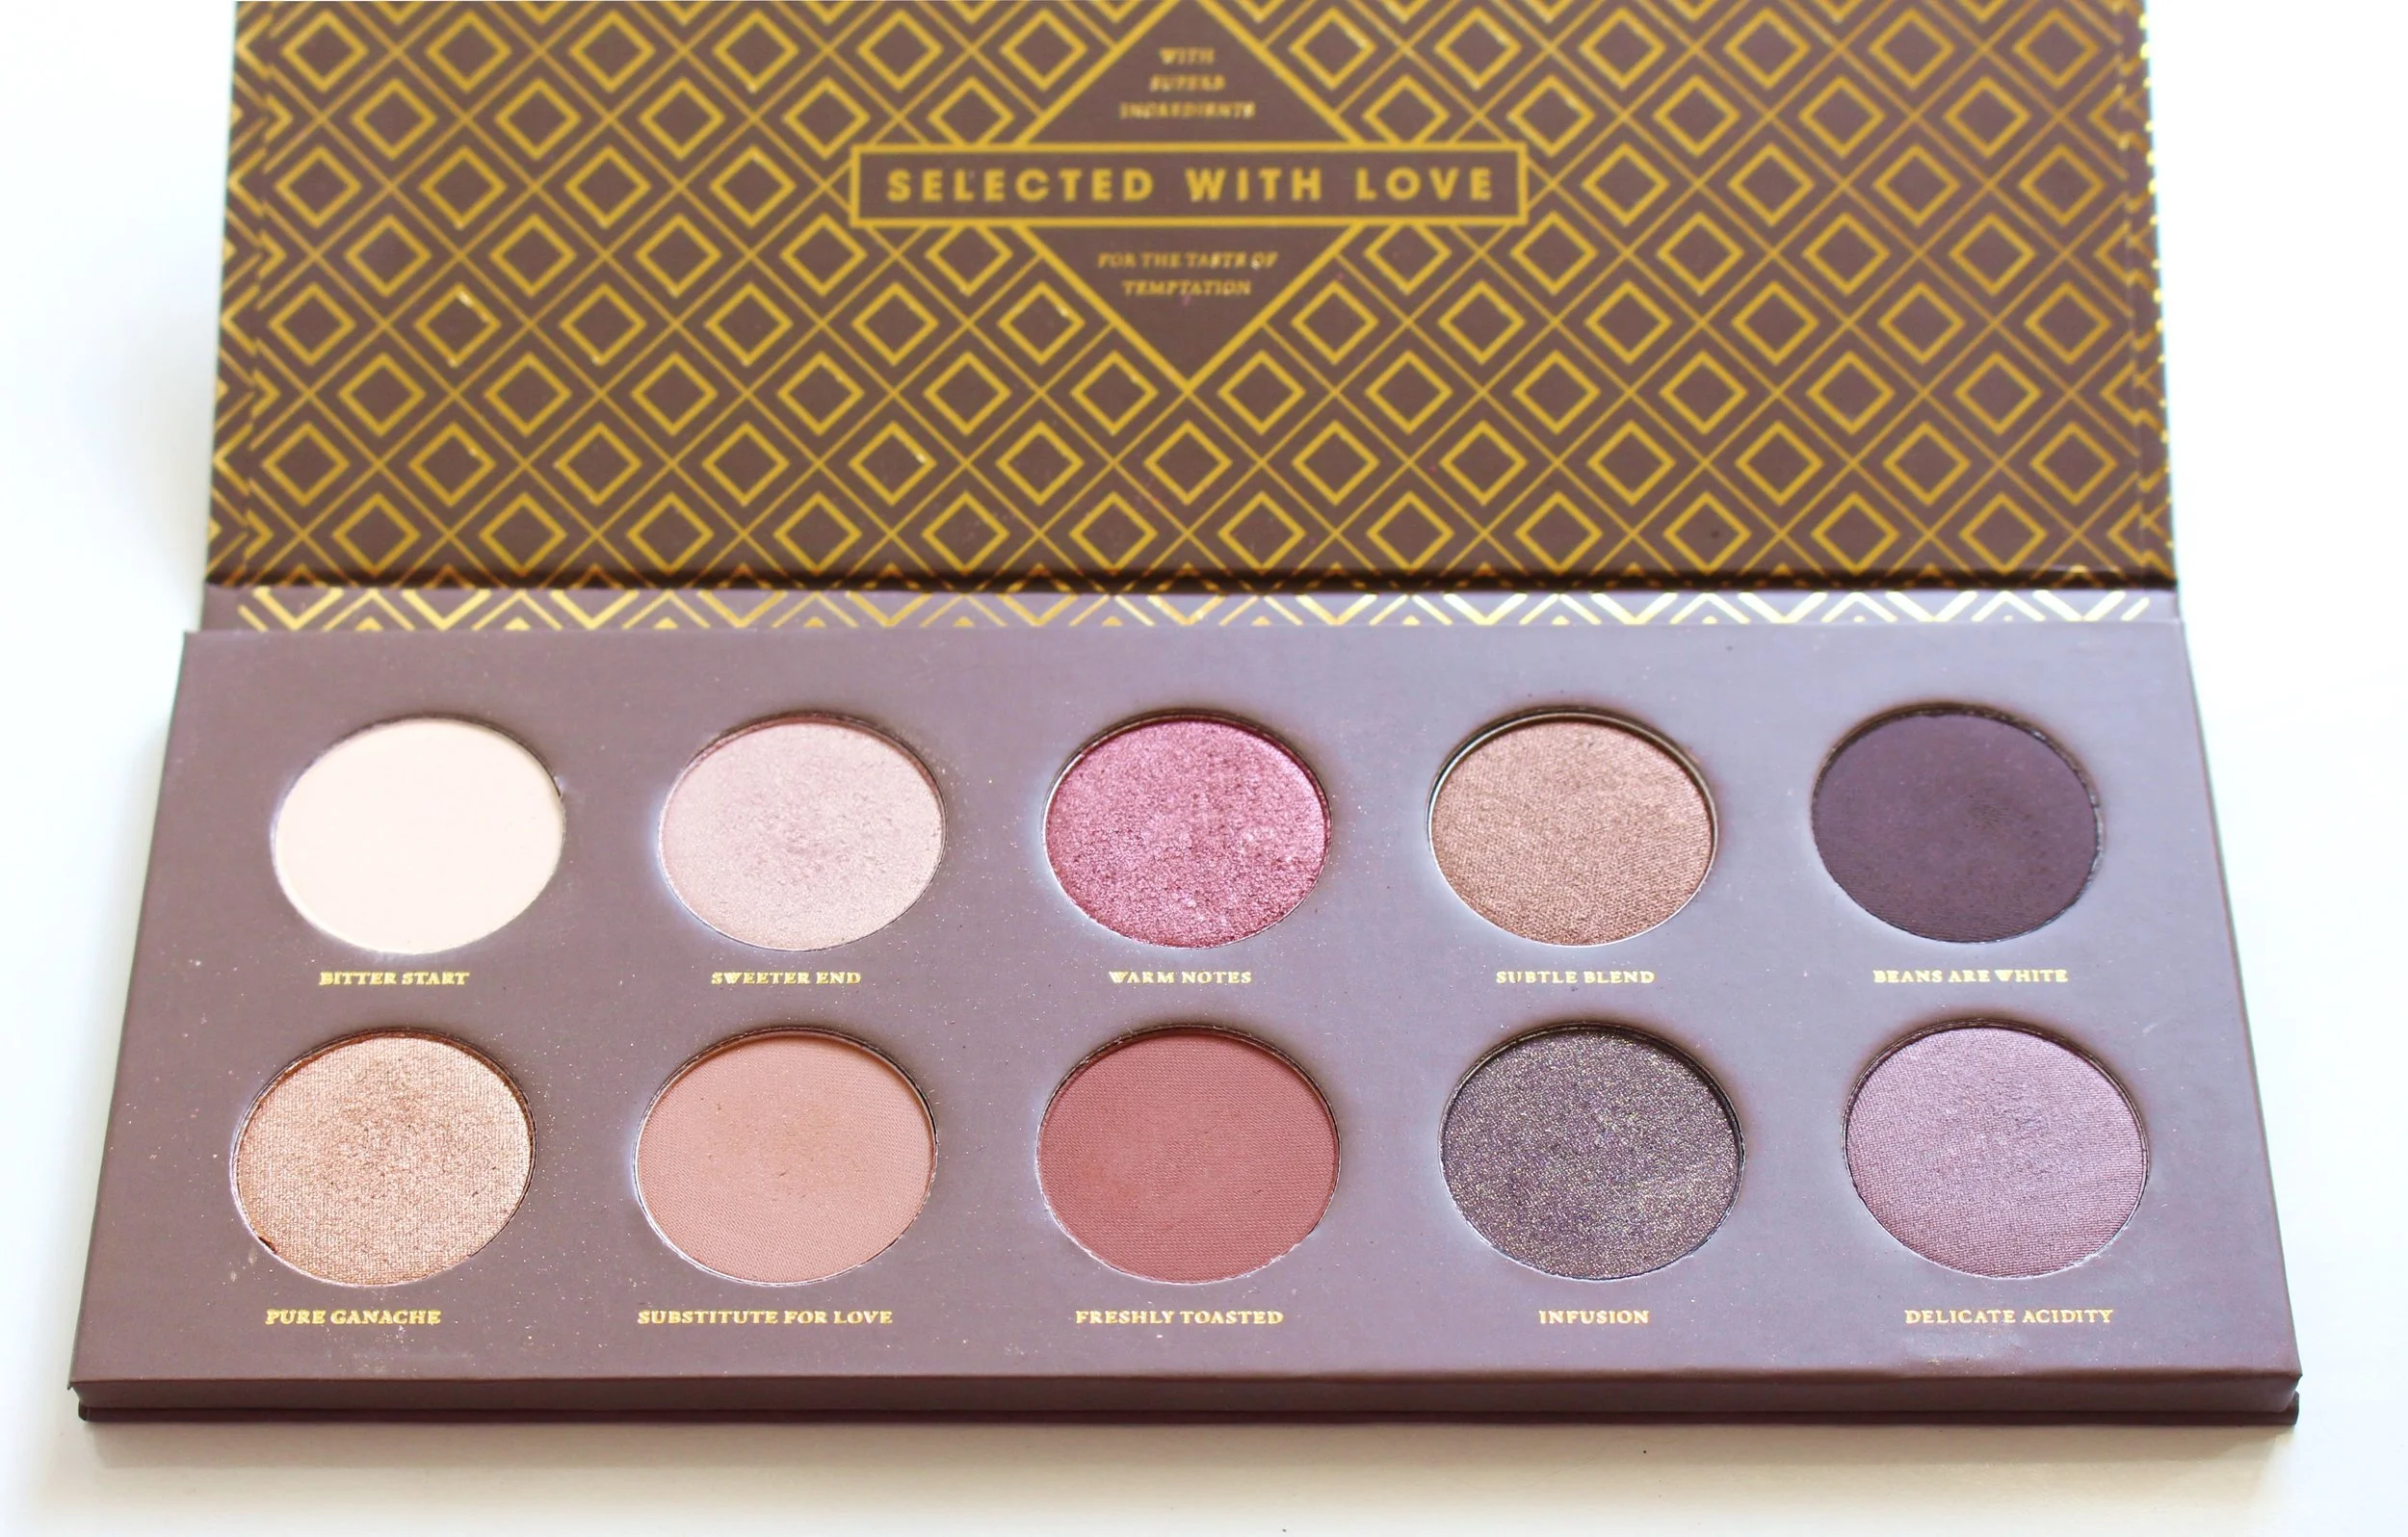
Step 6: I layered the “Pure Ganache” (a white gold) shade from the Zoeva Cocoa Blend Palette (P1,106) on my lids, then swiped “Substitute For Love” (a light bronze) on the crease to blend it out. “Freshly Toasted”, a matte terracotta, went into my outer-v for that slight smoky, reddish tint
Step 7: I then used the Eyeko Fat Brush Mascara (P1,040) to create volume and length on my lashes. The trick to maximizing your mascara is to deposit most of it on the root of your lashes, then brush up with whatever remains on the wand.
Step 8: I contoured and highlighted my cheeks with the Cover FX Contour Kit (P2,613). Cream contour gives a more natural effect compared to powder, and looks more believable in daylight.
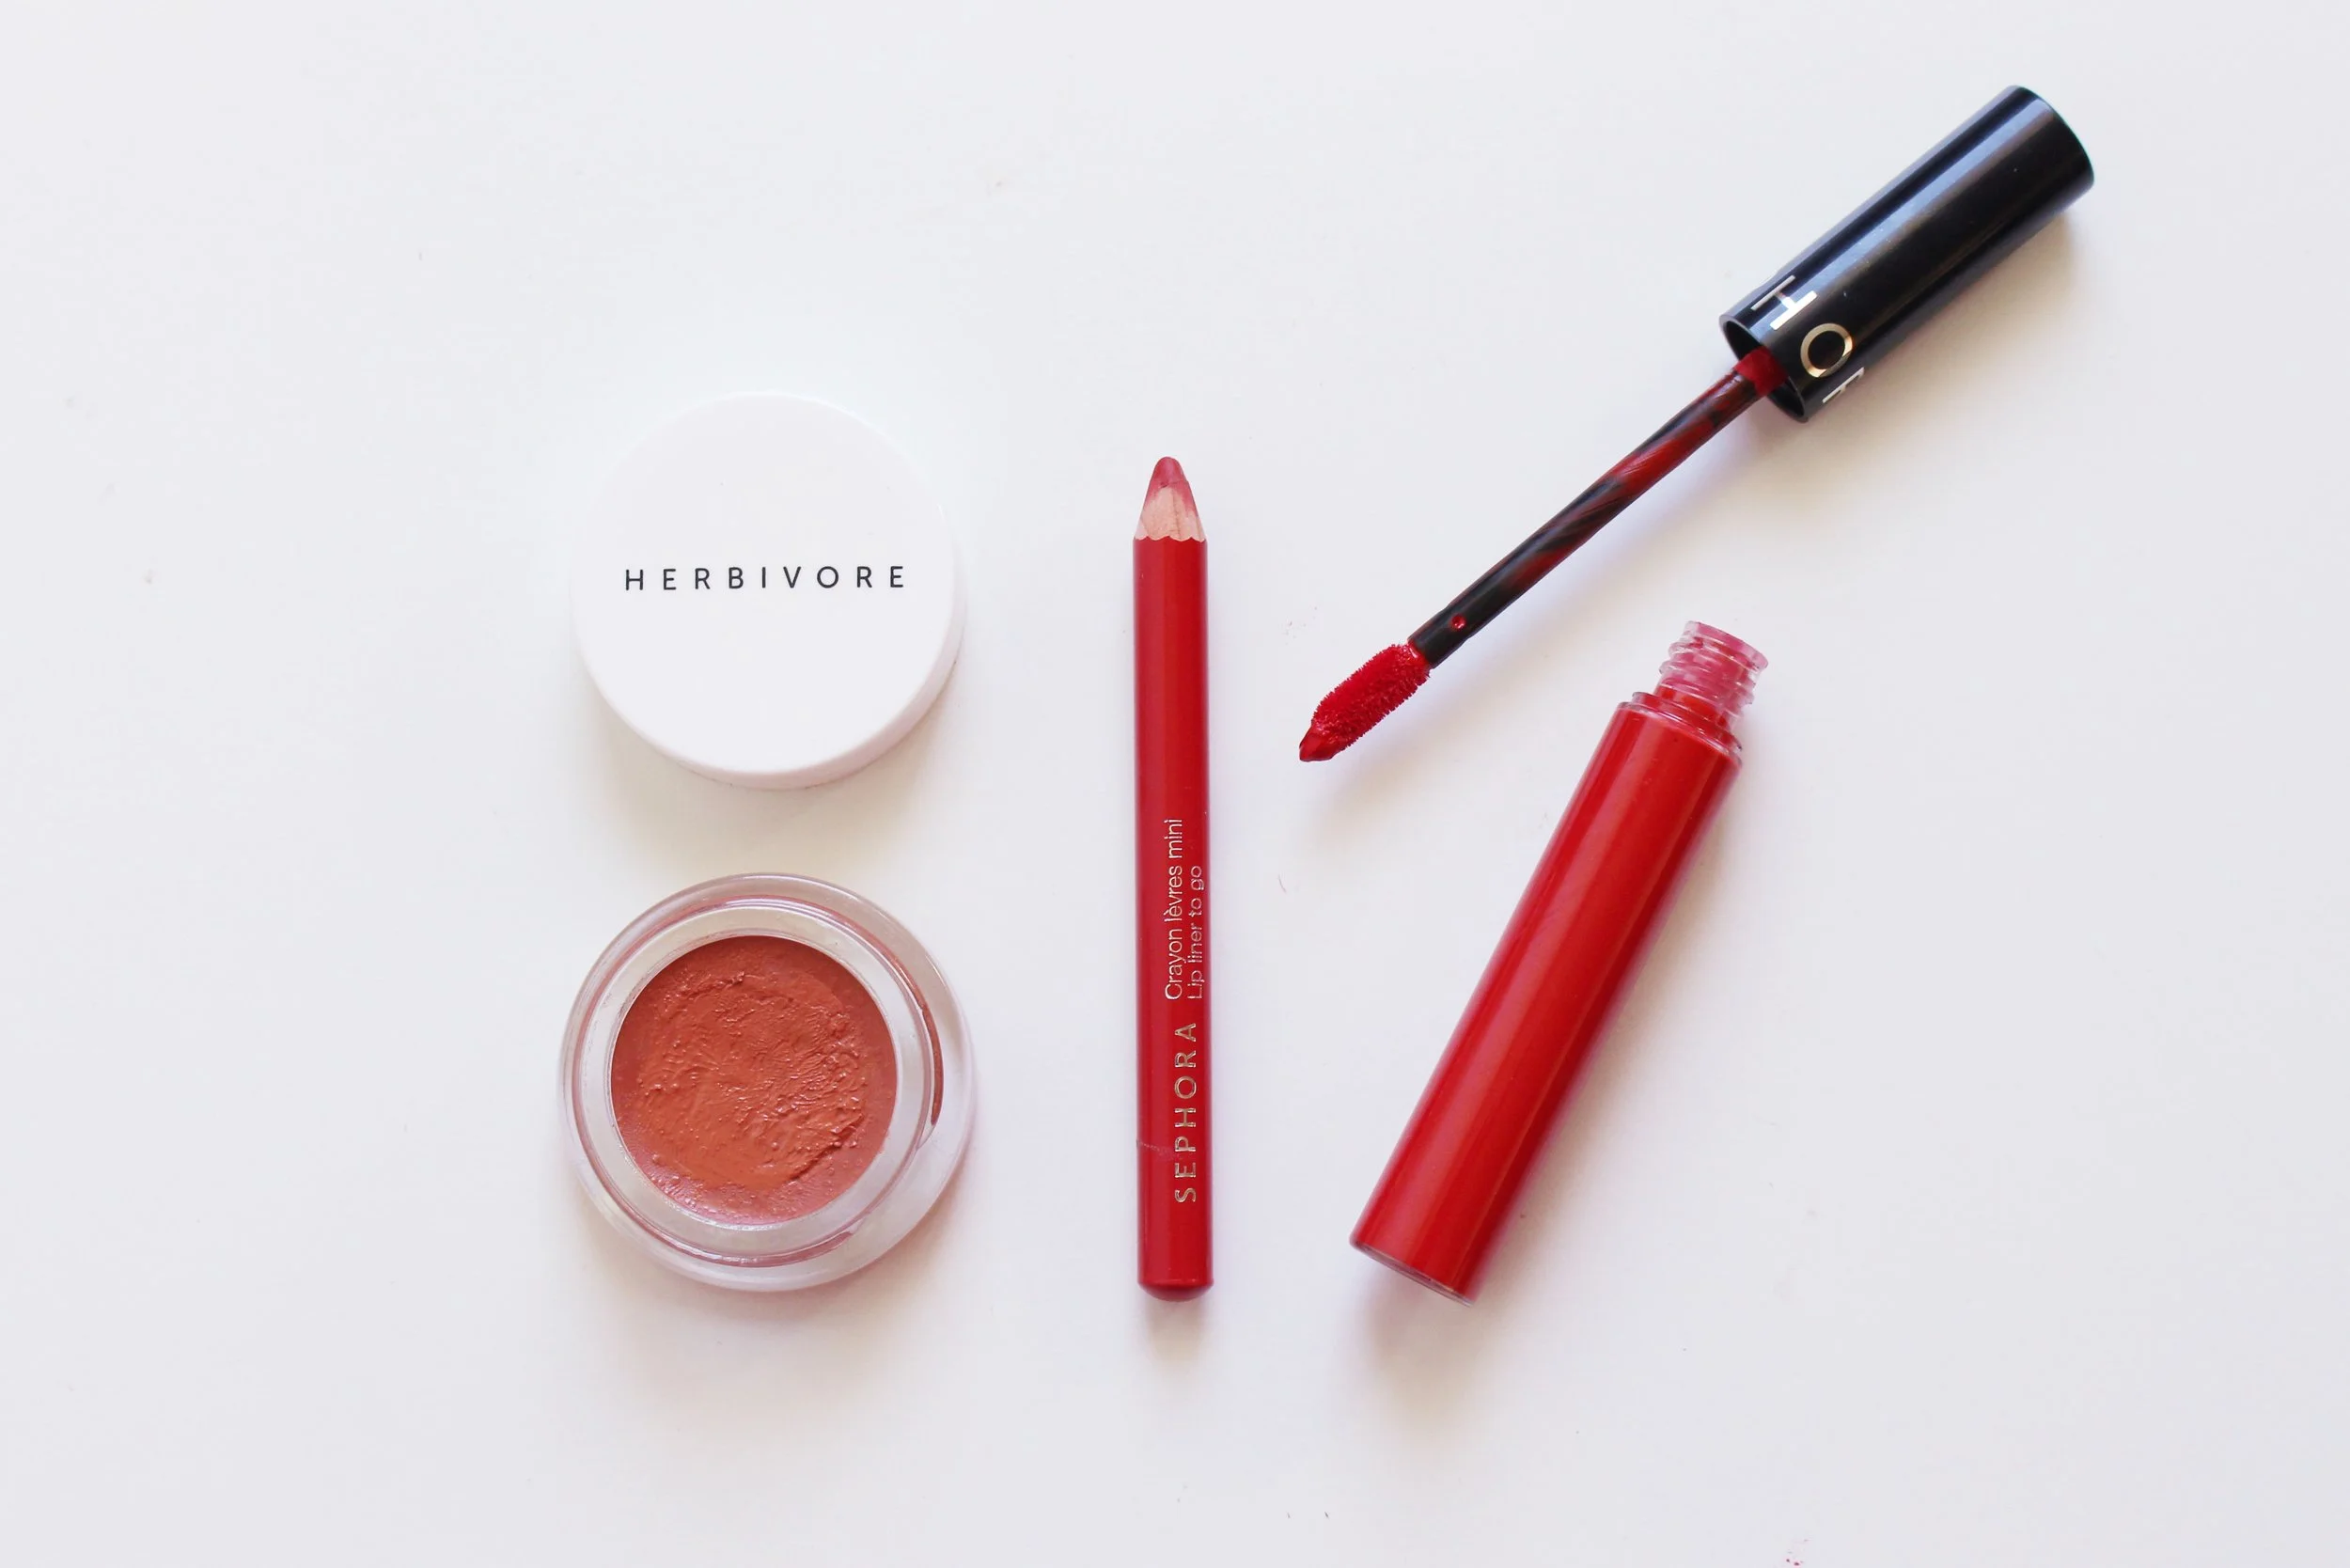
Step 9: The Sephora Cream Lip Stain in Always Red (P804) was the perfect lip color to cap off this look. It is completely matte and quite long-wearing!
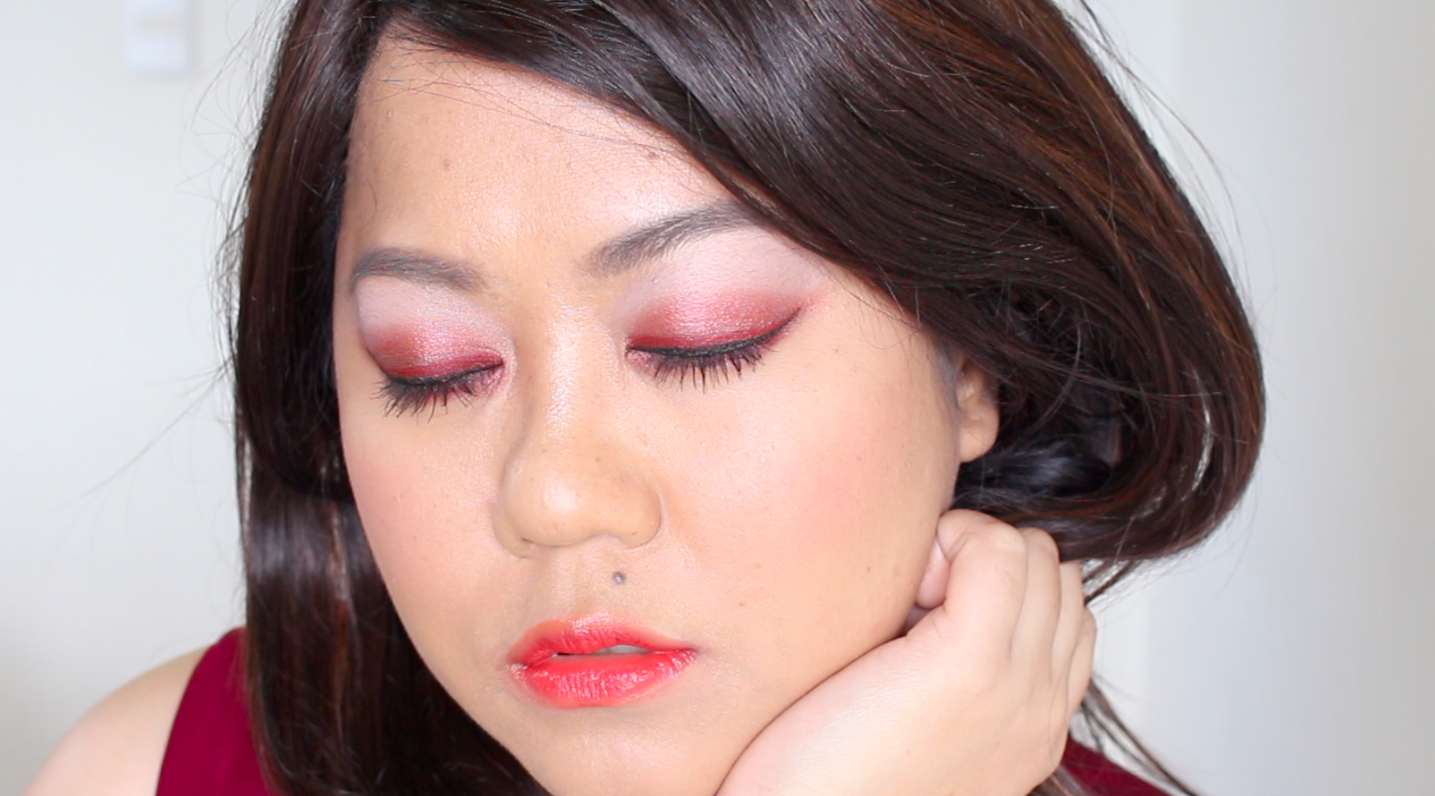
The Look: Bold, Fierce Red
This one is inspired by K-pop! It’s an overload of red that I think would be perfect for a party or concert. It uses the gradient technique to emphasize the eyes and lips!

Step 1: I patted on “Warm Notes” (a reddish pink) from the Zoeva Cocoa Blend Palette (P1,106) on my lids first, then layered “Infusion” (a sparkly deep plum) over it to create a gradient effect on the upper lid. I combined both Warm Notes and Infusion on my lower lids for a smoky look.
Step 2: I then drew on a sharp cat eye with the Guerlain L'Art Du Trait Precision Felt Eyeliner (P2,360). The trick to a precise and even cat eye is creating the layout first before filling it in!
Step 3: Sometimes, too much is just perfect! I used the Sephora Nano Lip Liner in Classic Red (P335) to line on top of the black liner. It gives a pretty Korean vibe!
Step 4: I added more volume to my lashes with the Eyeko Fat Brush Mascara (P1,040). You may also choose to attach some falsies for a more pumped-up eye look.
Step 5: This is optional, but I recommend adding a reddish pink flush on the cheeks with the Zoeva Luxe Color Blush in Rush Rush (P486). I just love the effect!
Step 6: The red gradient lip involves the Herbivore Coco Rose Lip Tint in Coral (P1,220) as a base. It also moisturizes the lips nicely and smells like roses.
Step 7: I then lined my lips with the Sephora Nano Lip Liner in Classic Red (P335) starting from the inner part. I then blended it by pressing my lips together. It’s easy, I promise. ;) That completes this K-pop look!

I hope you had fun watching and reading these tutorials! Would love to know what you think, as always. If you’re curious about the products used, you may get them all at Sephora PH. ^_^ Do check out their other bold looks with different pops of color here!
This story is brought to you by Sephora PH. There are custom links in this post, but we make no money when you click or purchase through them. It just lets Sephora know you got to their website via Project Vanity!