

I tried a Korean facial treatment for the first time and loved it!
Despite my obsession with skincare, I've only had two actual facial treatments (complete with pricking) in my entire life. The first time was way back in high school, before I had any appreciation for the kind of effort you actually need to make for achieving and maintaining good skin. It was pricey for my student budget and I didn't see any improvements after, so I didn't feel encouraged to try it again.
Recently though, I was invited by O2 Laser Skin Center to try out their signature service: a Korean Facial Therapy! As images of Korean actors and pop stars flooded my head, I wondered how different the procedure would be from the usual treatments you can get at mall facial centers. Would it give me that coveted chok chok complexion? I took a before photo right before I headed to their clinic so I could make a comparison afterwards.

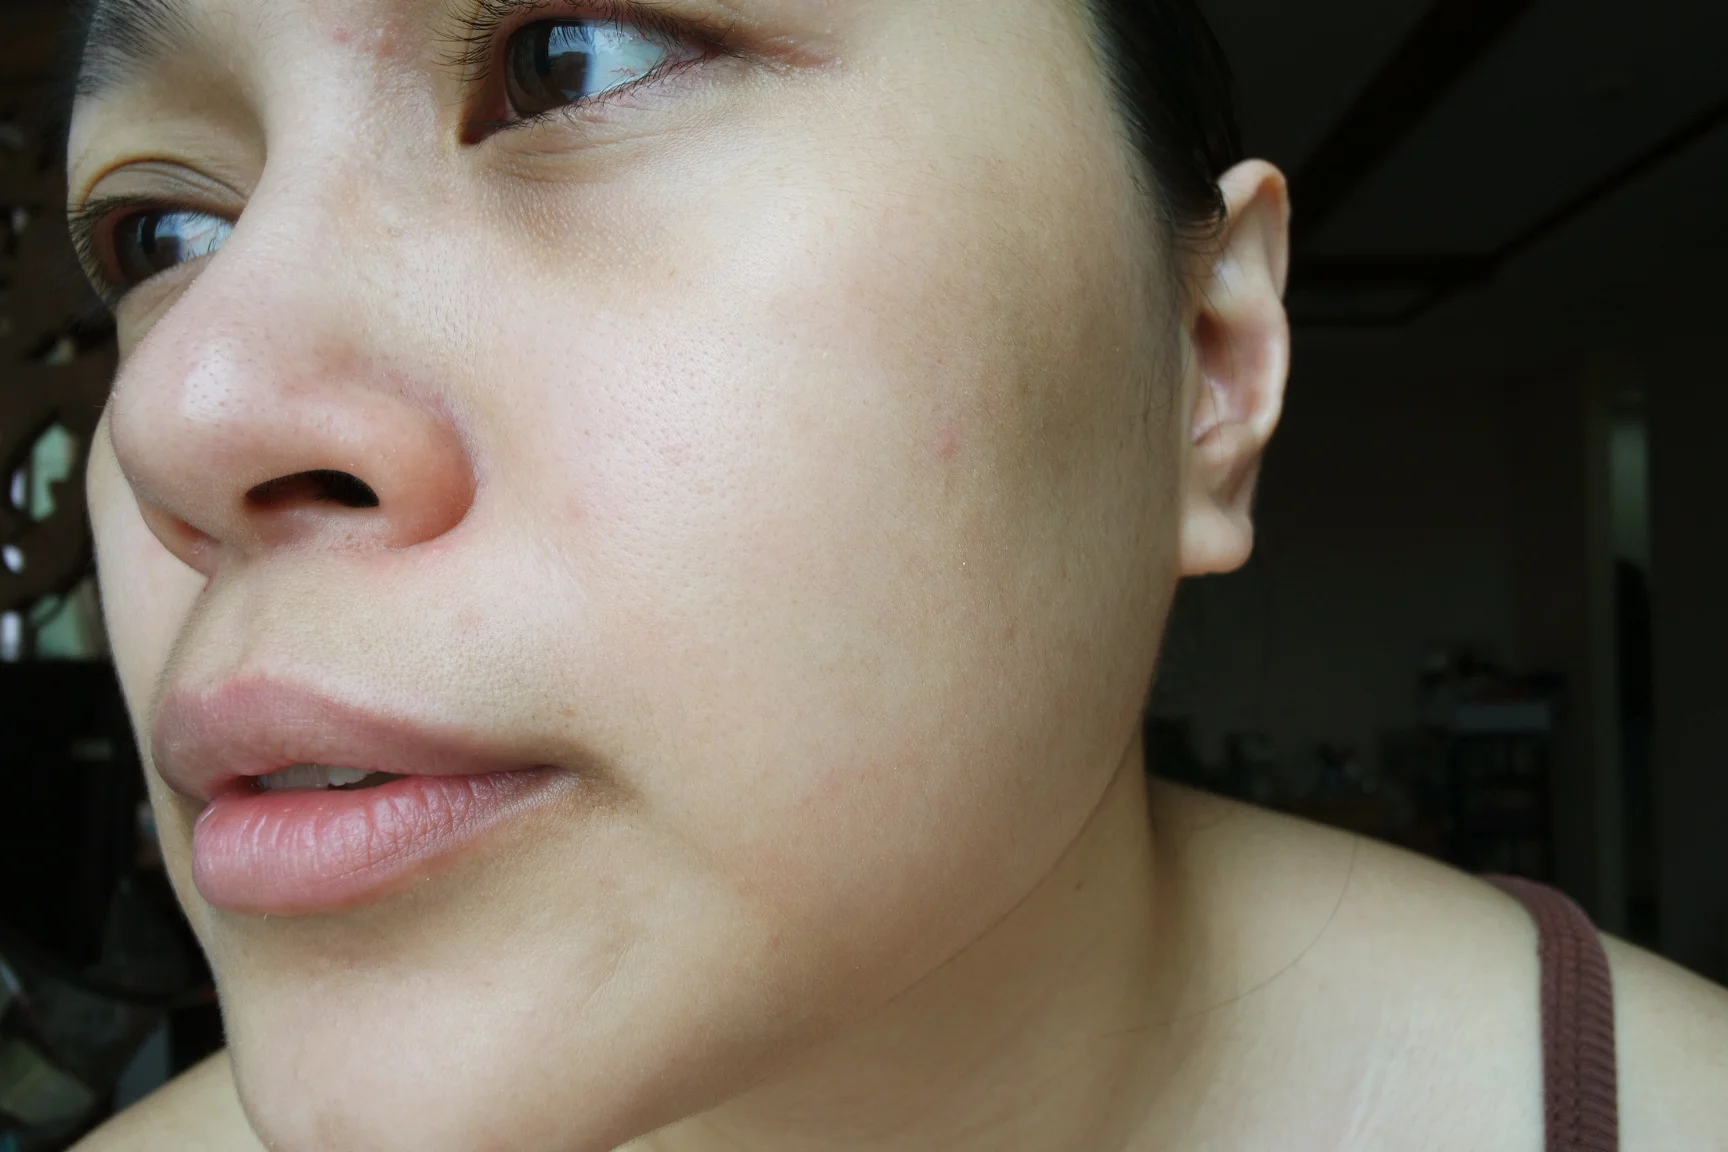
Before the treatment
Redness on my nose, rough texture on my cheeks, some dullness
Originally based in Makati, the clinic has actually been around since 2006 but it's something of a well-kept secret in the expat community. The resident dermatologist, Dr. Cherry Ann Co, tells me that their client base are primarily Korean and Japanese but more locals are finding out about their services as well because of the growing interest in K-beauty. Last June, the clinic moved to its current location in Taguig (near the AFPOVAI area).
Apart from using Korean skincare treatments and machines in the procedure, I guess I didn't feel too surprised that a Korean facial takes 8 steps and almost 2 hours to complete! Dr. Co gamely explained each step and how it contributes to deep-cleansing, rejuvenating and rehydrating skin.
Step 1: Cleanse
The first step was to cleanse my skin and prepare it for the treatment. Apart from drawing on my brows and applying some lipstick, I didn't wear any other makeup but it's important to remove all traces of dirt and oil. They use a Cleansing Milk and a Cleansing Gel for this, both Korean products that are also available for purchase in their clinic. I particularly liked the Milk because unlike similar products I've tried, the formula is light, watery, and doesn't leave a greasy residue.
Step 2: Scrub
After a quick wipe off, my facialist showed me the flat, wide metal scrubber tip that would be used to deep-cleanse my pores. It looks a little intimidating but actually feels really pleasant! From what I understand, it uses water and ultrasonic technology to gently exfoliate your skin.
The facialist would stop every so often to wipe off the dead skin layers from the metal tip but I didn't experience any redness or irritation.
I'm not sure if it's the same technology but it looked pretty much like what's happening in this water peeling video.
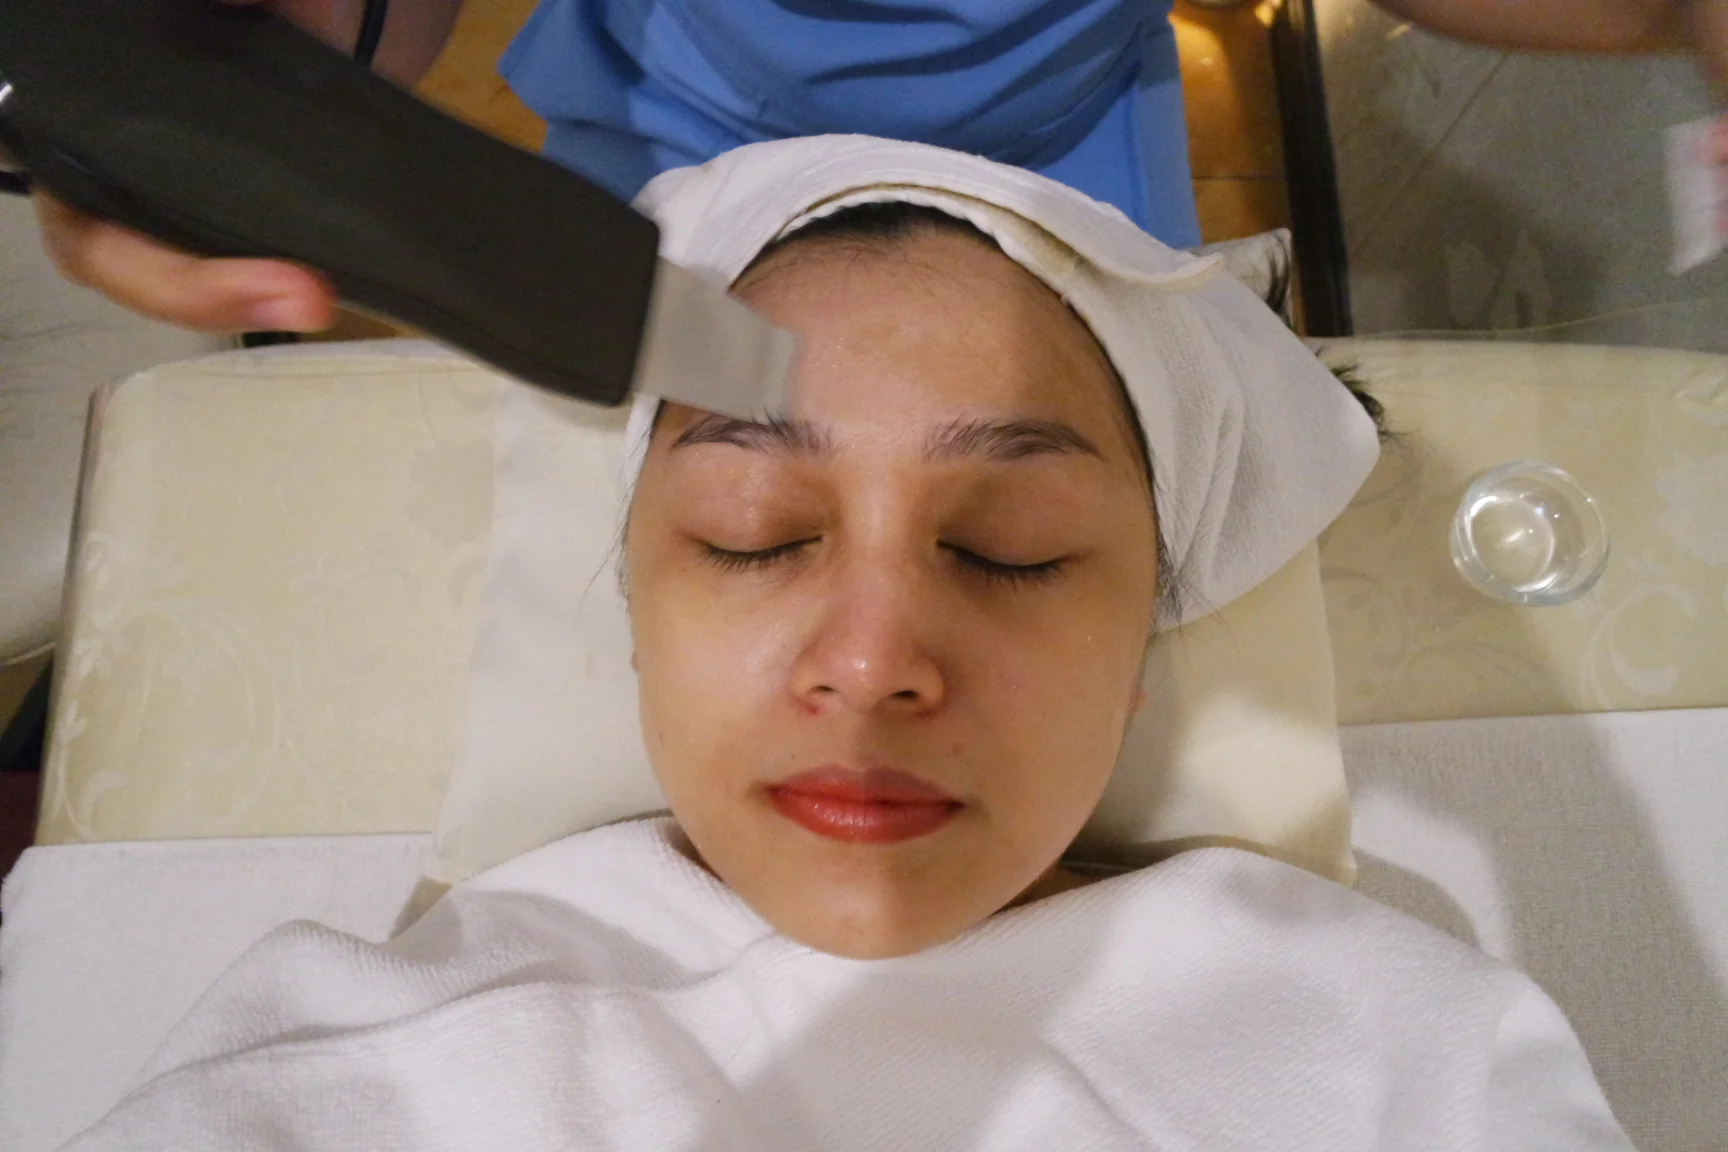
Step 3: Ultrasonic
A special gel was applied to my face and the attendant switched to a round head attachment for the ultrasonic part of the treatment. It's supposed to open my pores and "soften" any trapped gunk (eep) for extraction. If you've ever had an ultrasound procedure, this is pretty much the same experience except it's on your face and feels a bit warm. The warmth felt comfortable and even soothing to me but if it gets to be too much for you, don't hesitate to let your attendant know.

Step 4: Pricking and extraction
At step 4, I finally got to the dreaded pricking and extraction portion. I had actually just wounded myself two days before from picking at a whitehead at the base of my nose. After scrutinizing my nose and removing something from my forehead, my attendant said my skin was clear from blockages. Acids are life-changing, girls!
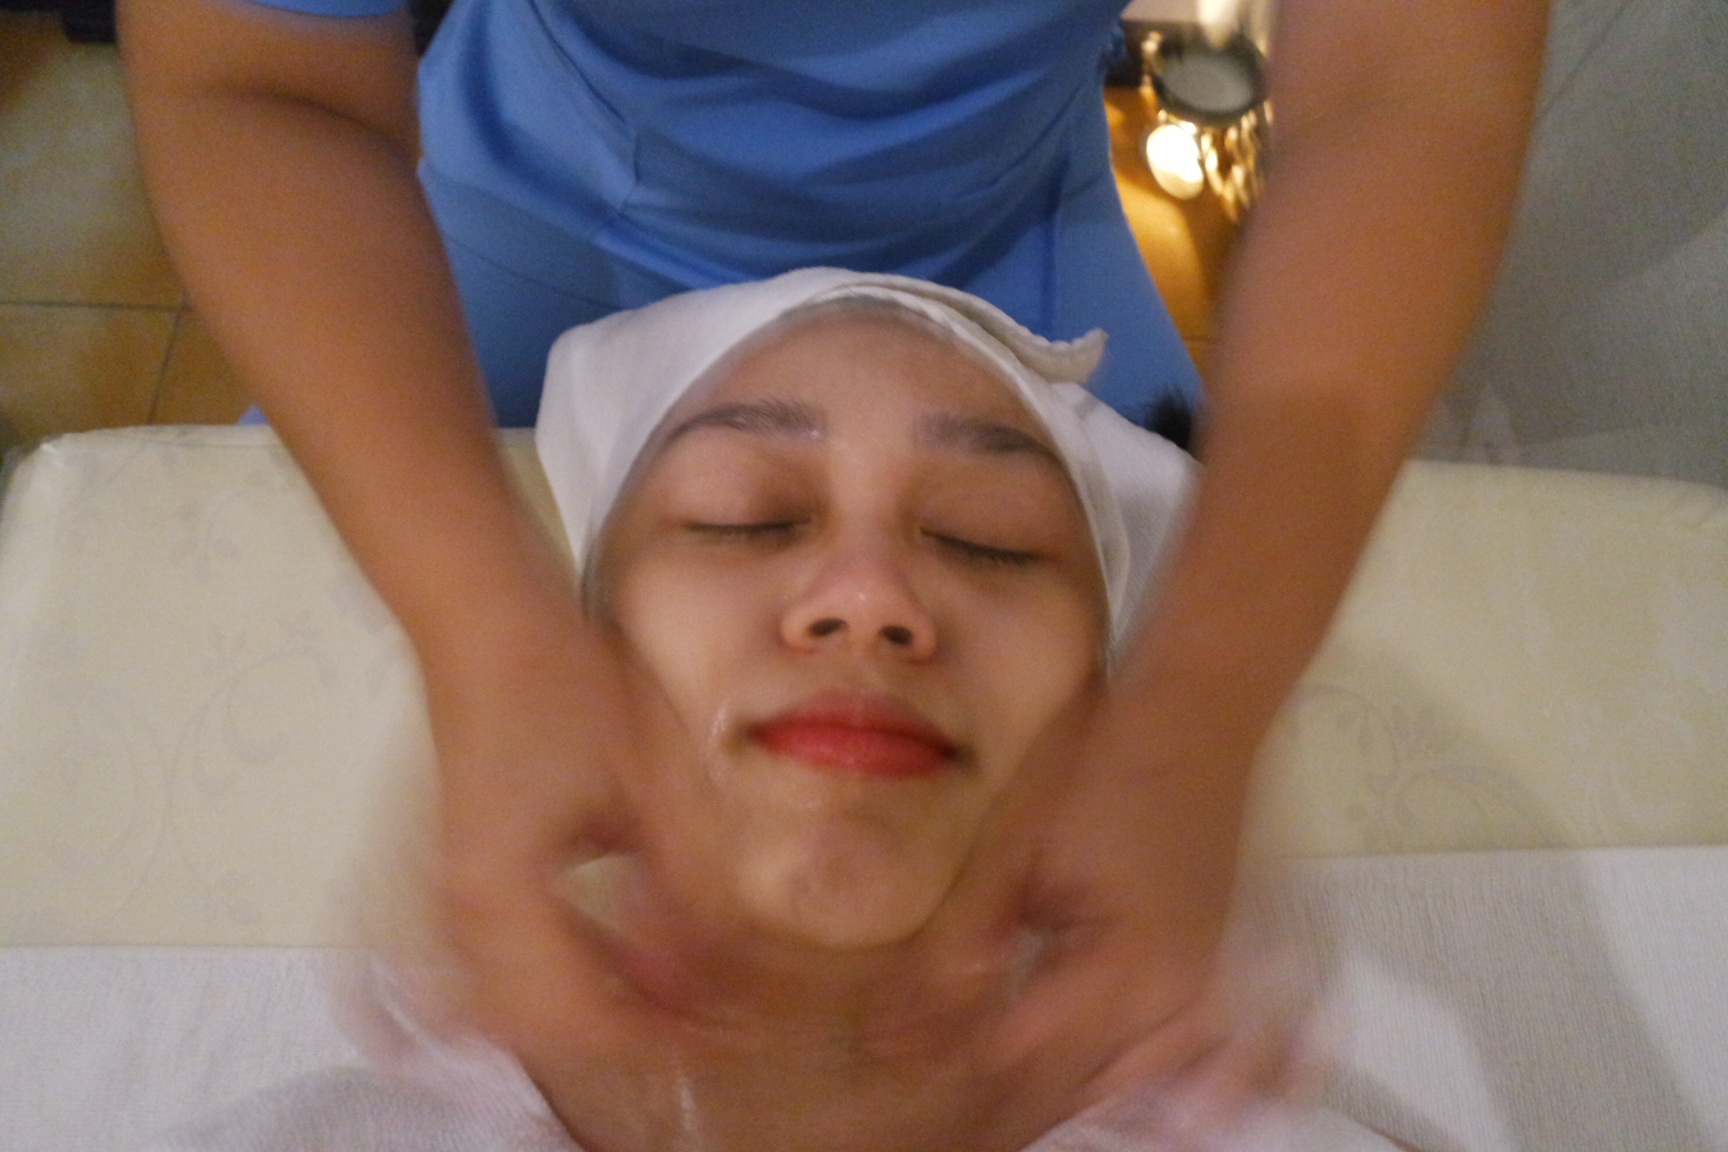
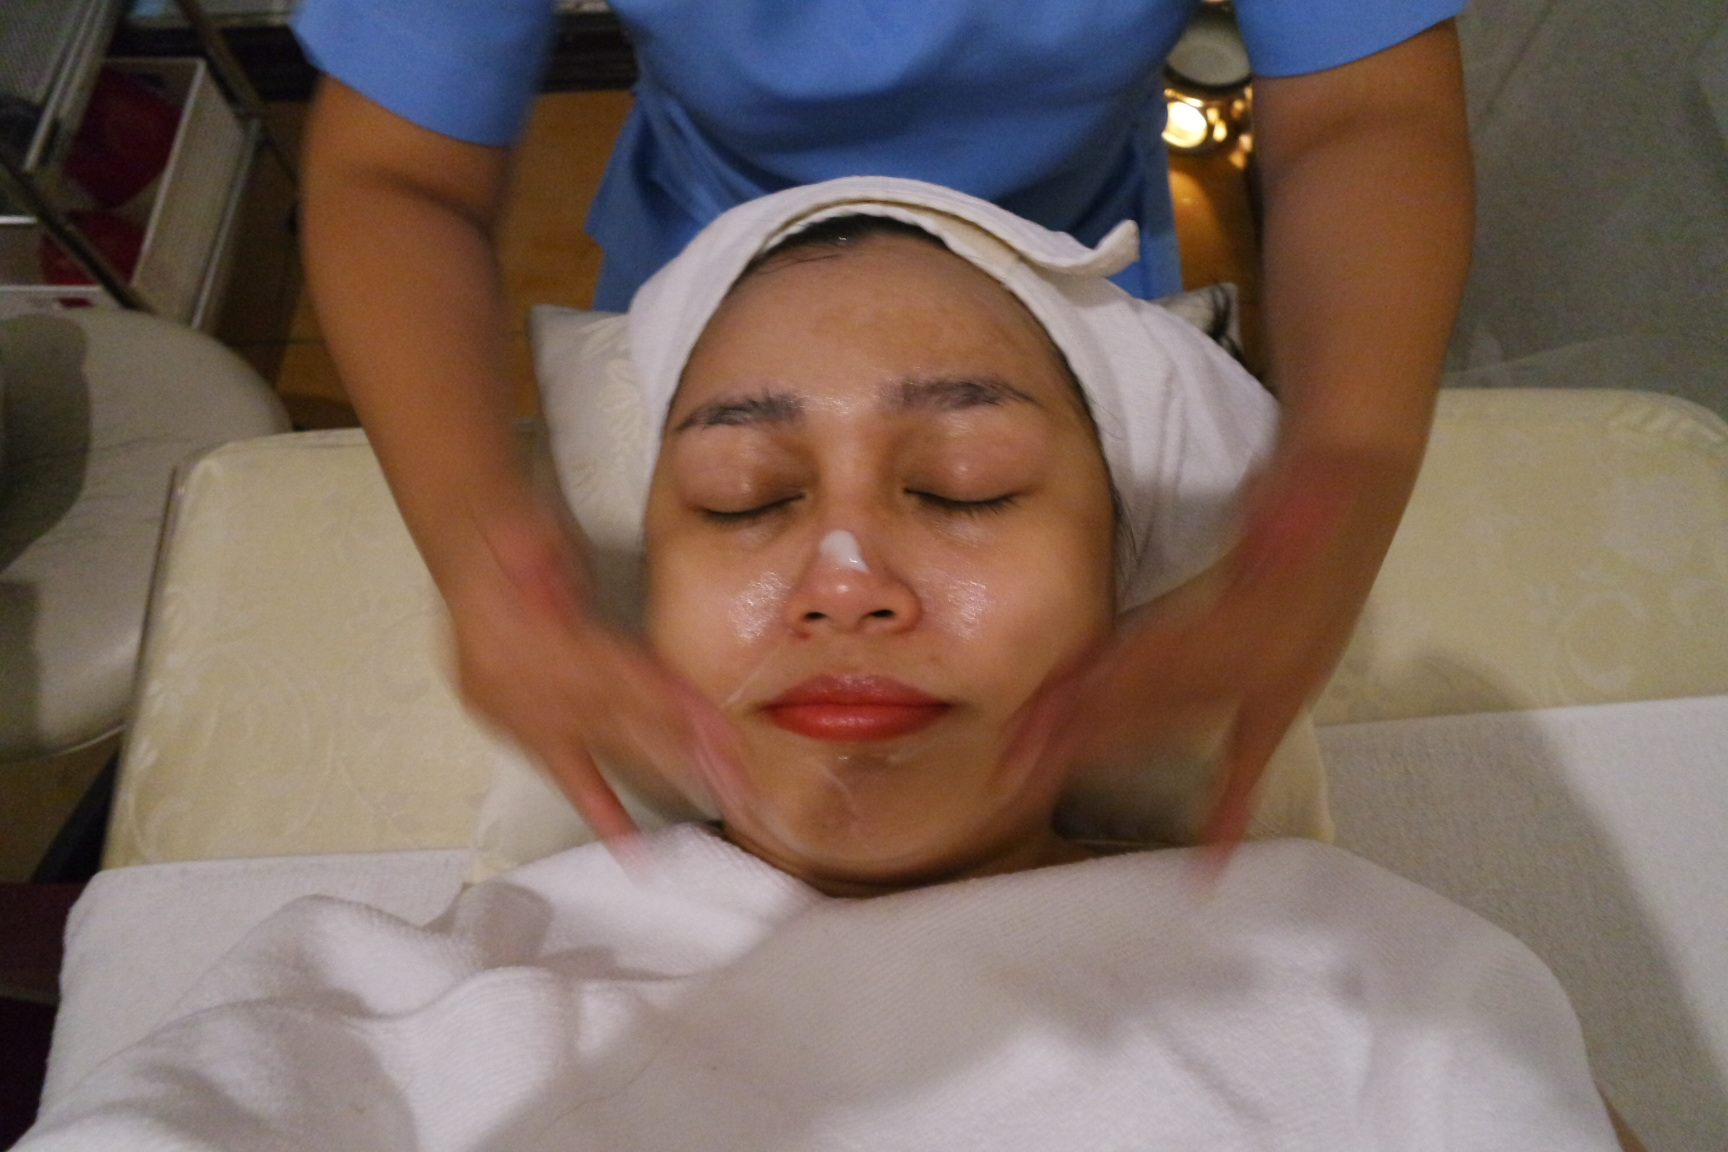
Step 5: De-stressing
Now comes my favorite part: a 15-minute de-stressing massage for the face, shoulders, and back. Major Japanese brands all have their own massage techniques that focus on acupressure and lympathic drainage. For Koreans, I guess the focus is a little different because it felt a bit like the attendant was trying to reshape my face!
My cheeks were being pulled in and up, and the attendant seemed to particularly focus on working on my chin and jaw.
My only complaint here is that the massage oil they used had a scent that I disliked, so if you're sensitive to scents like I am, try bringing your own facial oil and ask if they can use that instead. Nuxe's Huile Prodigieuse or even the Pure Squalane Oil from In Her Element might be a good substitute.
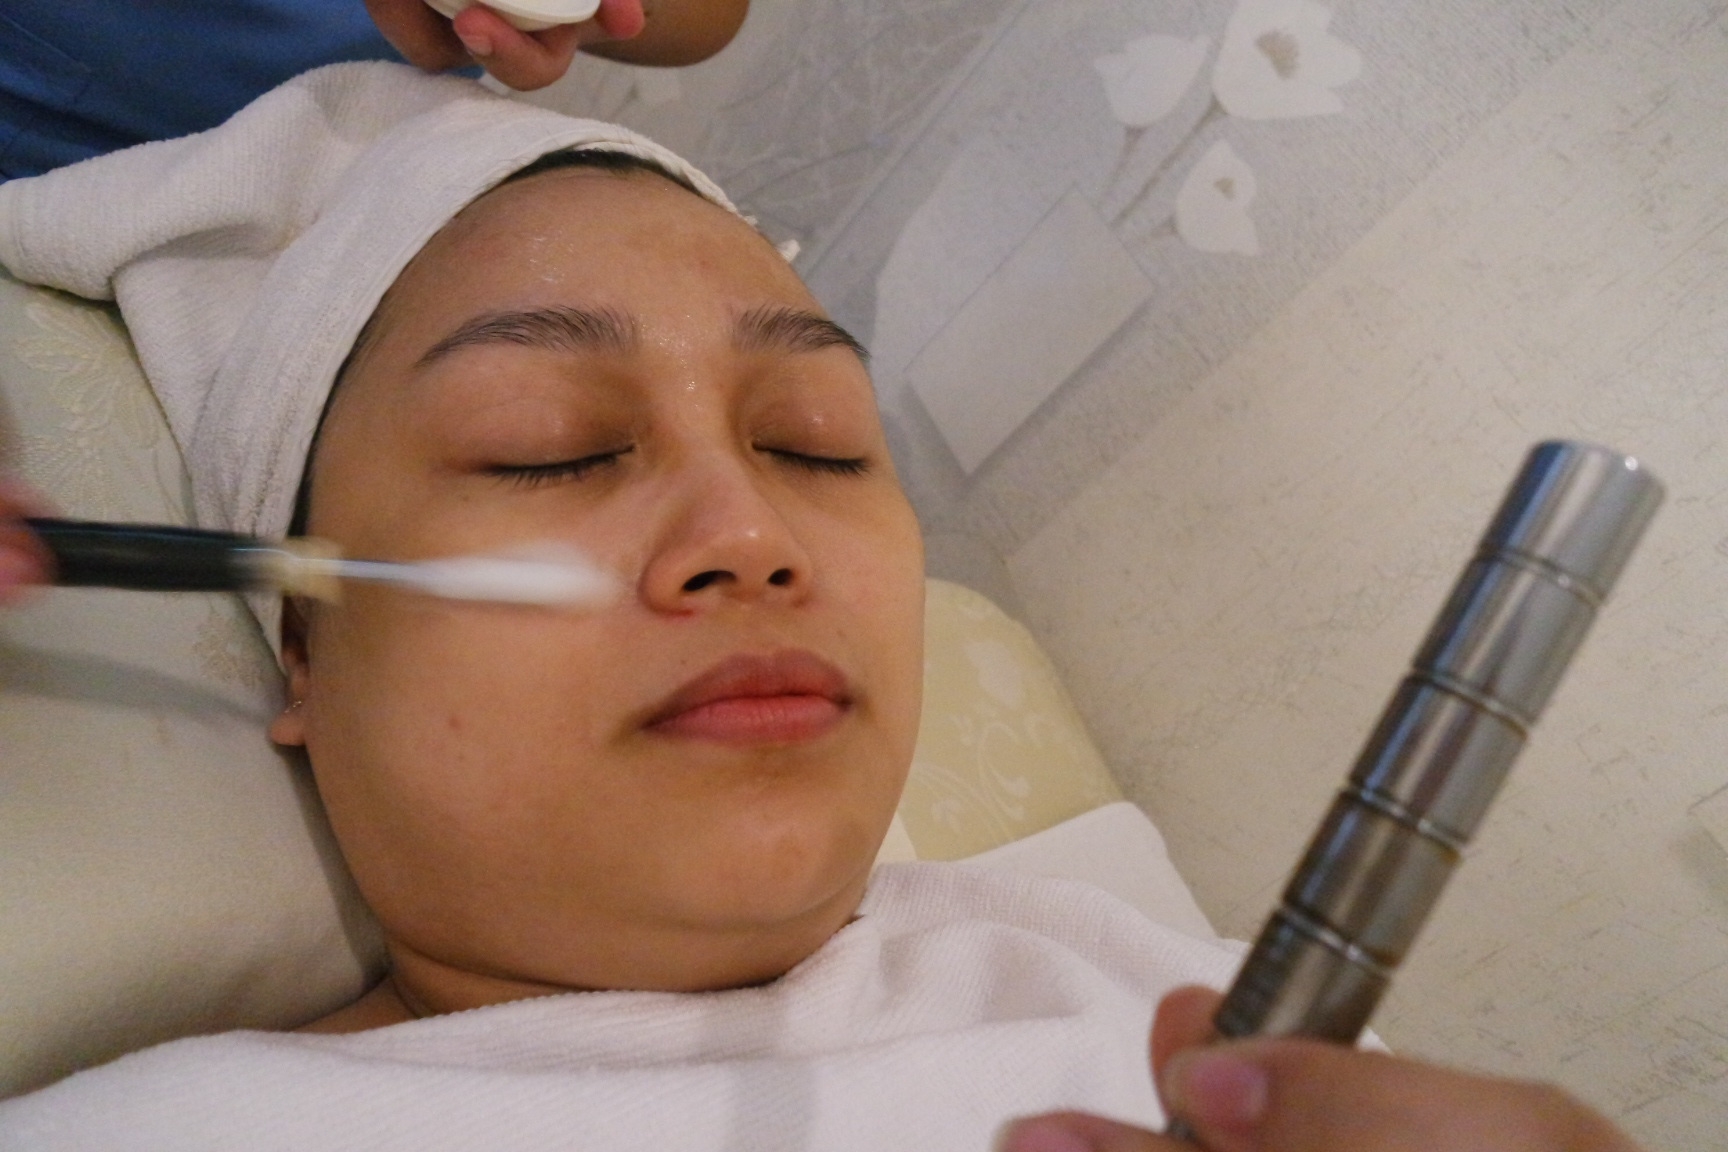
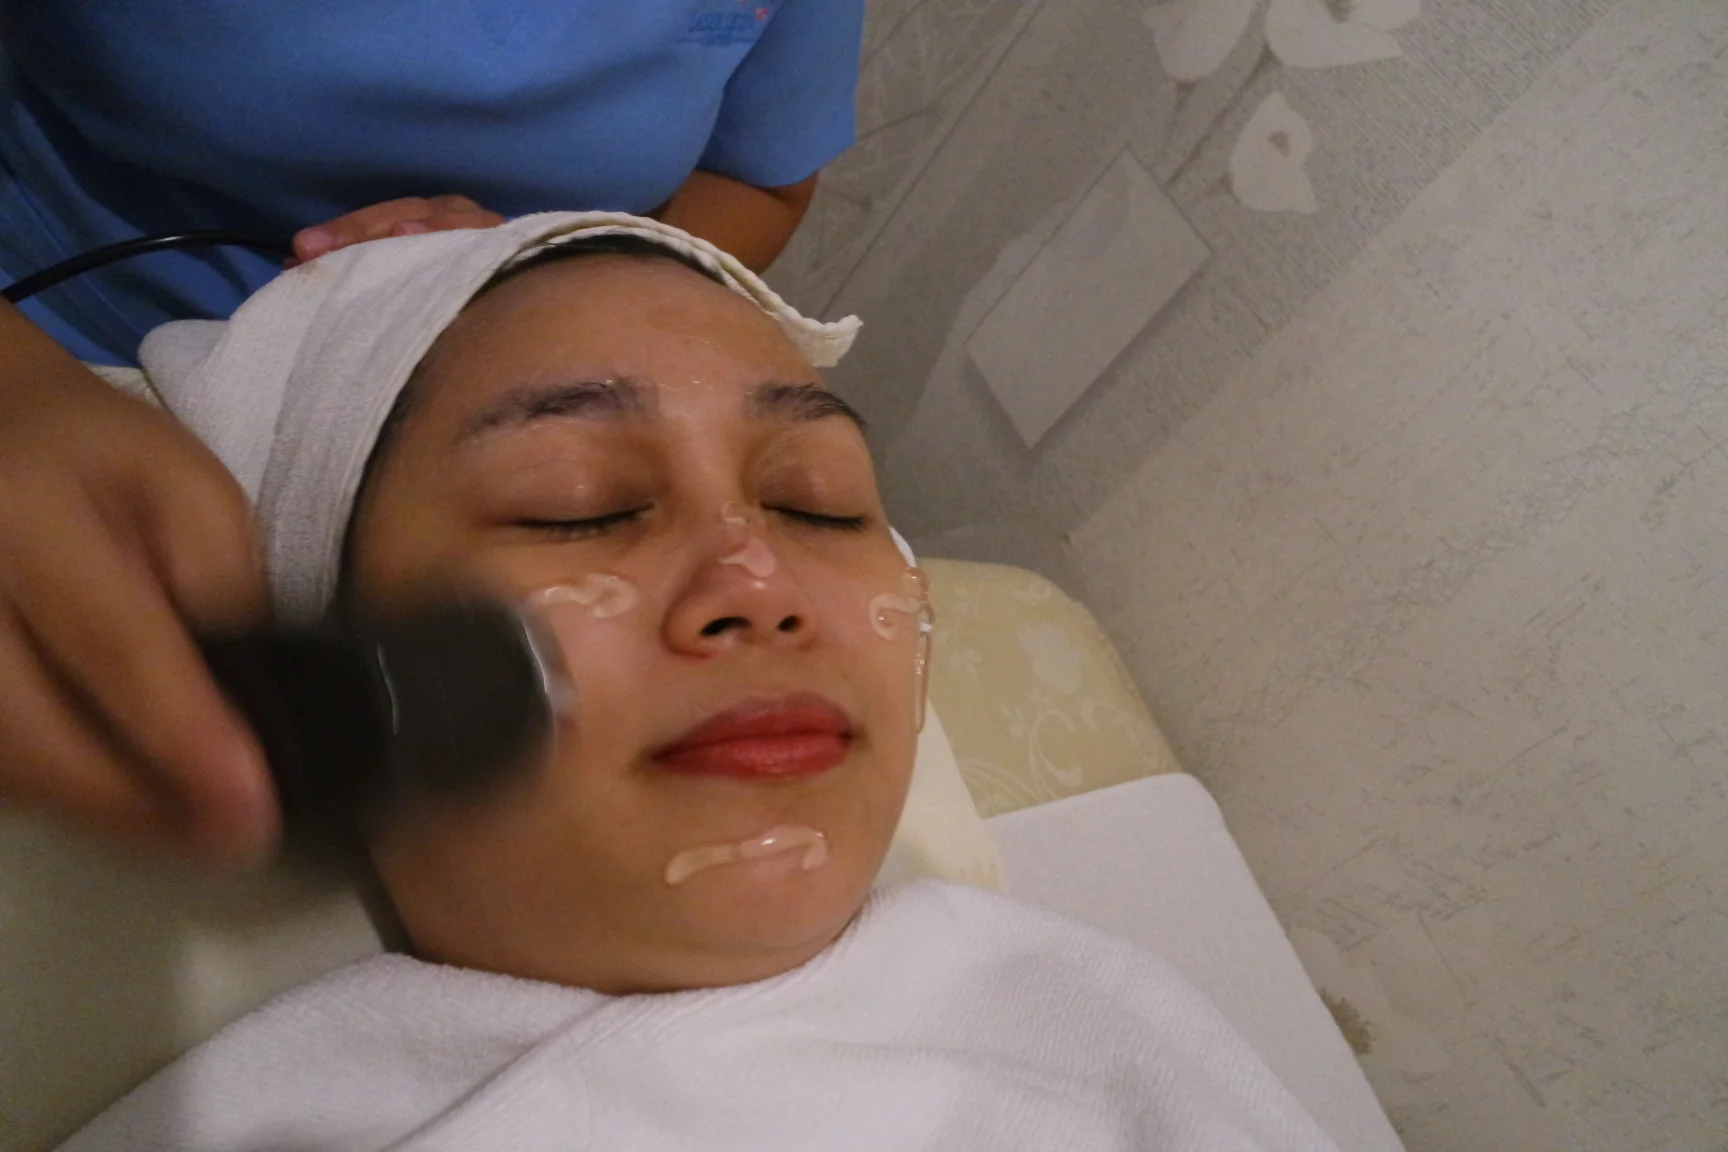
Step 6: Antioxidant infusion
Dr. Co came in to check on me during step 6, which I'm glad for because I didn't understand how this antioxidant infusion procedure worked. I was given a metal rod attachment to hold in my palm while the facialist applied vitamin C all over my face. It honestly seemed dubious at first and then I felt the first jolt. The rod I was holding was actually electrically charged! It sent mini shocks from my hand to the exact spot where the vitamin C was being applied to my face, which Dr. Co says allows the vitamin to be better absorbed by the skin.
It's a literally shocking experience and you'll feel a bit of a sting throughout the procedure. I don't think it was painful or unpleasant but I have a high tolerance. I think they can dial down the charge to a more comfortable level at your request.
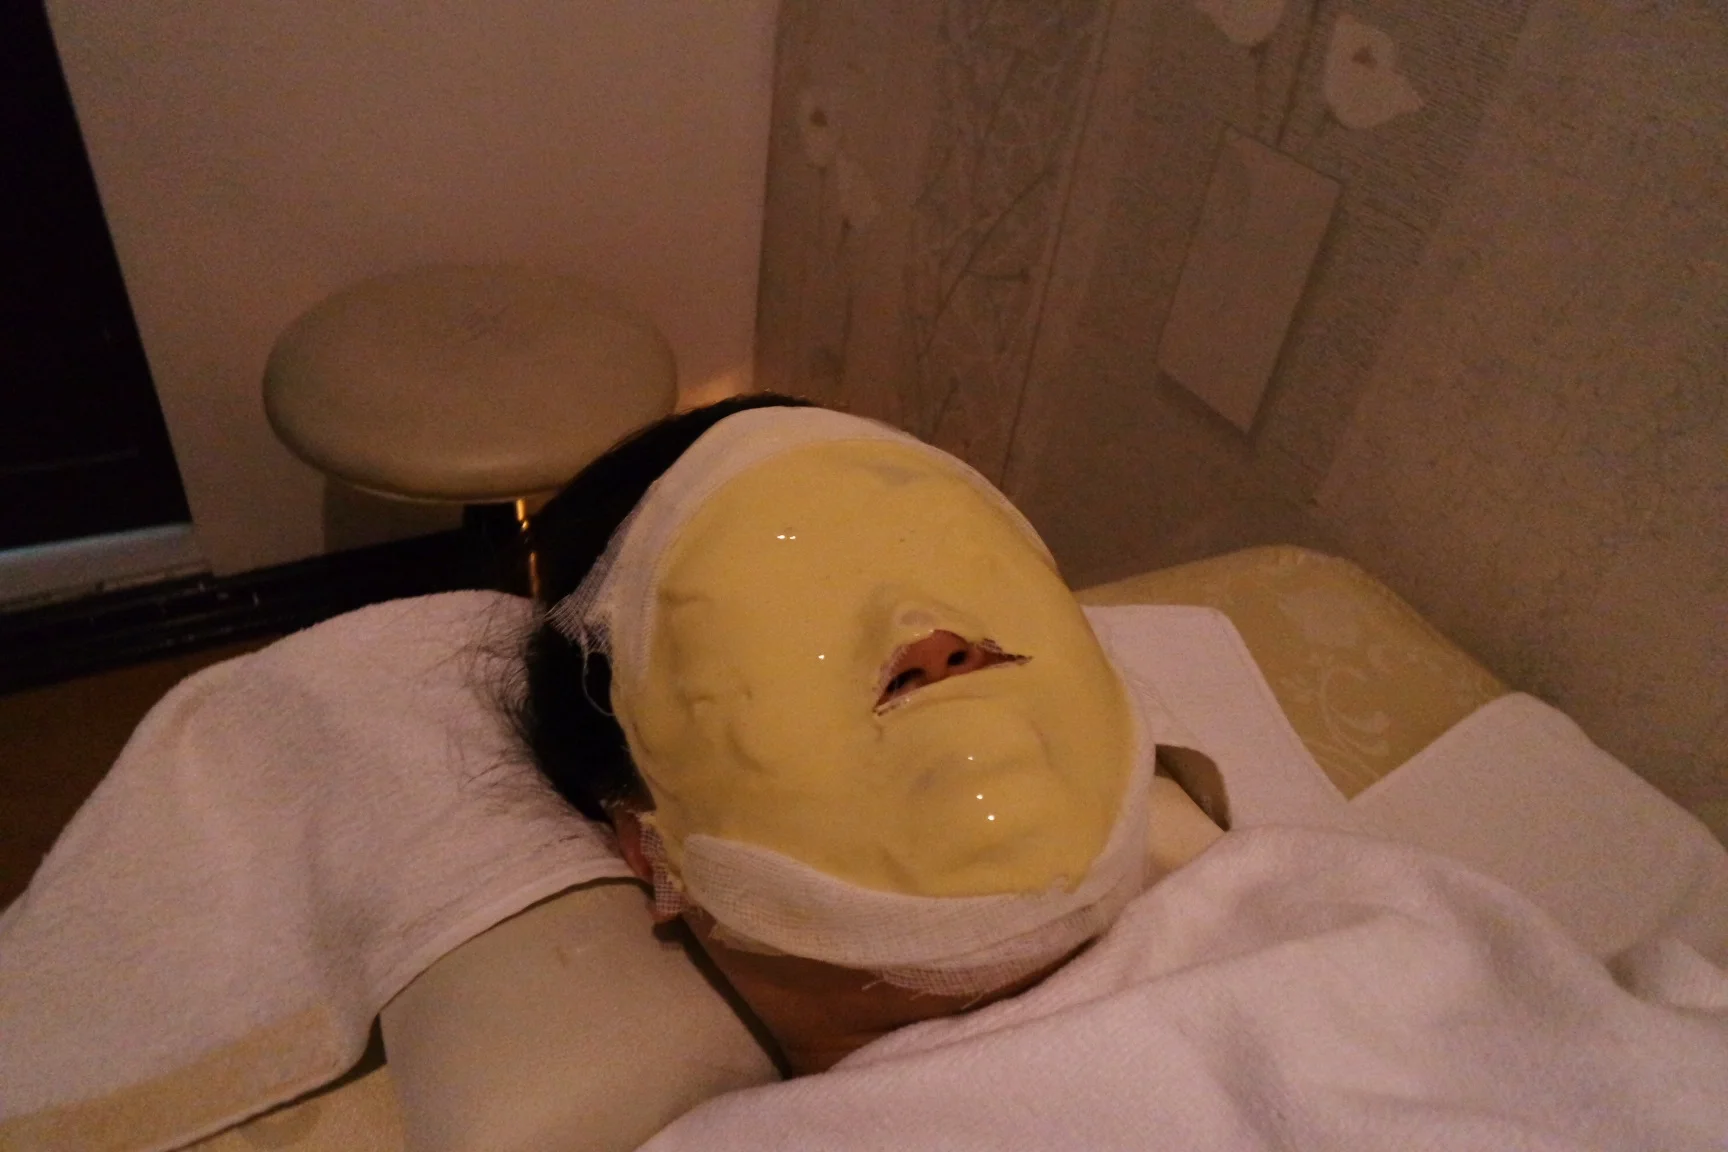
Step 7: Skin-soothing and anti-aging
The electric shock woke me up from my post-massage drowsiness so we were back to calming my skin with an anti-aging cold collagen mask. A layer of gauze was placed on my face and cotton pads on my eyes before the attendant slathered a thick layer of mask all placed all over.
It looks like those rubber masks that solidify into a plasticky-looking shell, and it's left on for about 15 minutes. It feels cool and calming so you use this time to take a quick nap. It becomes a hassle though when you get an itch on your face and can't scratch it.
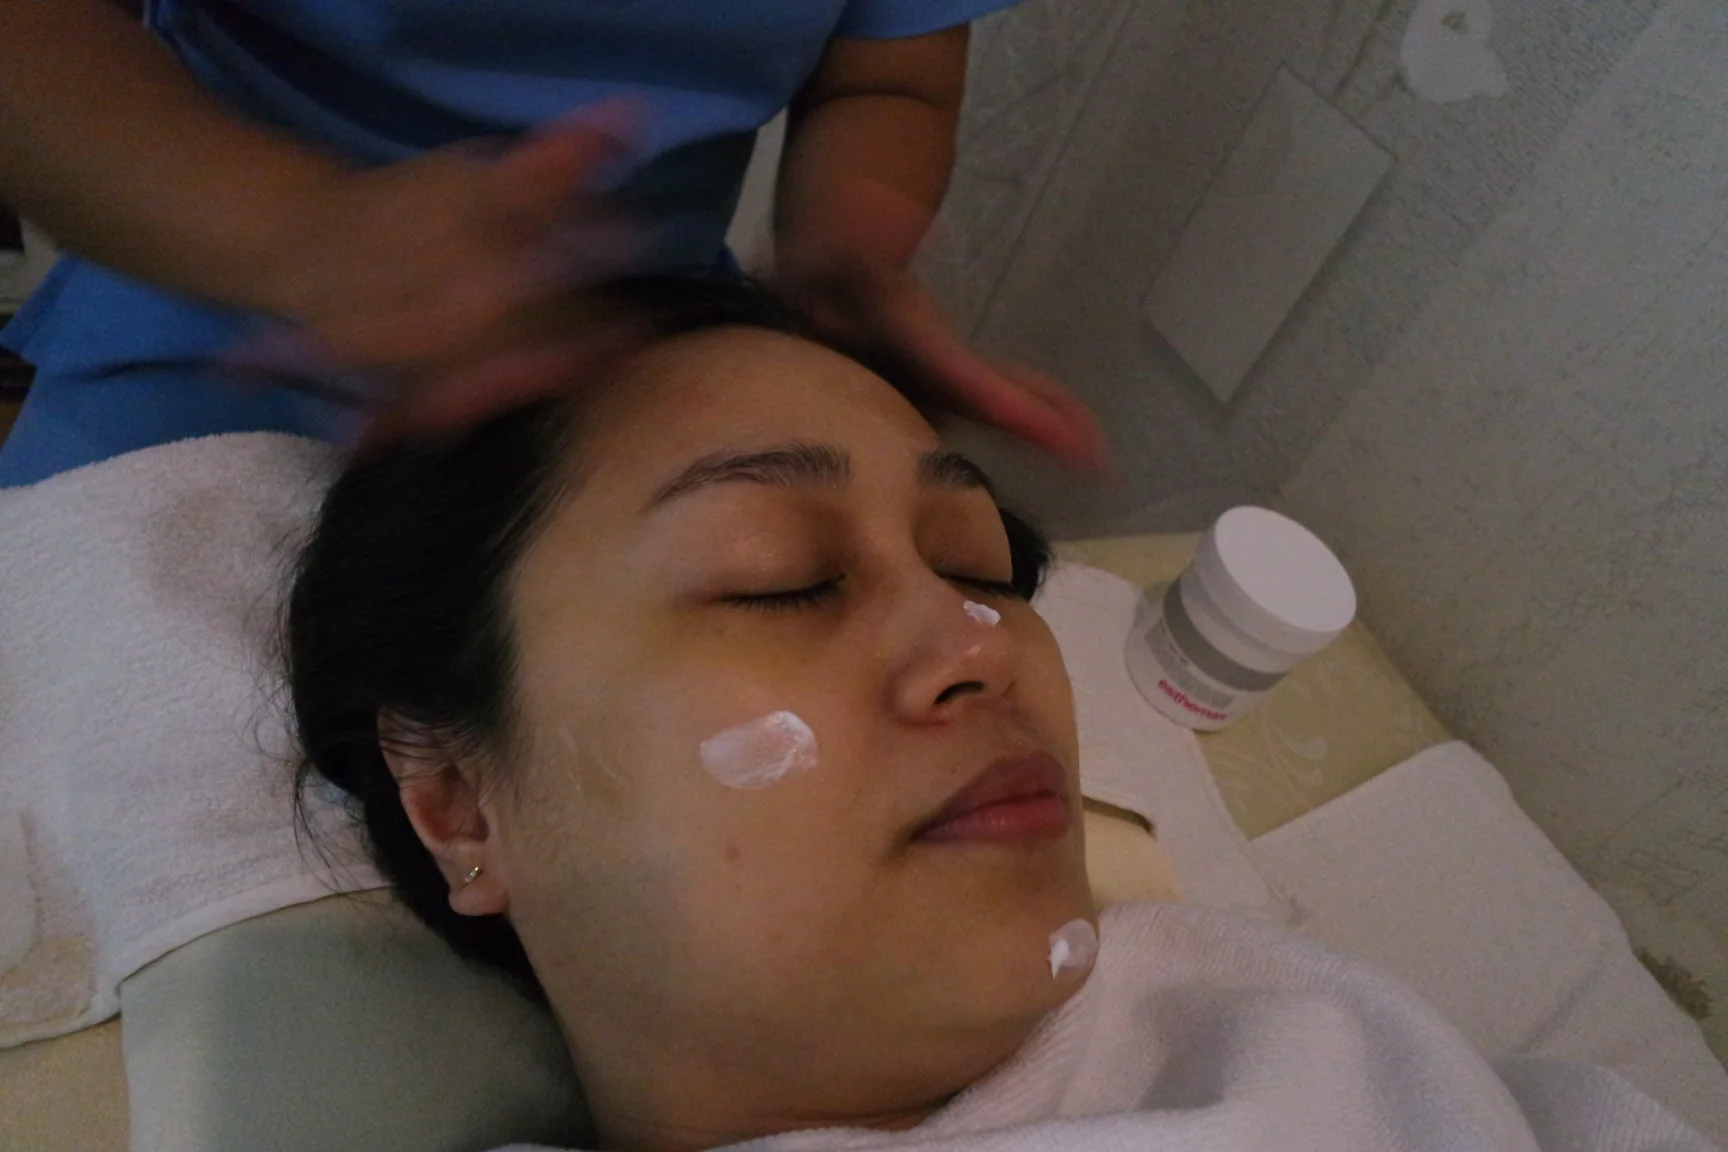
Step 8: Moisturize and protect
Finally, the mask was removed and moisturizer and sunscreen were applied to my face as the end step of the treatment. The Arbutin Cream 405 and the Sun 426 (SPF50+ PA+++) are both are by Korea-based organic skincare brand Esthemax. The sunscreen interested me because it's an oil-free formula and has that somewhat watery texture that I like. It dries matte and has a slight sour scent.
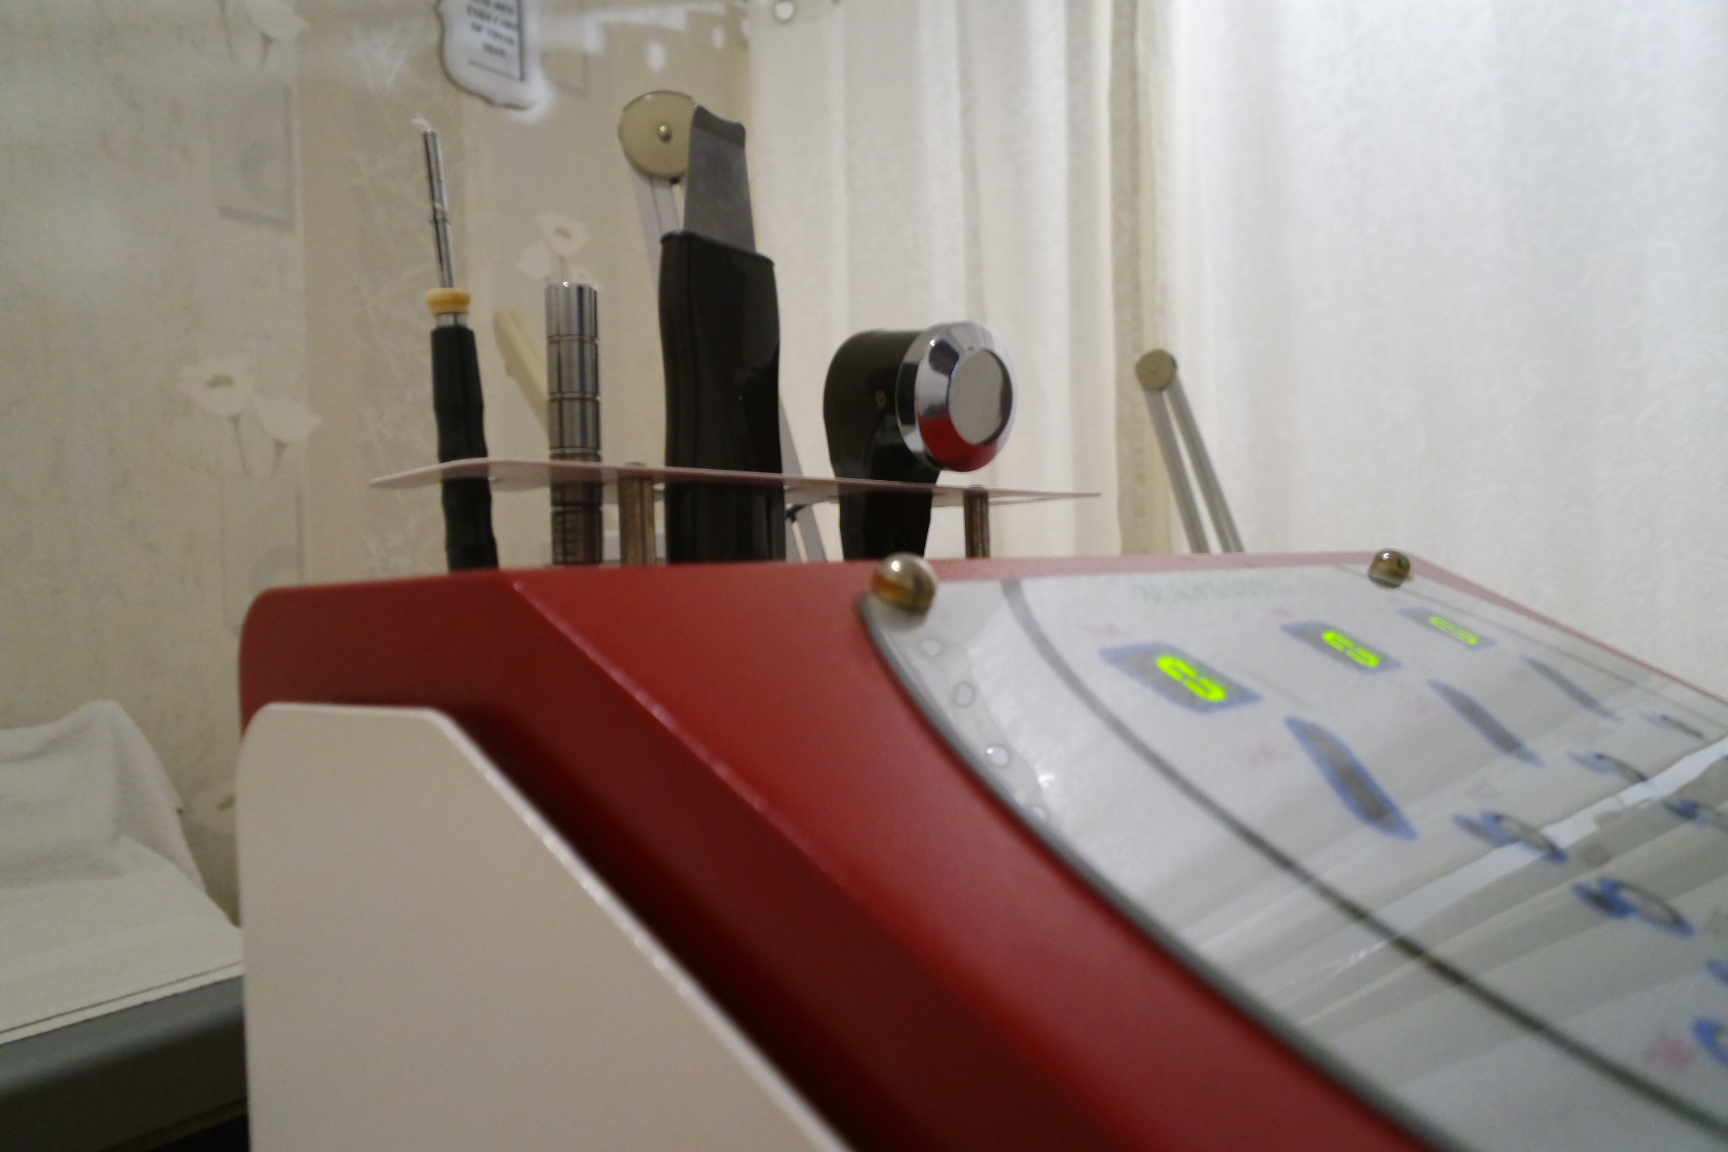
The machine and its various attachments
I'm happy to report that I woke up the next day to brighter-looking skin with no redness, which I always thought was the unavoidable effect of facial treatments. The texture was more refined and I can definitely see how regular treatment would completely elevate me to the next level of skincare goals! Dr. Co says that clients usually get this as a weekly treatment to both maintain their skin and as an alternative to a basic body massage. They even have male regulars because in Korean culture, making the effort to look good isn't just for women.
After the treatment
Less redness on the nose area, better skin clarity and texture, more defined jaw area (at least to me)
At P1,200 for a 90-minute session, this treatment is quite pricey but I do feel that it's a good investment option if you're looking to upgrade your skincare. I enjoyed a clear, healthy glow for up to a week after my treatment, a benefit far more long-term than anything I can hope to get from applying masks and creams on my own. If it's something you can afford to splurge on even once a month, I'd say go for it. It's only the second facial I've had in my life but the results seem to indicate that it can slowly and permanently change your skin for the better.
Do you get regular facials? What do you think of this Korean version?
This service was provided for free to the author.
O2 Laser Skin Center is located at G/F Unit A, Waypoint Building, 4 Bayani Road, corner AFPOVAI Phase 5 Gate, Taguig City (across Shell station, beside Western Union and 2Go). Contact 09288740580 (Smart) and 09151350515 (Globe) for appointments and inquiries.