

My updated eyebrow routine: Five steps to killer kilay
Eyebrows are intensely personal to each of us. There's a different combination of shape, color, hair growth, hair thickness, even bone structure for every person, which is why brows can be such a tricky area to master! There's no one way to do eyebrows perfectly. It really depends on the look you want and the time you have.
I normally only require one product for my eyebrows for a daily look; could be a pen, pencil, wax, or powder depending on what I need to try out at the moment. When I'm going to events though I always spend the time to layer different formulas to get more photogenic brows - meaning, they are visible and on fleek even on video or flash photography. I notice that if my brows are too natural, they disappear in very bright or dark lighting! So yes, thicker brows are non-negotiable for certain occasions.

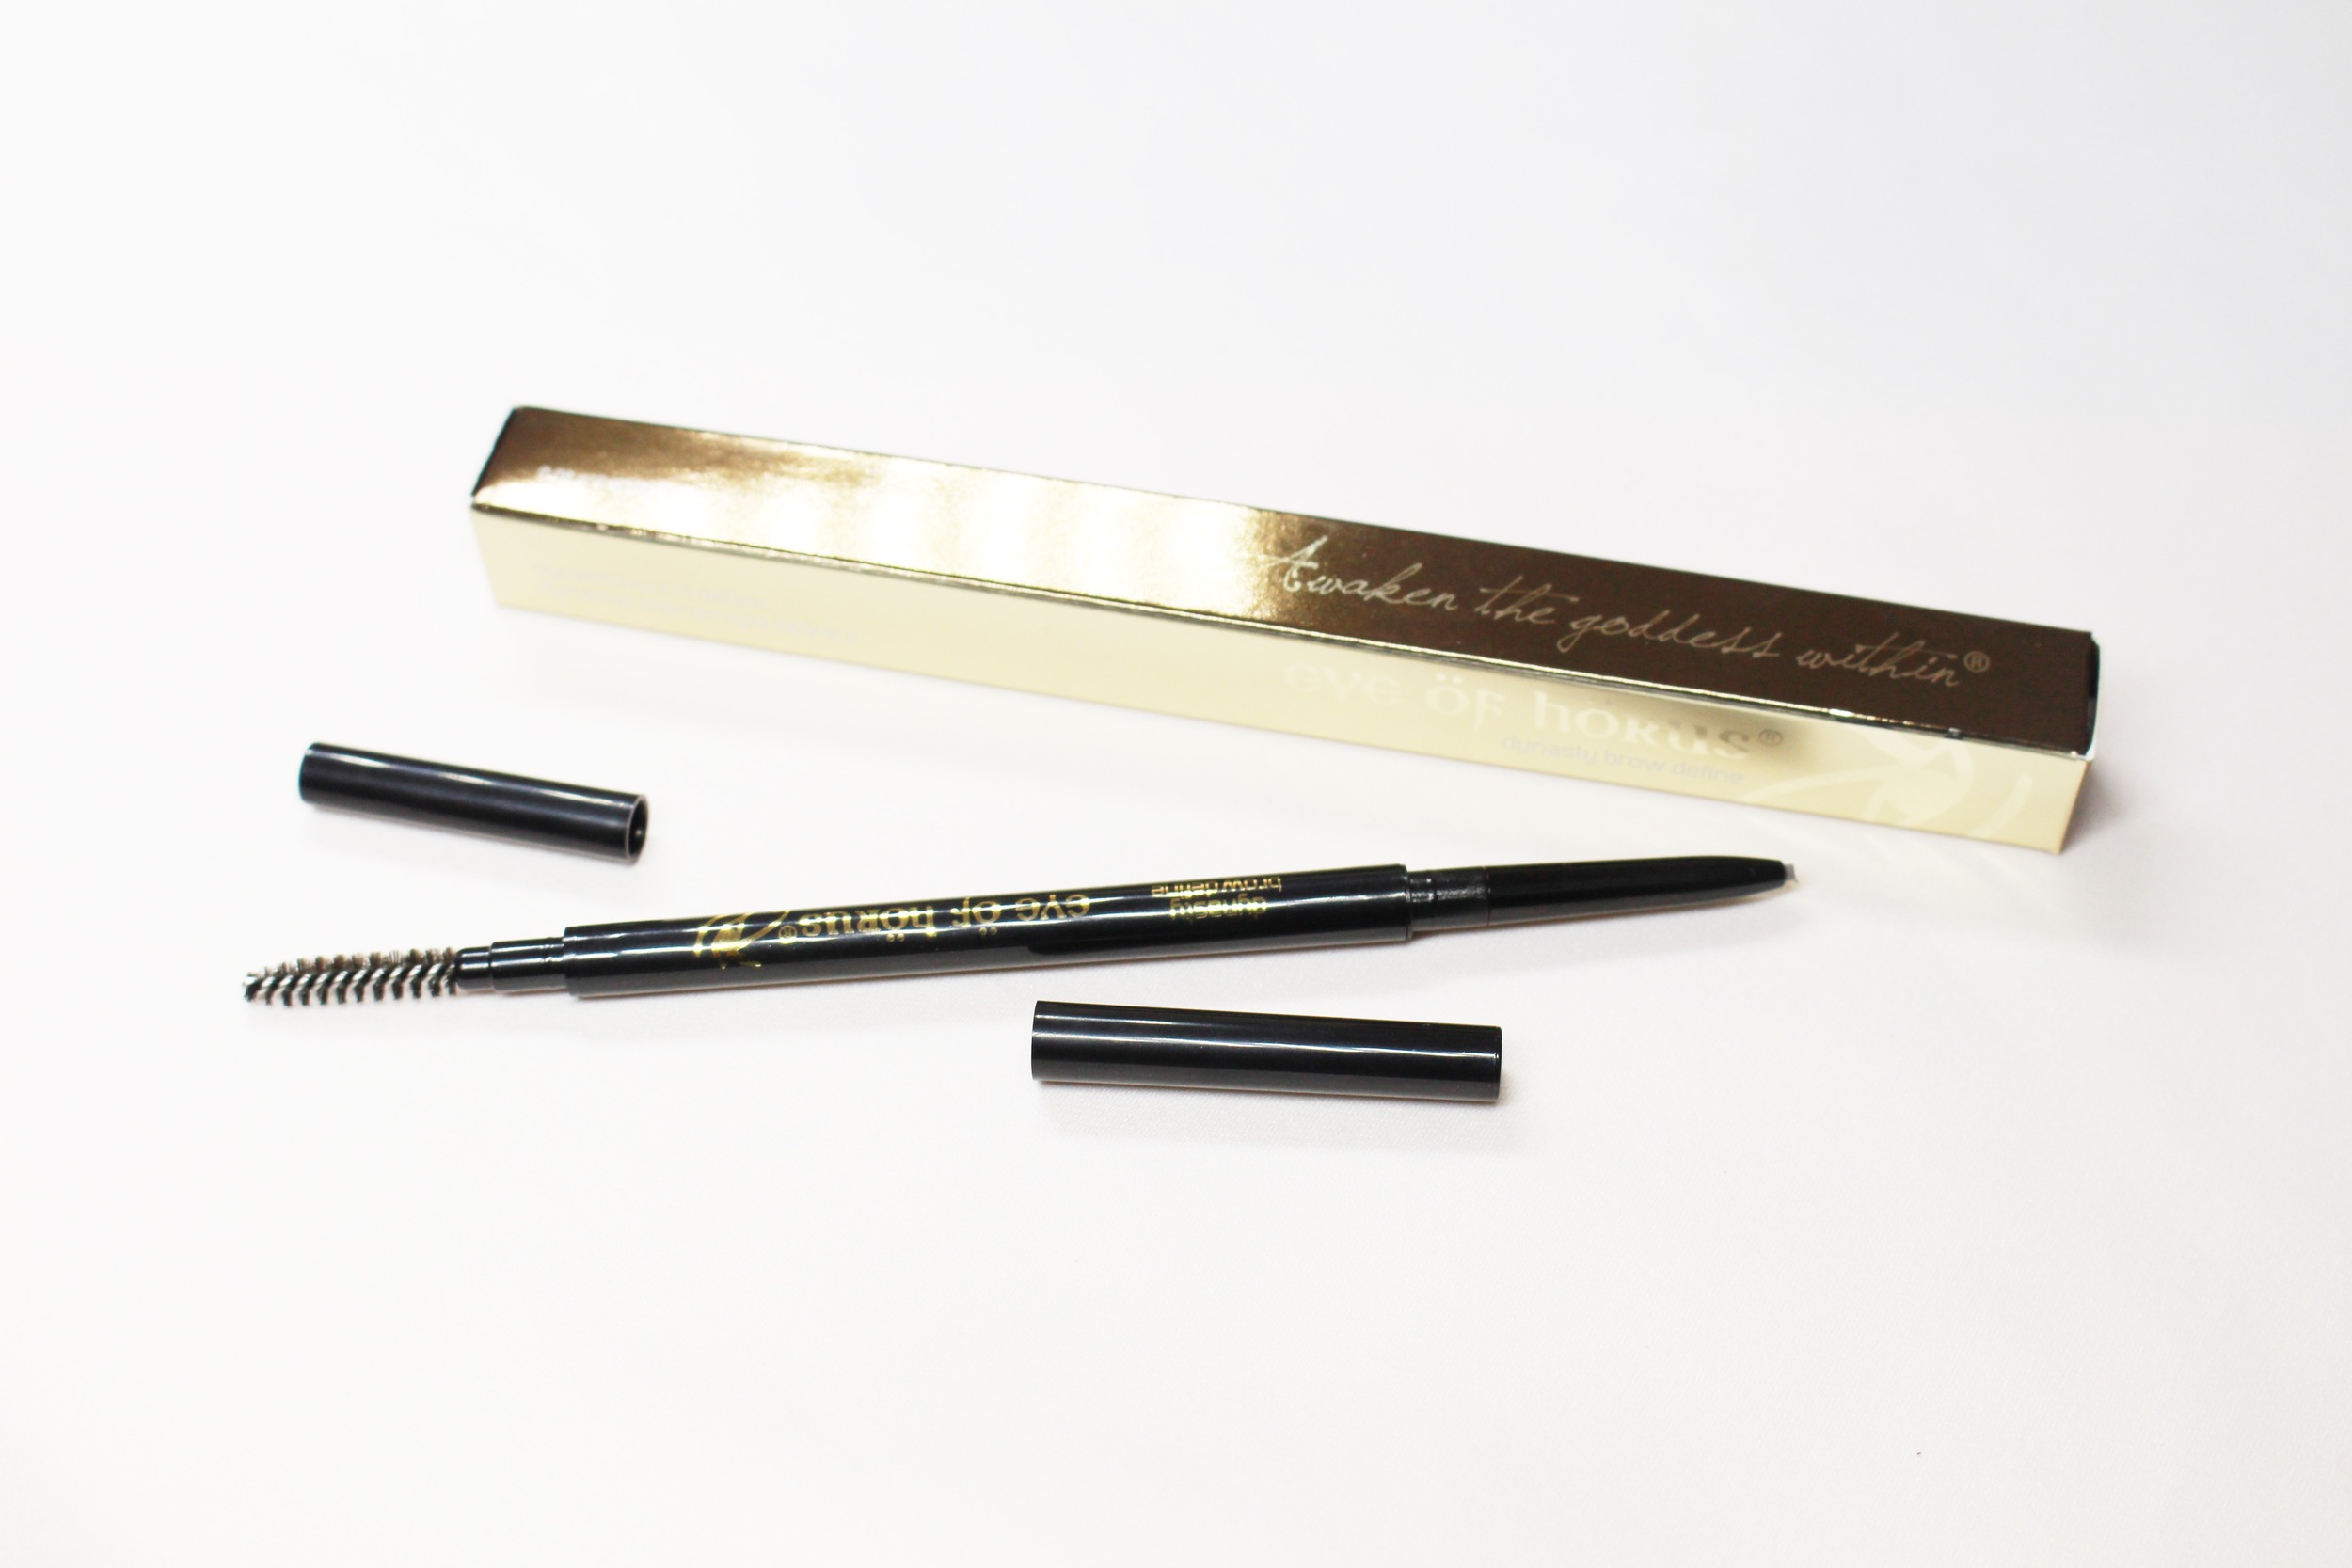
Layering products also makes brows stay put, even in hot and humid weather. I'm a huge fan of the K-Palette 2-Way Eyebrow Liquid as you know. When it comes to pencils though, my favorite has to be the Eye of Horus Brow Define in Dynasty (which has been a staple in my kit for a year now)! Love the color and softness. I also love setting my brows using the mascara end of the Eye of Horus Brow Perfect. This tinted mascara manicures my brows and softens them even more so that they don't look harsh, even with so many layers.
So! I made a video of how I currently do my eyebrows for interesting occasions. ^_^ I also made GIFs to break down the process. I'd love to know if you like this tutorial format!
PS Yes I have a small pimple on my eyelid. 0_0 Sorry about that!

Step 1: Clean and brush up your brows before putting any makeup on them. If you do your brows after foundation, they get caked on by product which makes them look ashy. Wipe them with tissue or cotton buds, then brush them to remove whatever remains. Brushing also reveals the true shape of your kilay so it's easier to shade them later on.
Step 2: Outline your brows according to your desired shape. Of course, you still have to generally follow the shape and existing hair you have on there. I like making my kilay thicker and longer, as it makes my wide face appear a bit smaller. Use broad strokes and a feather light hand to outline! I like using pencils or pens for this.
Step 3: Fill in your brows using small, quick strokes as if you're drawing on tiny hair. In this part of the process, you don't want to create any obvious lines. You'll need to follow the hair growth, too, so as to mimic the natural appearance of hair. With a spoolie, remember to break down any heavy lines you might have formed!
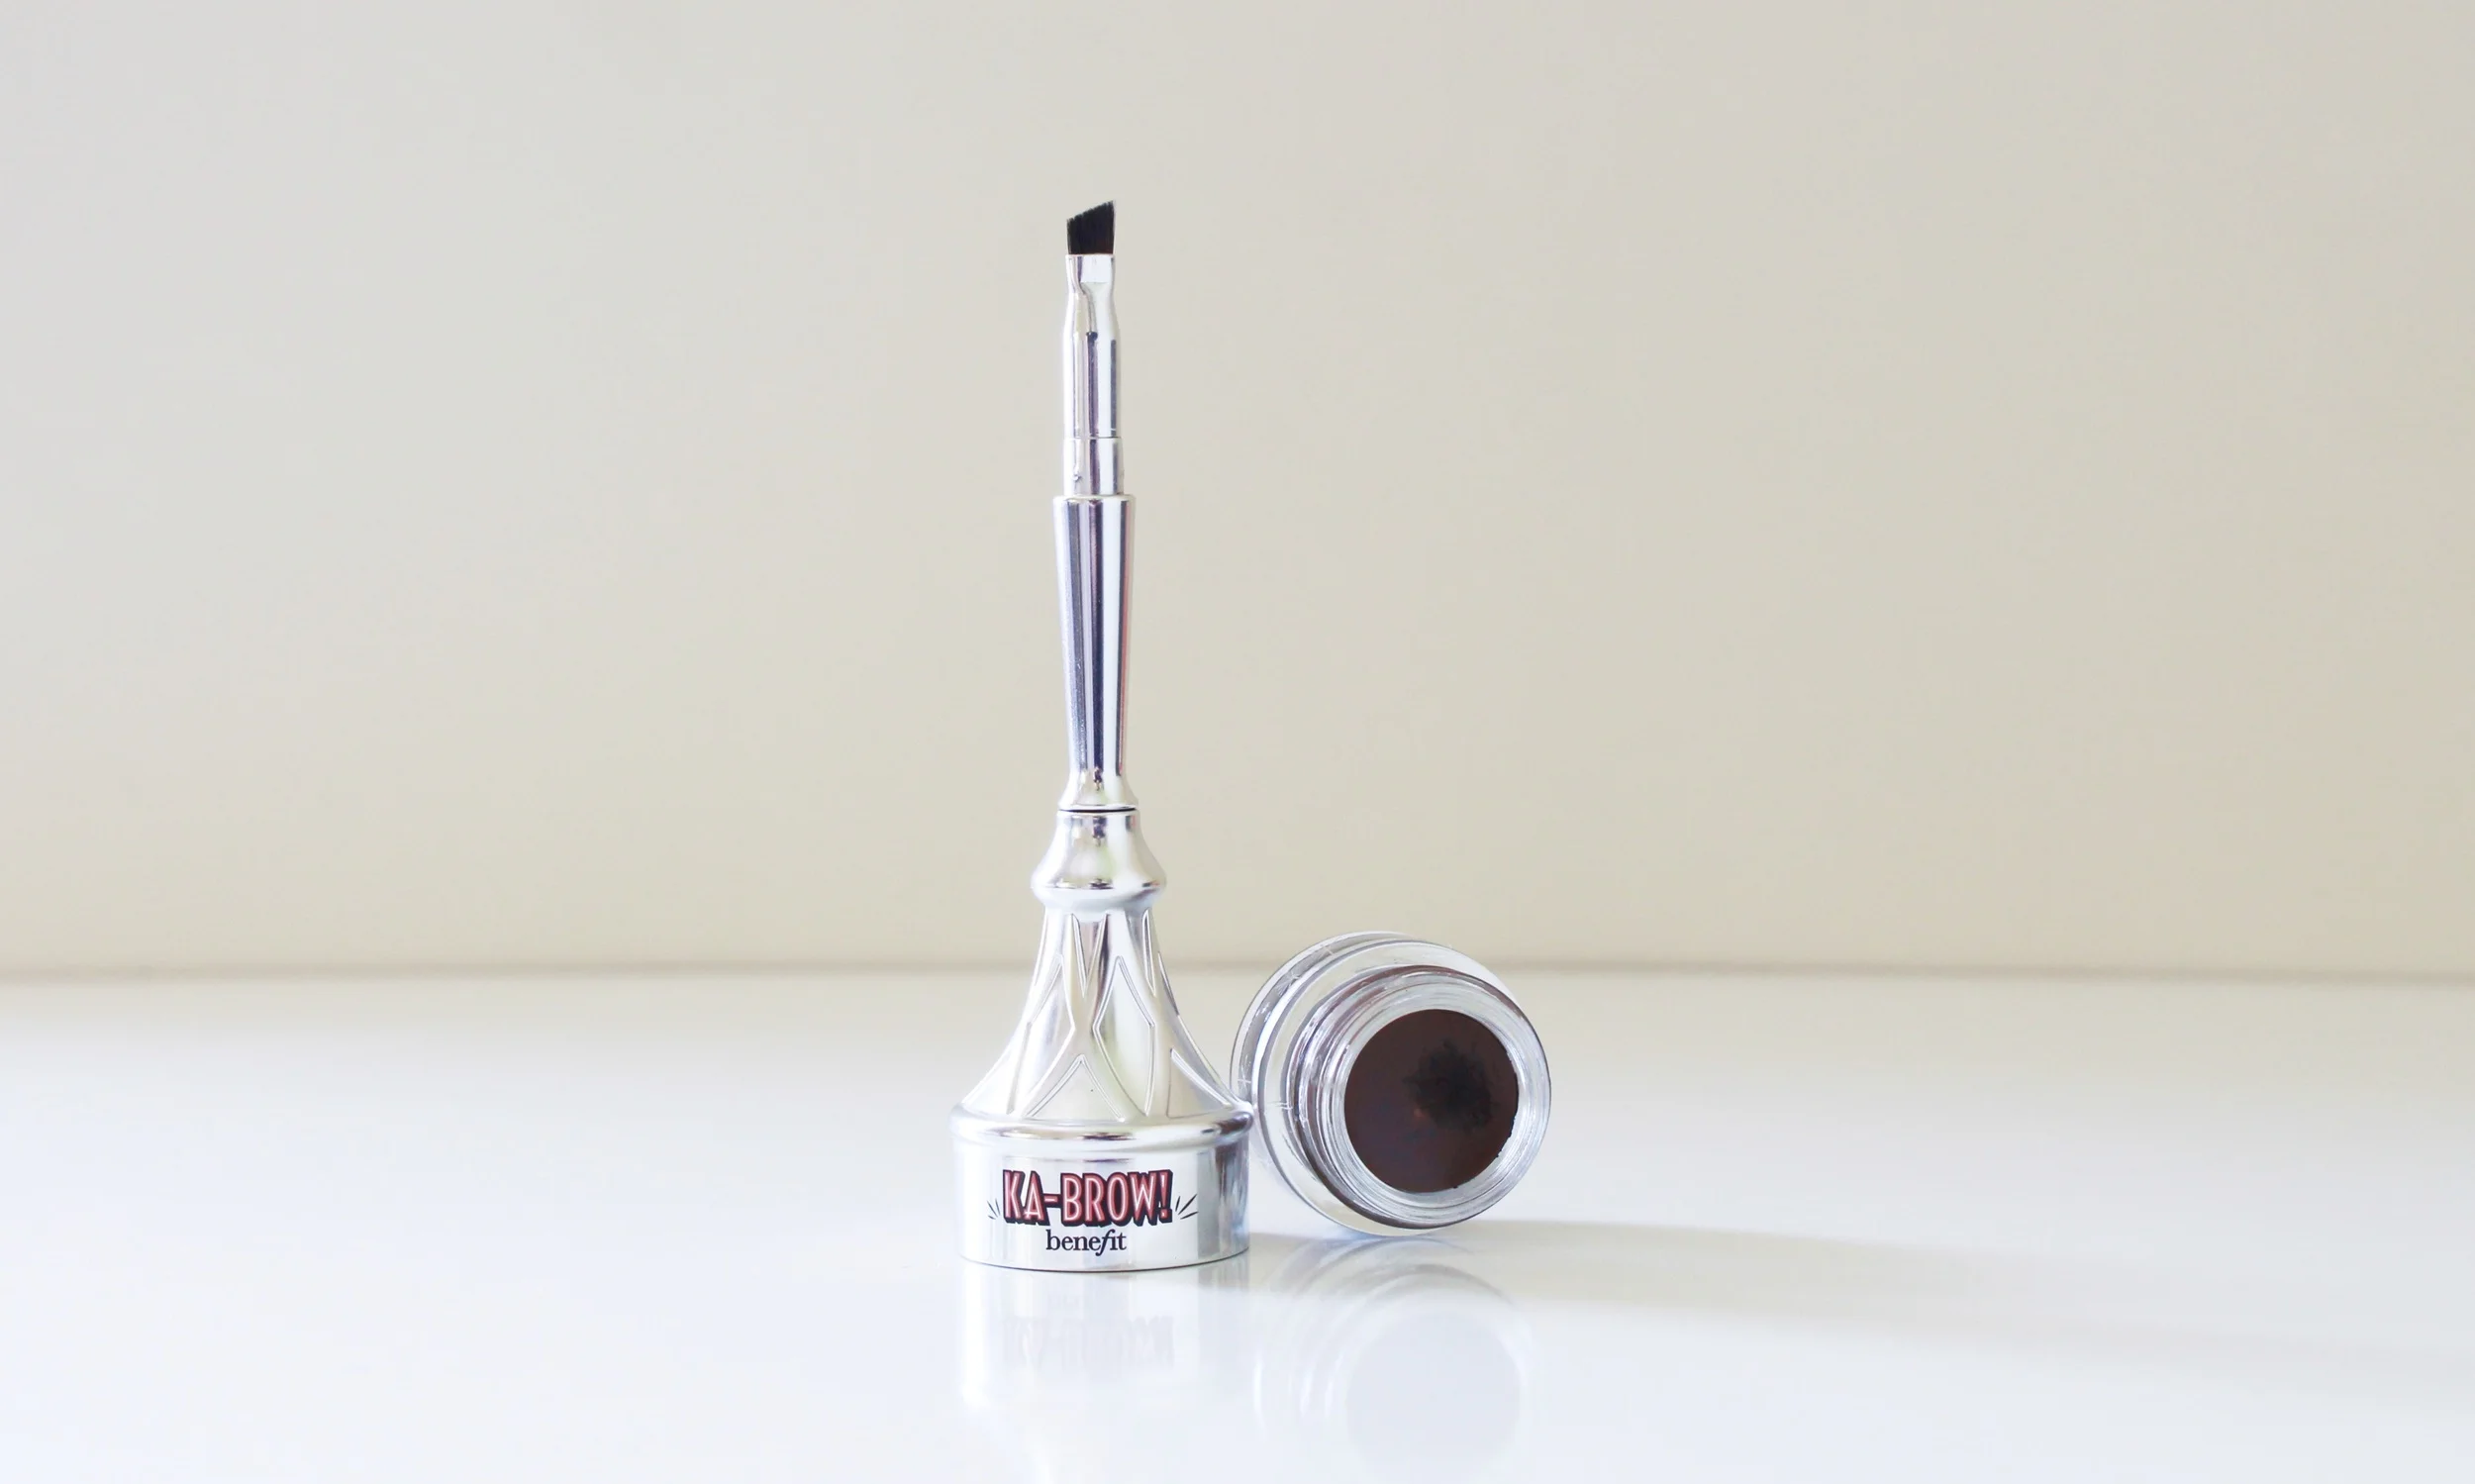
Benefit Ka-Brow is out now!
Step 4: Use a dark shade to create the illusion of depth and thickness. This is a tricky tip, but so, so useful once you get the hang of it! You don't need to do this if you have thick brows but if you have sparse ones like mine, it's a lifesaver. So. The dark shade (about two shades darker than your filling-in color) must be applied in precise points where you need to fake more hair - that would be right on the inner brows, arch, and the tail. If you thicken your brows like I do, you might also want to apply also on the area where there is zero hair.
I actually use black eyeshadow for this! It's just like painting, where you create shadows to make an object look more dimensional. I also currently love the new Benefit K-Brow Cream-Gel Color in 04 Medium (just out this week!) which stays on forever and is the perfect shade for the job. Stays on forever too! Please refer to the video to get a closer look.
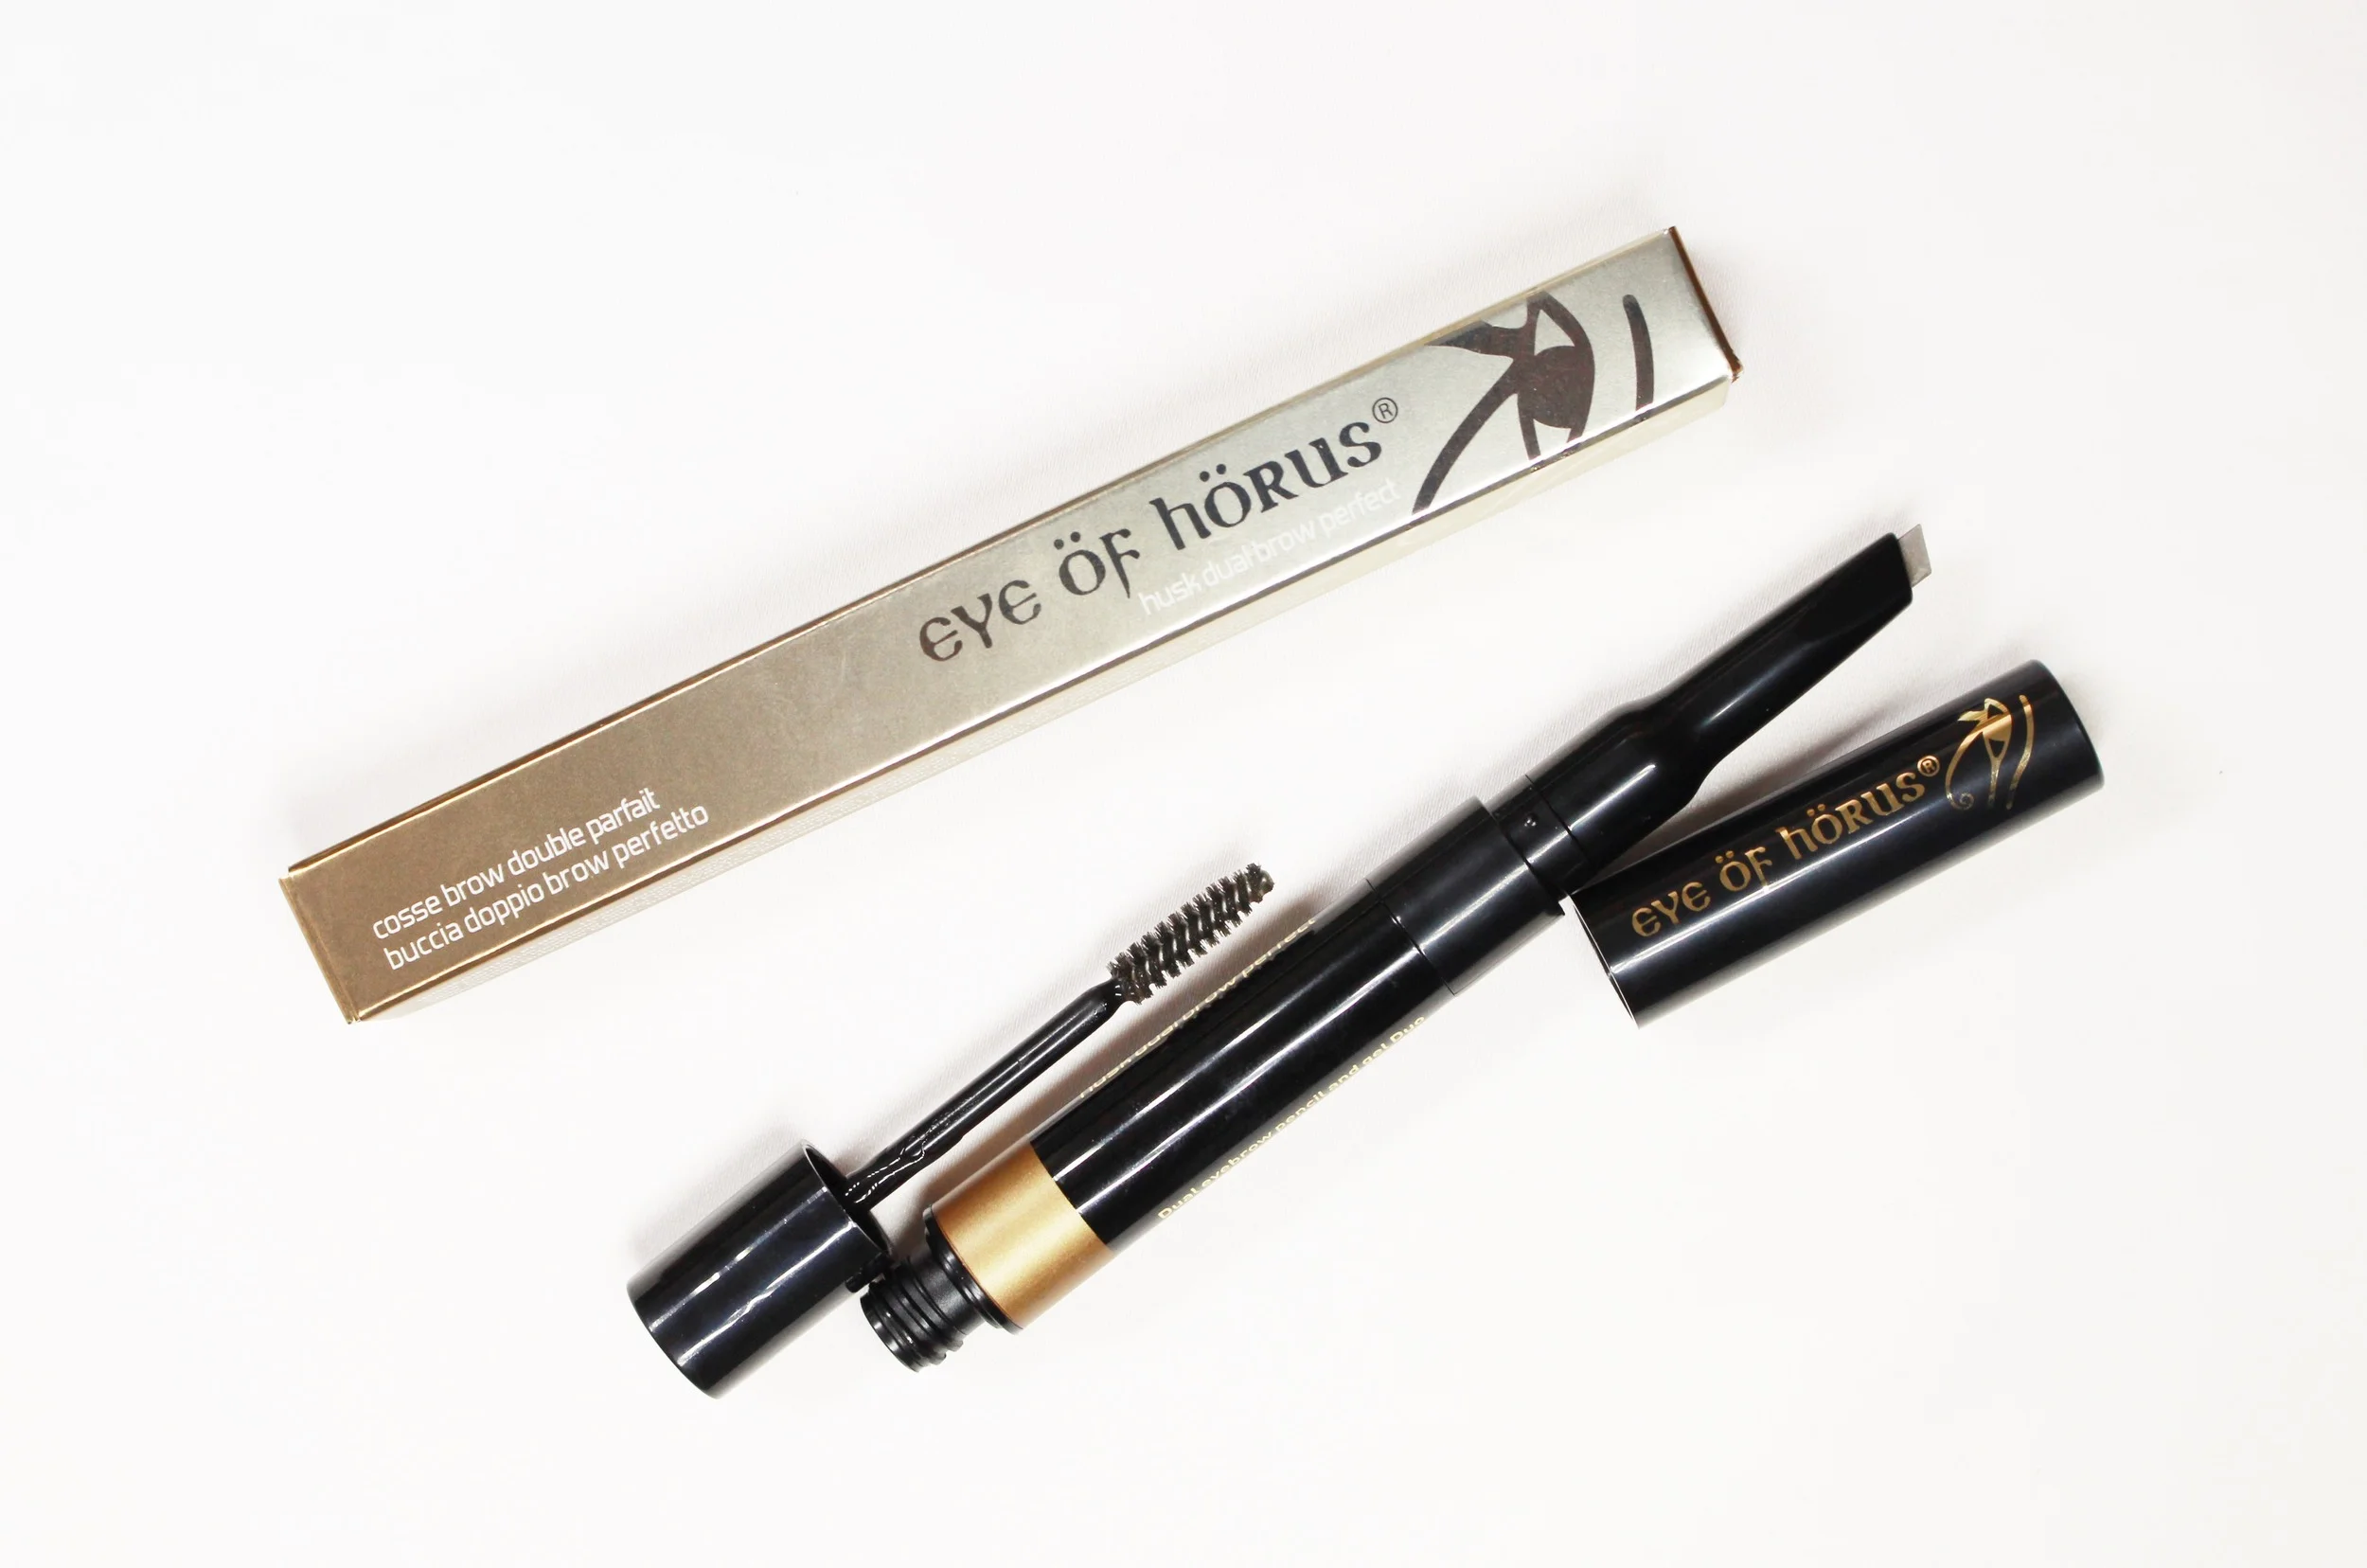
Step 5: Arrange your brows into place and seal everything together with an eyebrow mascara. I prefer an almost clear one at this stage. The Eye of Horus browcara has an excellent wand and texture, since it breaks down product a little bit to create smoother brows that go in a neat direction. You know how sometimes eyebrow makeup tends to get clumpy or bunchy? A clear mascara can flatten them to create thick but still realistic brows like below.

If you make mistakes or go beyond your desired shape, use clean cotton buds to mop up the area. ^_^ And that's it! Hope you enjoyed my tutorial! Let me know what you think, and if there are any specific ones you'd like me to do next!