

How to clean your cushion compact sponge like an adult
So you’ve finally found the cushion compact of your dreams. Congratulations! Whether you found The One via recos list, discovered it while browsing your favorite beauty haunts, or ventured to make your own, it’s satisfying to finally get the coverage and skin-improving qualities you’ve been looking for in a face base. But did you know that effort into finding and creating a flawless complexion can be undone by a dirty sponge?
Think about it: you’ve been using the same sponge daily to pat on a moist beauty product. Once you're done patting, you simply pop the sponge it back into the compact before it’s had a chance to dry. Think of all the bacteria living in that wet and dark environment. Gross, right? If you make sure to keep your brushes and other tools clean (and you definitely should!), it’s important to do the same for your CC puff. They are particularly tricky to clean though, owing to the water-resistant nature of most cushion formulas and the multi-layered design of the sponge itself, but we found a way to purge it of every last drop of product build-up. Here’s how!
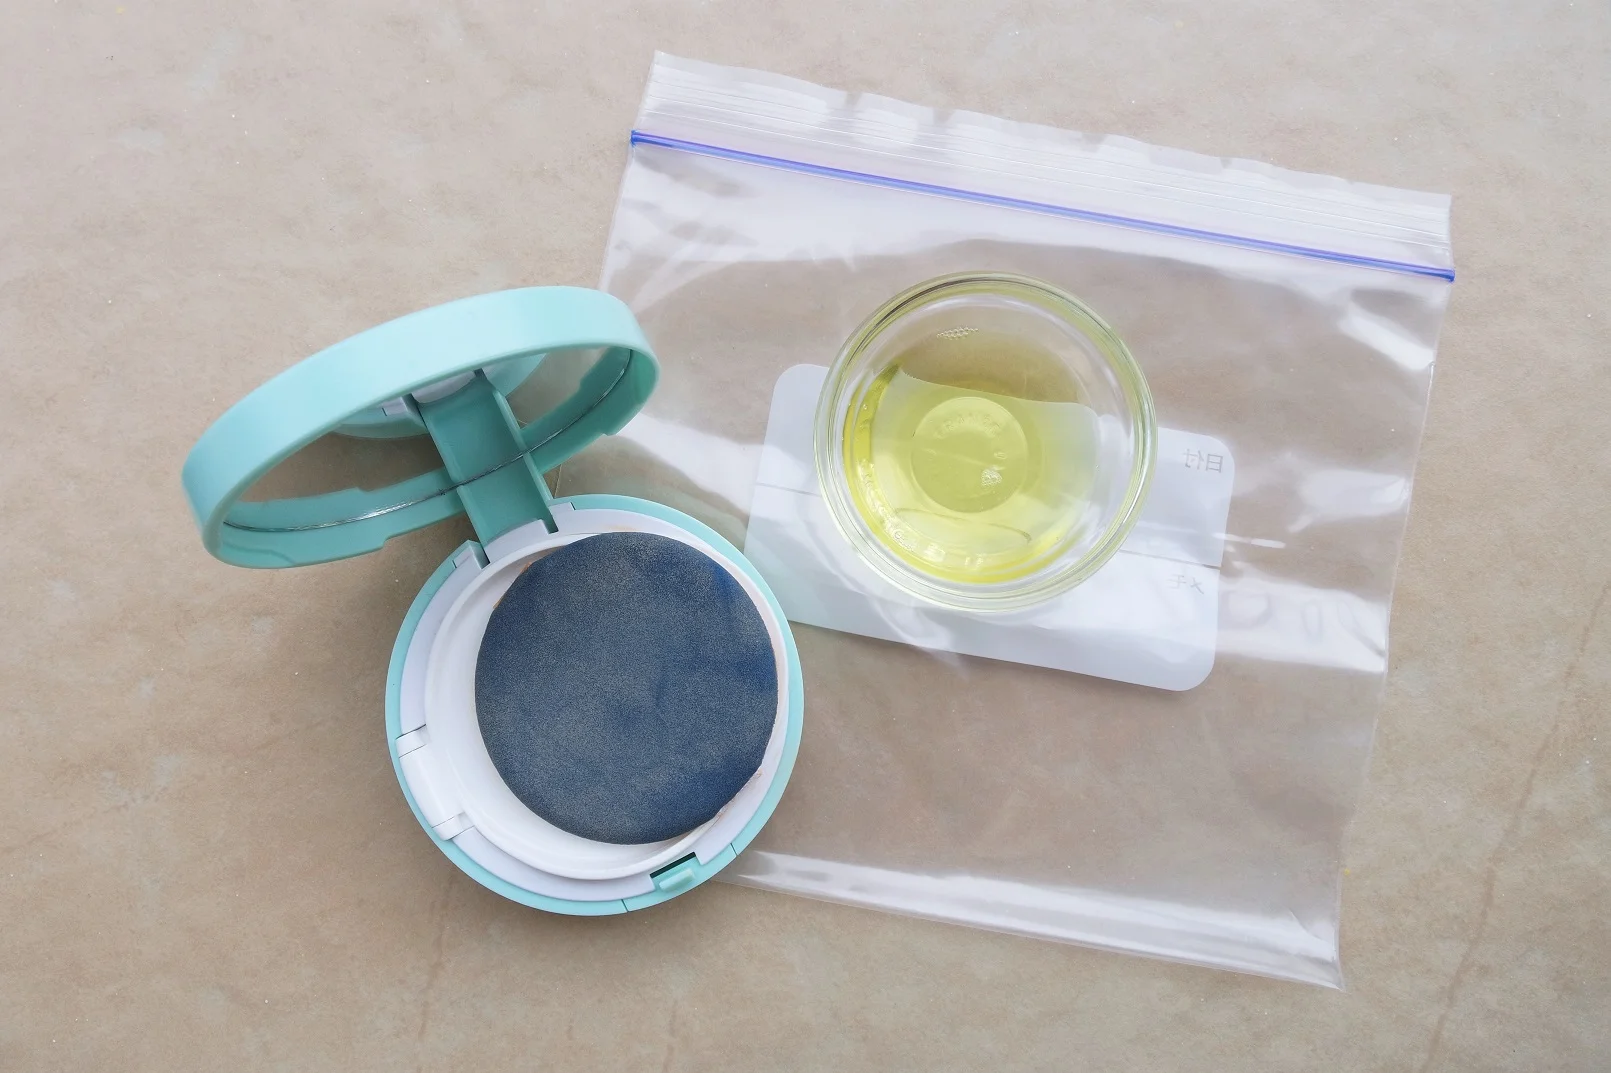
What you will need:
- Dirty (but still usable) cushion makeup sponge
- Ziploc bag (I picked up a box of 30 for P88 in Daiso)
- Diluted dishwashing liquid (1:2 ratio of soap to water)
Step 1: Pour the soapy water into the ziploc bag and pop in your dirty sponge. Seal the bag.
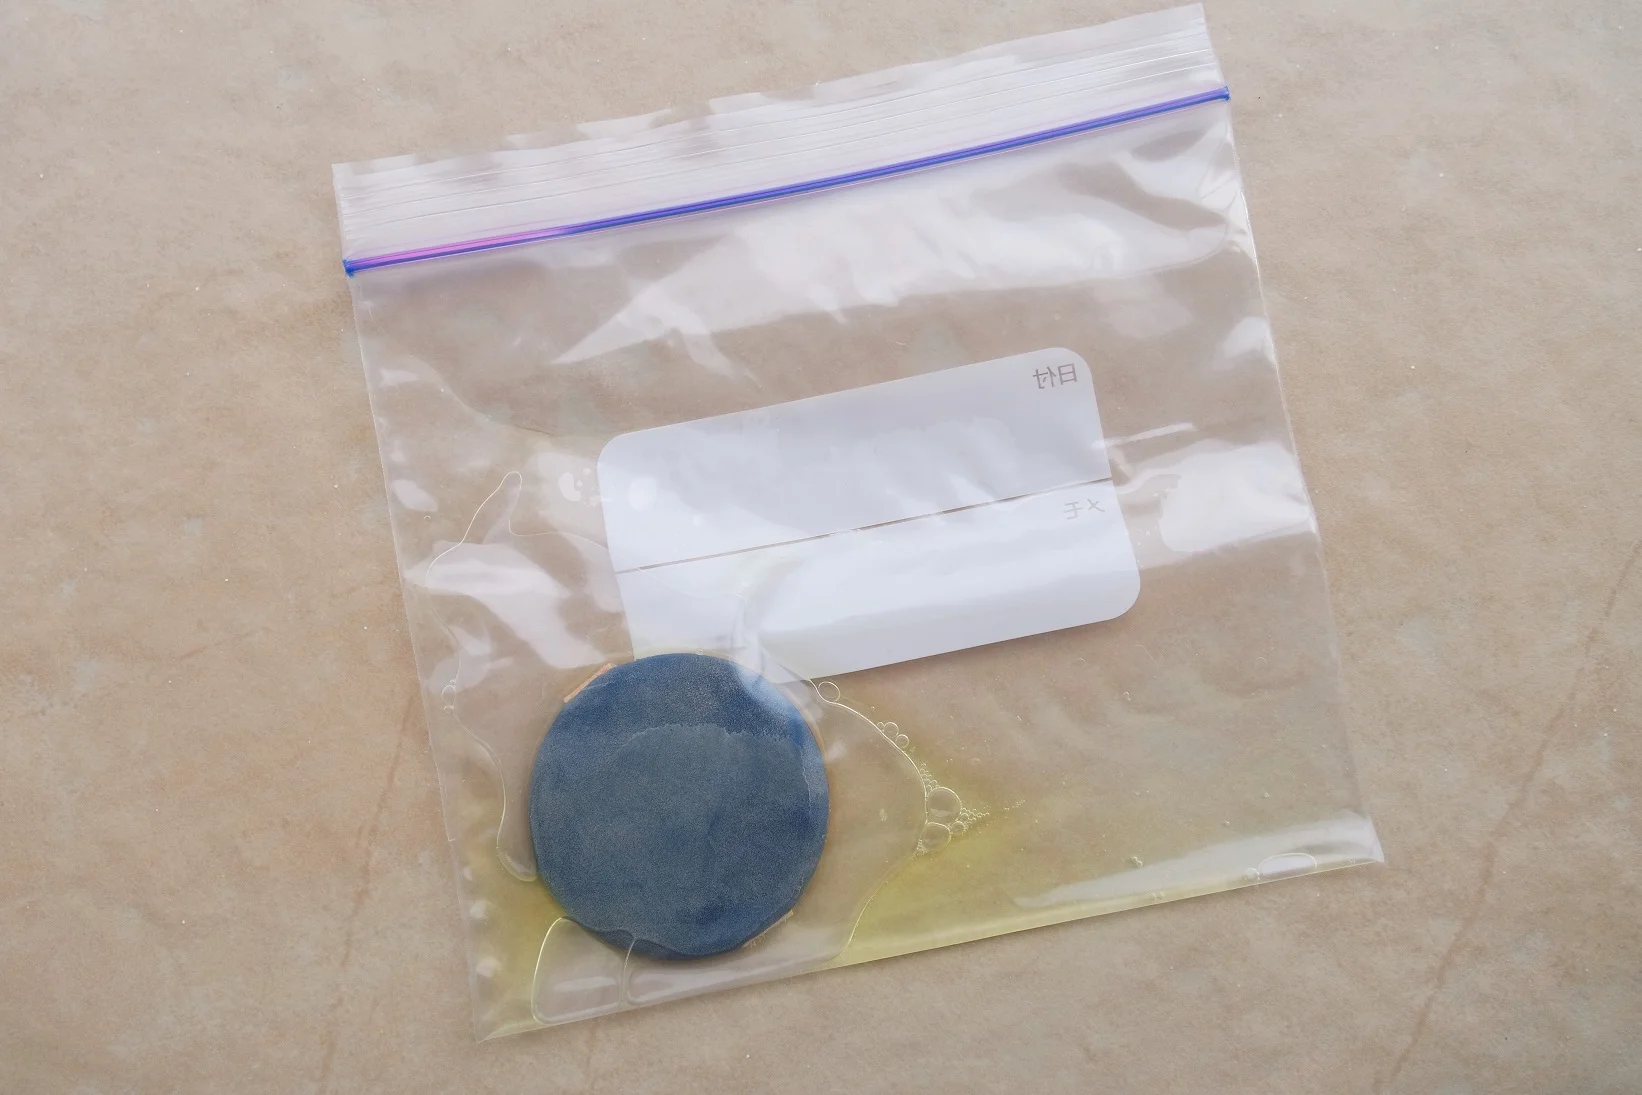
Step 2: Lightly press the sponge to get it wet and to activate the soap. You can also slide the plastic back and forth between your thumb and fingers to give the sponge a good rub. We don’t recommend squeezing or crushing the sponge as it may get deformed or even destroyed in the process. The water will start to turn murky as the product loosens from the sponge.
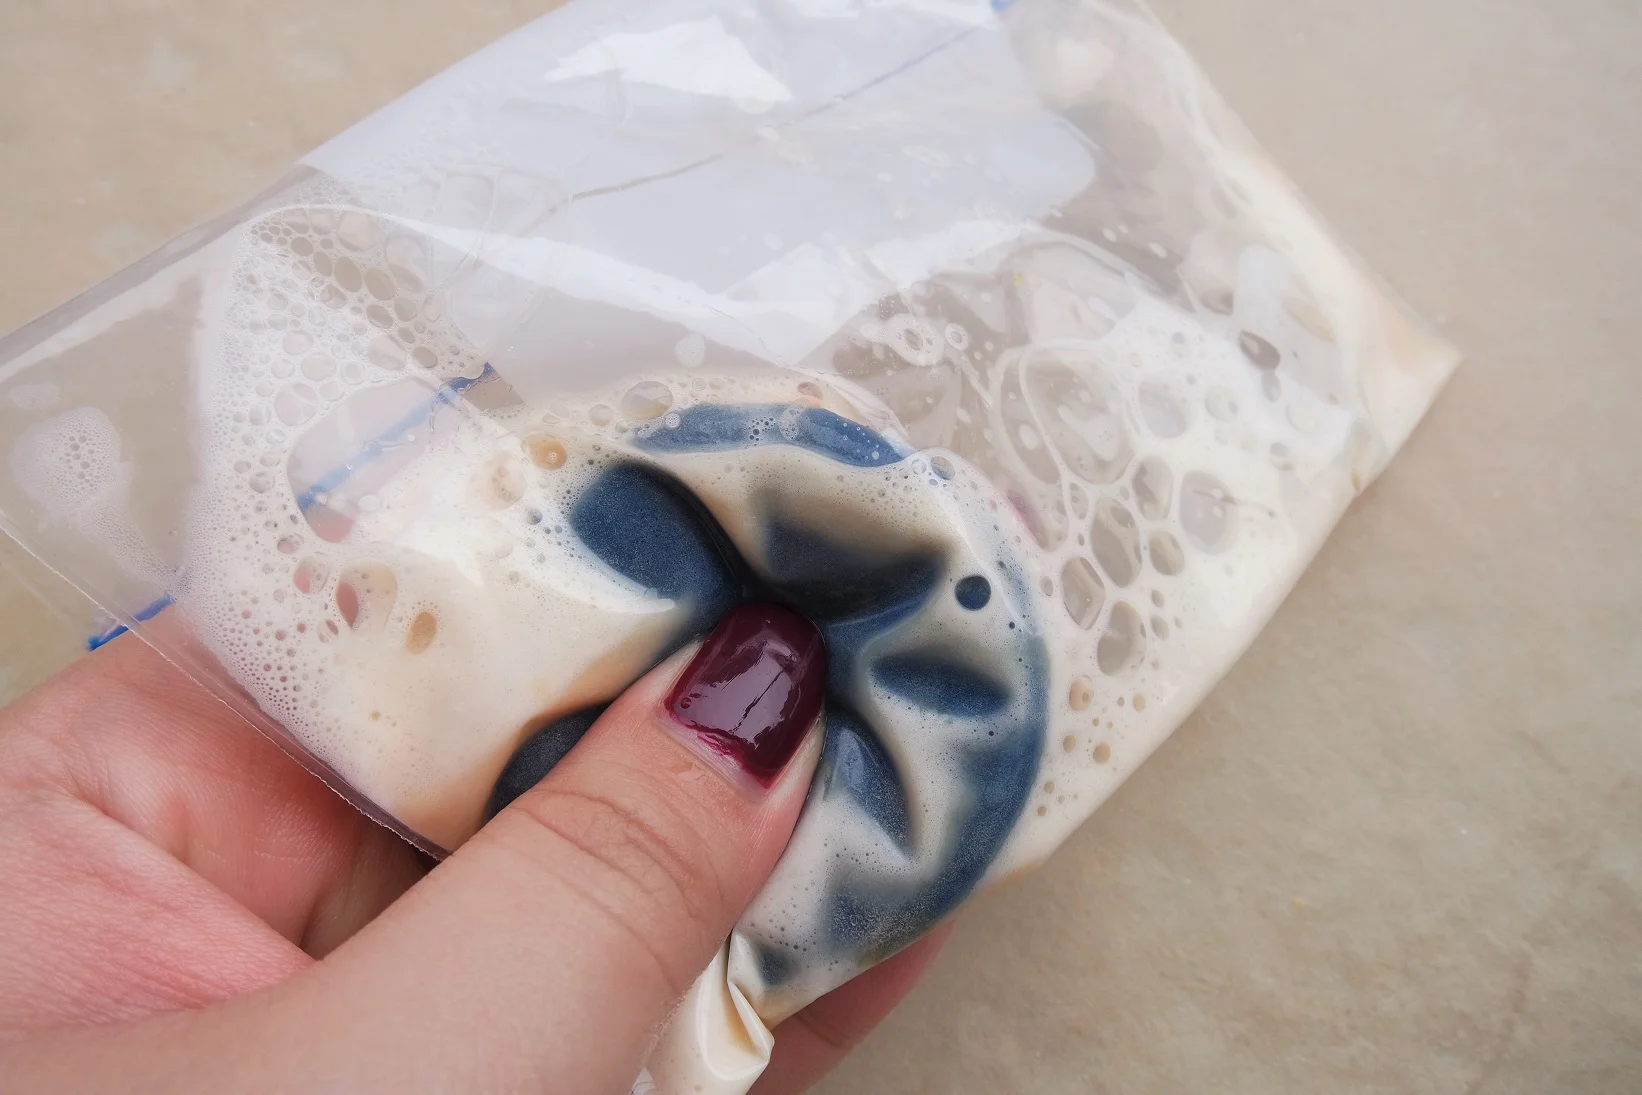
Step 3: Remove the murky water and add in a clean batch of the soap solution to follow Step 2 again. You’ll want to repeat this process 2-3 more times until the water runs clear even after pressing it a few times. If the sponge has a stain, pour more diluted dishwashing liquid into the bag and focus on gently rubbing that area.
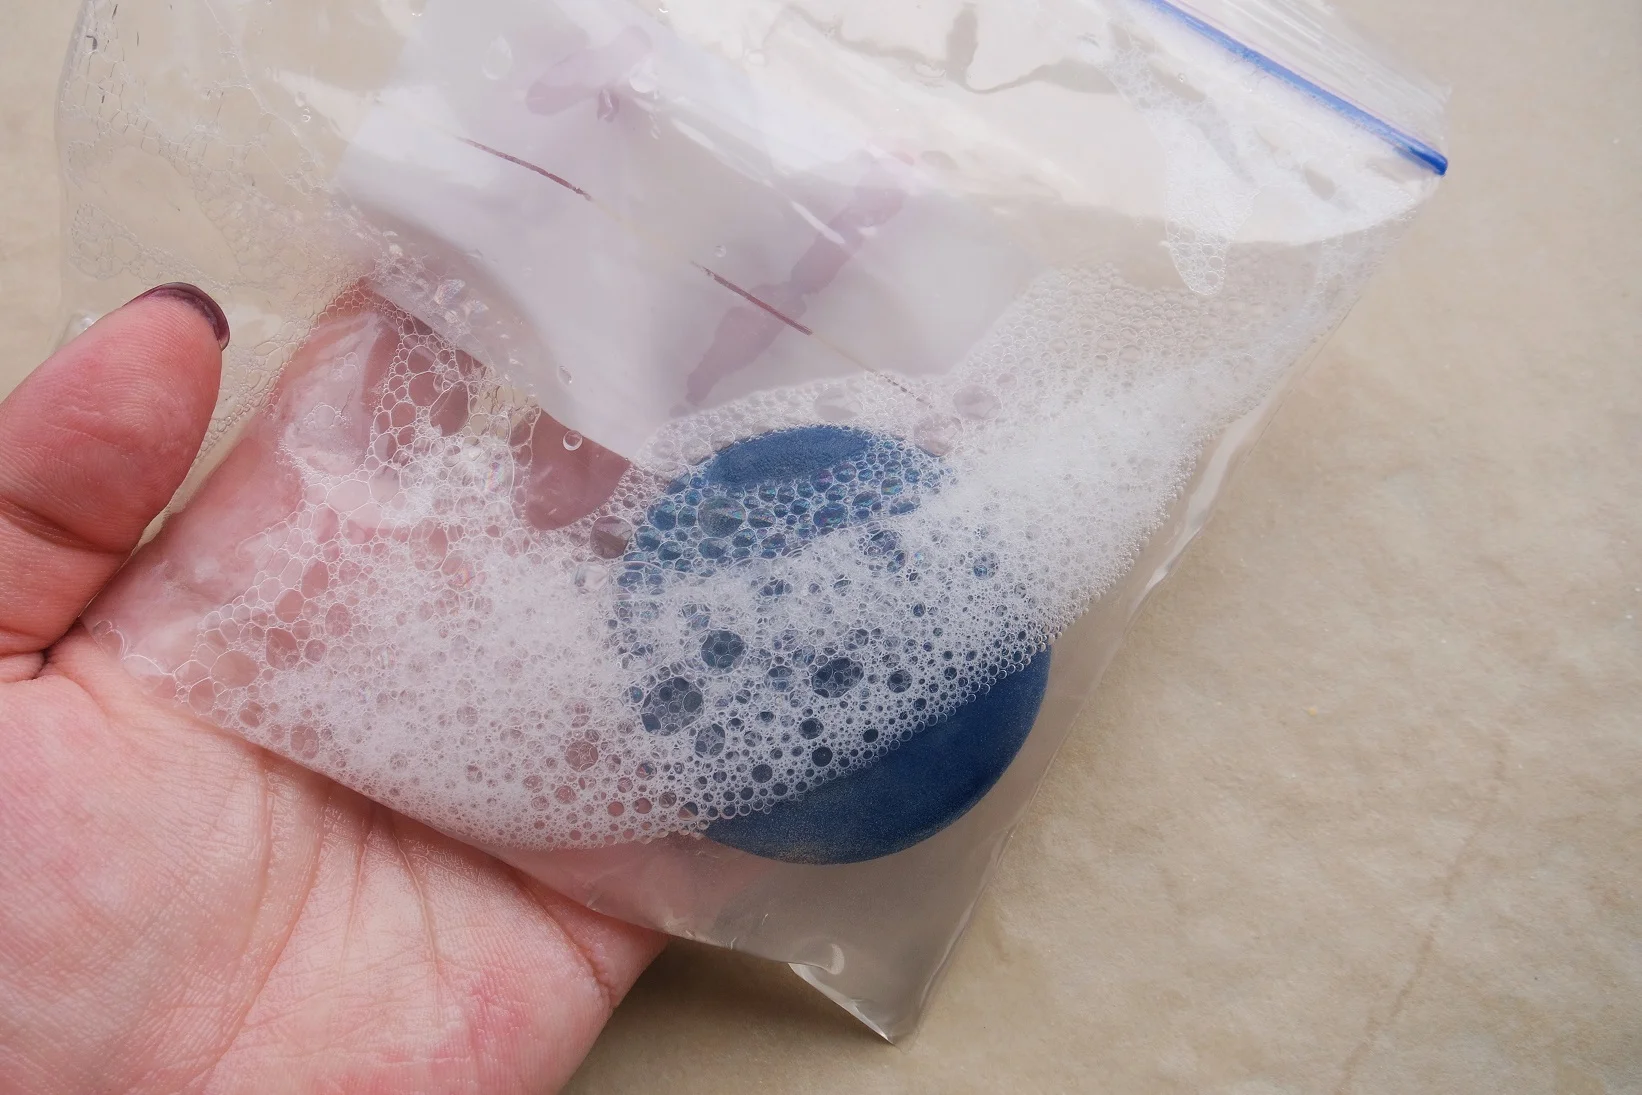
Step 4: When it’s completely clean, rinse the sponge well under running water until no soap appears when you press it. Press the sponge lightly on a clean towel or thick tissue to get the excess liquid out. Again, be gentle and don’t wring it! Leave it to dry with the bottom side up, or tie the sponge handle (that piece of ribbon across) and hang the applicator somewhere. After cleaning its compartment, you can pop the sponge back in its case.
So, why do you need the ziploc bag anyway? Can’t you just clean it with your bare hands? I tried to this and ended up damaging my sponge. While I was squeezing and pressing away, my nails would accidentally nick the blue surface of the sponge and cause it to peel. Eek! So I decided to put it into a plastic bag to serve as a layer of protection. Doing so allowed the sponge to better soak in the solution and made it easier to get to the deep-seated gunk within. Plus, it was just so much neater than having murky, foundation-colored water splashing and dripping all over the sink. You can even opt to dry out the bag and reuse it for when you have to wash your sponge again.
Careful maintenance will give your sponge a longer lifespan, keep your cushion foundation from being contaminated, and keep you from getting unwanted breakouts! If your sponge starts to break down though, you can easily buy a replacement from most stores that sell cushion makeup.
Do you clean your cushion sponge? How do you do it?