

Shiseido Week: How to use the Perfect Foundation Brush
Seamless and well-blended makeup is the best kind. To achieve it, use a stiff, buffing brush that can work the product into your skin, diffusing the pigments in the formula until they look practically invisible. One brush that is made for exactly that kind of thing is the Shiseido Perfect Foundation Brush (P1,500). This is so famous that a lot of other Asian brands have copied it already!

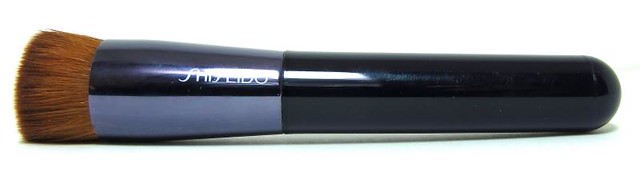
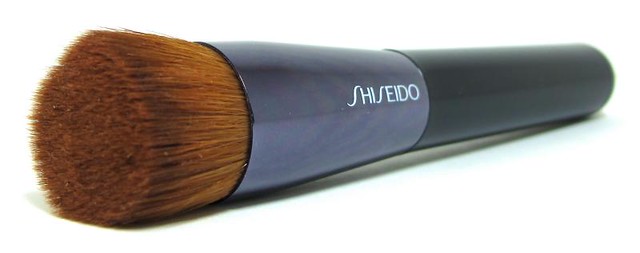
I've already done a full review of the brush, so this time I'll just be showing you a detailed step-by-step tutorial on how to use it and what you can use it with. It's a great brush not only for applying foundation and concealer, but for putting on liquid highlighter and blush as well. Let's get started!
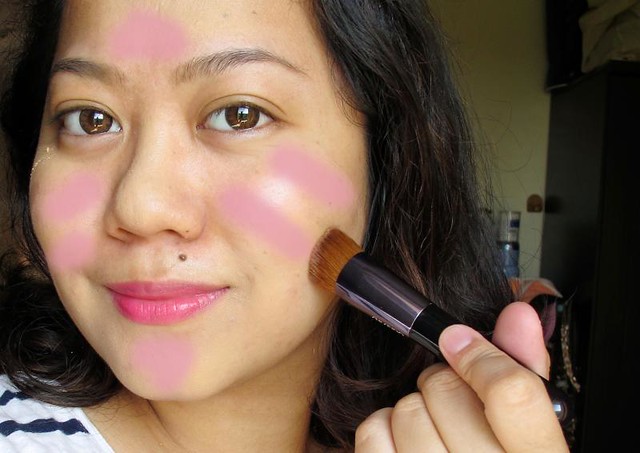
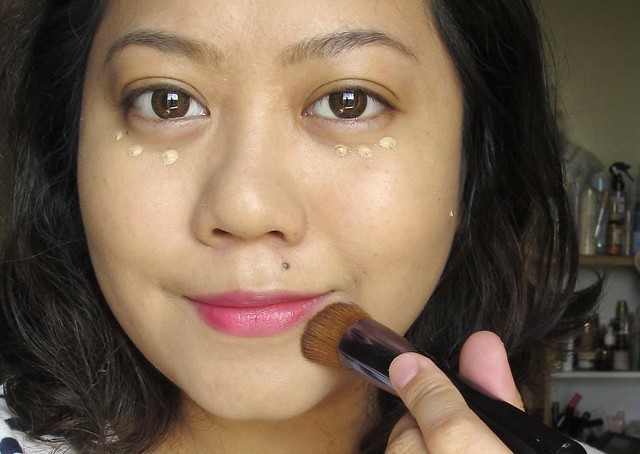
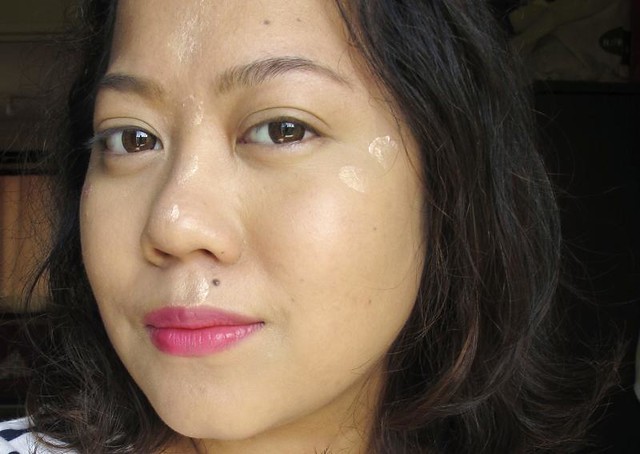
Step 1: Pick your favorite liquid, cream, or in this case, mousse foundation. Apply the foundation in streaks all over your face. Then, spread the product all over your face with the brush. You're just aiming for coverage at this point. Add more on your problem areas but keep it sheer where your good skin is.
Step 2: Start buffing! Just work the brush in a quick circular motion. Imagine pushing the foundation to your skin. It might sound kinda icky but it's the best way to get that flawless finish!

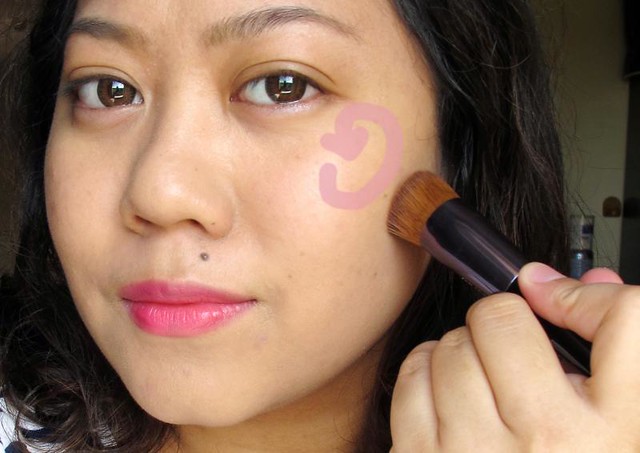
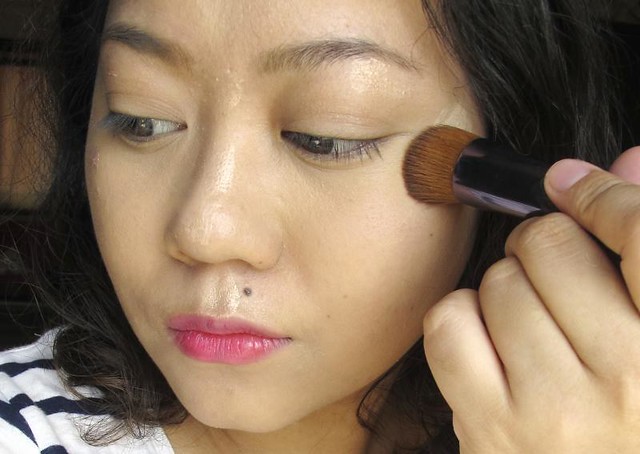
Step 3: Dot concealer under your eyes and on your blemishes. You're looking for maximum coverage on your spots, right? Just push the concealer on your blemish using the Perfect Foundation Brush. Don't blend outwards - just push until the concealer is invisible. Blur out any obvious concealer lines.
Push it like you mean it! No swiping!
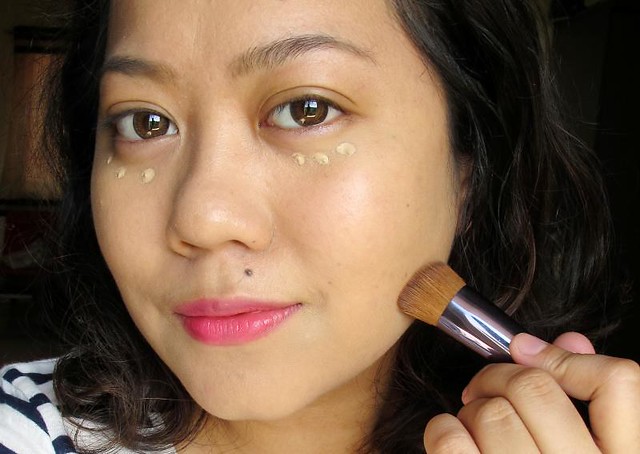
This is what I'm talking about
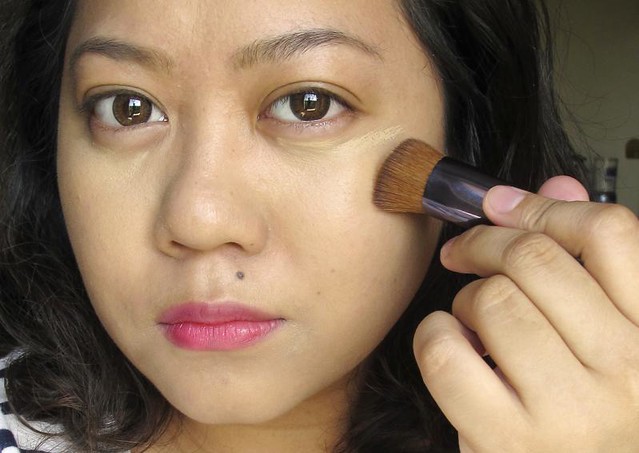
For under eye concealer, softly blend the product outwards and upwards. I prefer to apply the concealer right on the puff on my eye bags because that's where it is darkest. I just sheer out the concealer down my cheeks and out towards the cheekbones to also get an instant highlighted effect.
Oooh, don't forget to apply the remaining concealer on your lids! Lids get dark and lined, too, so blend a bit of concealer there to brighten your eyes even more.
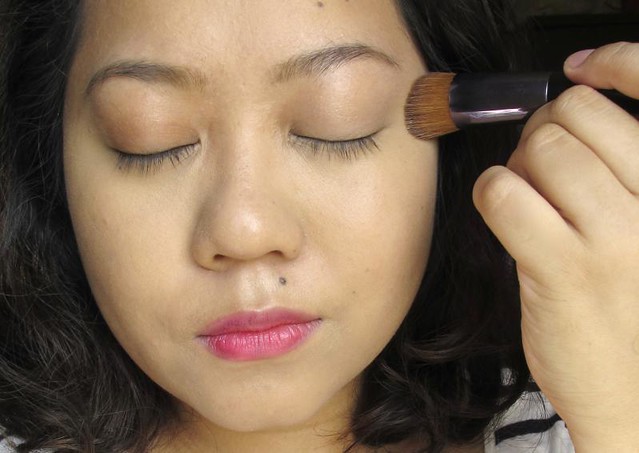
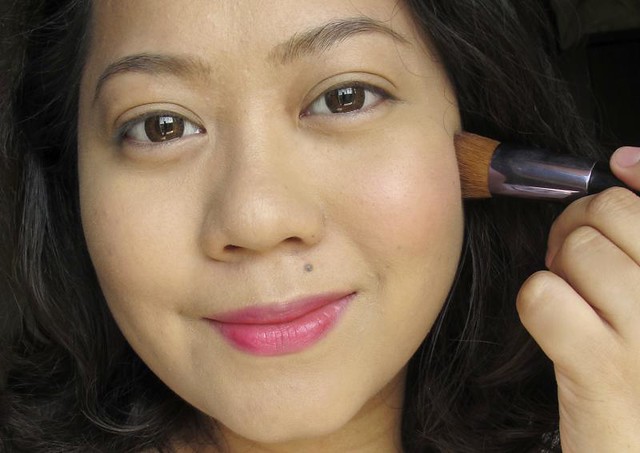
Step 4: Highlighter time! Pick your fave liquid/cream highlighter and apply it on your cheekbones, bridge of the nose, forehead, and philtrum. Then, sheer it out with the Perfect Foundation brush. Yes it's perfectly fine to have all that concealer and foundation in the brush; this ensures that your highlighter would never go overboard!
Blend it

You won't see the highlighter at all, but the glow is there!
Once you're done with the highlighter, set everything with loose powder. You can use the Shiseido brush for this but I prefer something with fluffier bristles.
Step 5: Apply blush on the apples of your cheeks. Make sure to remove most of the color first on the back of your hand; you'll get a soft focus effect when you do this! ;) The Shiseido brush might look too dense for applying cheek color but believe me, it does the job well! It's just the right size too.

So there you have it - a seamless, glowy base, and diffused cheeks. :) All applied using the Shiseido Perfect Foundation Brush.
Hope you enjoyed the tutorial, guys!
For your reference: Used the Maybelline Dream Matte Mousse as foundation Shiseido Concealer, Too Cool For School Pearl Bay highlighter, Snoe Poudre Phenomenon to set, Shiseido blush