Tutorial: Graduation Makeup
Who's graduating in the next few months? Congratulations in advance! It's tough to get through university in one piece, so you better make that last hurrah count. Looking fabulous on the day you are honored for your accomplishments is a simple gift to yourself. Here's a tutorial on how best to go about it!
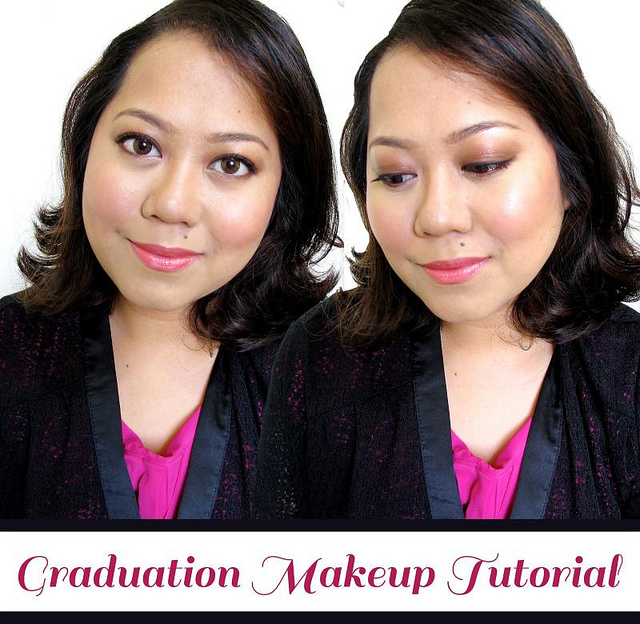
Now you need to consider a few things when doing your graduation makeup. It must be able to withstand the sweat and oil that will result from the humid hell that is March-April where the season begins to fully transition to summer. I remember my own graduation where we had to stand two hours outside the auditorium before the program started. Que horror! Expect the worse, so your makeup should be oil-resistant, water-resistant, and long-wearing.
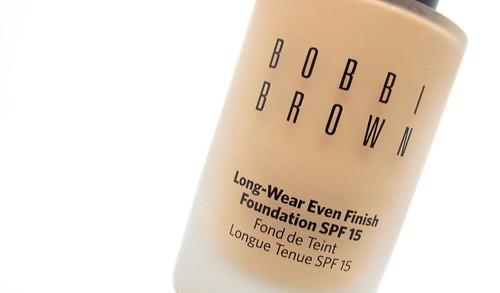
I highly recommend the Bobbi Brown Long-Wear Even Finish Foundation for your base if you don't mind the price
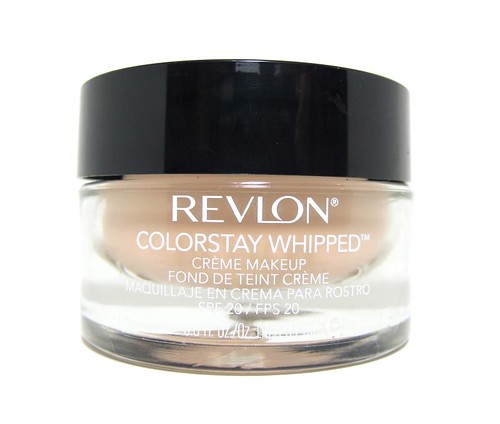
...but the Revlon Colorstay Whipped Creme Makeup is a great alternative
Your look should also be as photogenic as possible. It should present the best version of your skin and enhance your features, which means that it has to be heavier and more complex than usual. Don't worry, I'll walk you through the hoops. ;) This tutorial can also be a handy for any special occasion or photoshoot since it's versatile.
Let's begin!

Perfect your skin. The most photogenic and long-lasting combination for this type of event is liquid foundation, spot concealer, and then translucent loose powder. I'm reviewing a new foundation called the L'Oreal Lumi Magique which is the liquid foundie I'm using here (it's gorgeous no?) but I won't recommend it since it's not long-wearing. Try the Revlon or Bobbi Brown I mentioned above instead - these are matte, stay in place, and have no SPF.
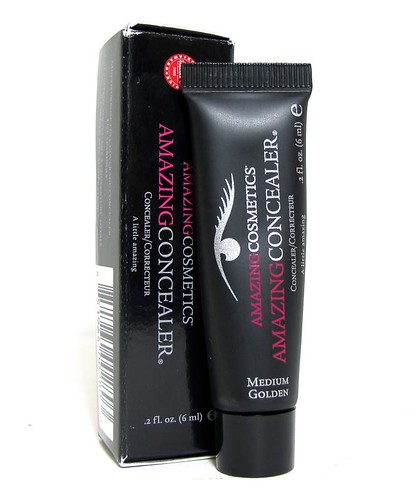
Okay, so once you've smoothed in your liquid foundation using your preferred brush, sponge, or fingers, get an opaque pigmented concealer like the Amazing Cosmetics Amazing Concealer. With a pointed eyeliner brush, carefully cover all your spots and marks. Pat to blend. Set with translucent powder with no SPF.
Here's a handy tip to hide dark circles and puffy bags - use a brightening yellow concealer like the K-Palette Zero Kuma Concealer. It can be a few steps lighter than your skin. Reverse raccoon eyes (or too-light under eyes) can be avoided as long as you blend and set everything properly.

Apply the concealer in small dots under the eyes, then bring them down into the general shape of a reverse triangle

Blend on skin with your fingers and make sure to make those edges invisible
Looks weird right? But trust me, this is the best trick to lessen the puffy look of eyes. It also brightens the center of the face (where people focus on most) and contours the cheeks. Make sure to set all that with powder!
Frame your face with shaded eyebrows. Go for slightly darker eyebrows - this will register better on flash. Lighter brows look fantastic in person but not so much when faced with glaring light; it gets washed out. I'm using the Benefit Brow Zings here with a Charm dual-ended eyebrow brush.


Deepen your eyes. Use a good eyeshadow primer like the Urban Decay Primer Potion or ArtDeco Eyeshadow Base to keep your eyeshadows intact. Apply the product all over your lids and under the brow bone.
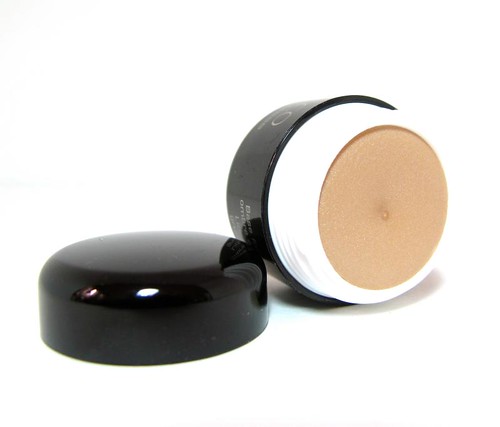
To further intensify the color of the eyeshadow we'll use as well as making sure that it doesn't budge, I'm going to apply a cream colored base. This is the new Revlon Colorstay Smoky Shadow Stick in Torch. Gorgeous product and so affordable too.

Something this pigmented can be tricky to use on the lids, so you will need to outline the general shape you want your eyeshadow to follow. The optimal shape is something slightly winged out (to fake bigger almond-shaped eyes) with the top line ending at the crease of your lids.

Outline. You can use the product straight from the tube or use a small detail brush to do this.

Fill in

Blend outwards by blurring those lines. I used my fingers, which was awkward, so I will recommend a blending brush for a finer finish.

Should look like this!
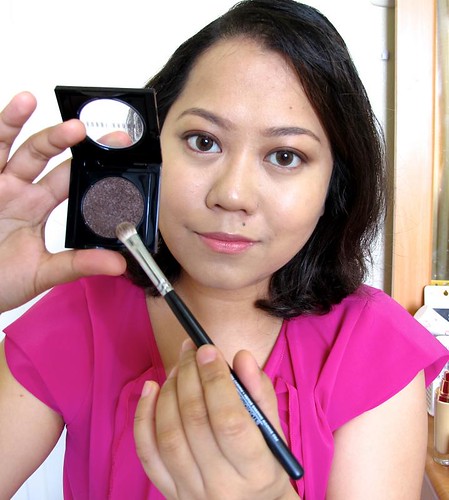
Set that creamy base with a powder shadow. I'm using the Bobbi Brown Sparkle Eyeshadow in Black Chocolate. This is such a lovely, rich shade! The sparkles are very fine so it's not tacky but they do show up beautifully on top of a dark base. You can use any shimmery chocolate color you have in your collection.
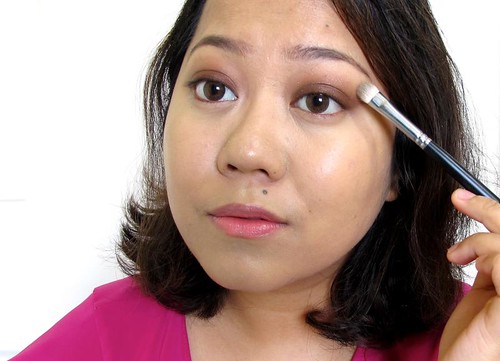
Apply a heavy layer of color near the lashes then blend that upwards to create a beautiful gradient
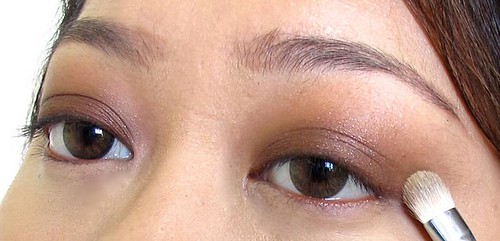

Forgot this step earlier - apply the cream color on the waterline, then set it with the eyeshadow to prevent it from moving around


Use a shimmery white/peach on the inner corners to open up the eyes even more
Define and frame the eyes. Apply a black eyeliner close to the lashes. I'm using this gel liner from Etude House called Drawing Show!


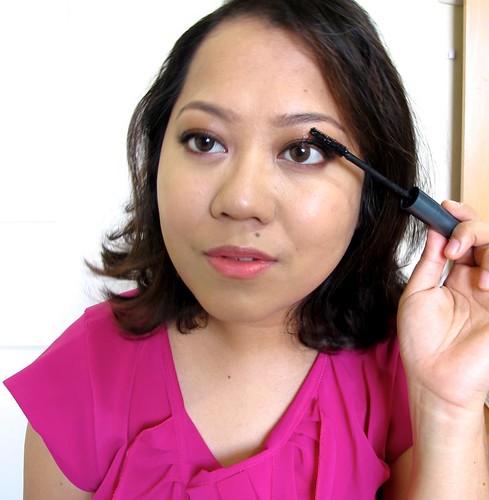
Finish with a water-resistant mascara like the Revlon Colorstay Overtime Lengthening Mascara. I like this one because it makes you look like you're wearing falsies. Try also the Majolica Majorca Lash King and Fairydrops Volume Burst if you don't mind spending a little more.

Blush and contour to enhance the shape of the face. A matte tan blush like MAC Harmony is a great contour powder; just swipe it on the area of your face that gets shadowy when there's a light source from above. That's usually on the hollows of the cheeks.


Blend downwards to get some of the powder on the sides of the jaw. This way the face will look narrower and thinner! If you find you've applied too much, get a big fluffy brush and diffuse the color by blending it outwards.

Grab a rosy, long-lasting blush like the Tarte Amazonian Clay 12-Hour Blush in Blushing Bride for your cheeks. Just apply it on the apples and brush towards the hairline, blending the remaining product on top of your contour powder. Begin with only a light layer to prevent over-blushing!
I'm using a lot here because I need the blush to show up in photos. It will also fade in the coming hours so it won't really look that strong. Balance is key.


Contour your nose with a long, domed brush to make it look more high-bridged; just swipe a tiny bit of powder (still MAC Harmony) on the sides of the nose. Blend thoroughly!

Highlight. Now this is an optional step. Most people would recommend that you keep the face as matte as possible in heavily photographed events, but if you have dull, dry skin, highlighter could just be THE thing to make you glowing and more alive. The trick is to apply controlled amounts in certain areas only.

Under the brow bone to lift the arch of the eyebrows and on the cheekbones as well

On the nose bridge to fake a higher nose

Blend the product in patting motions to remove unsightly edges
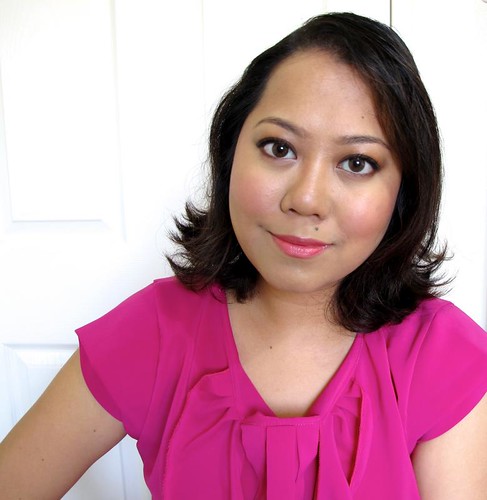
Lipstick. Just choose a conservative yet flattering lipstick to top off your look. You're still going to a serious graduation, after all! I'm using a Maybelline lipstick in Peachy Scene. Just retouch as it fades, but if you wish to extend the wear of this lipstick, use a coordinating lip liner underneath it.

Tip: Check your look with flash periodically to see if everything is blended properly. You will also notice that the makeup, while heavy, looks lighter in flash. My face has a white cast here because the foundation I'm using has SPF25 so do avoid using anything with SPF. :)


And that's it really. I hope you found this tutorial useful! :)
